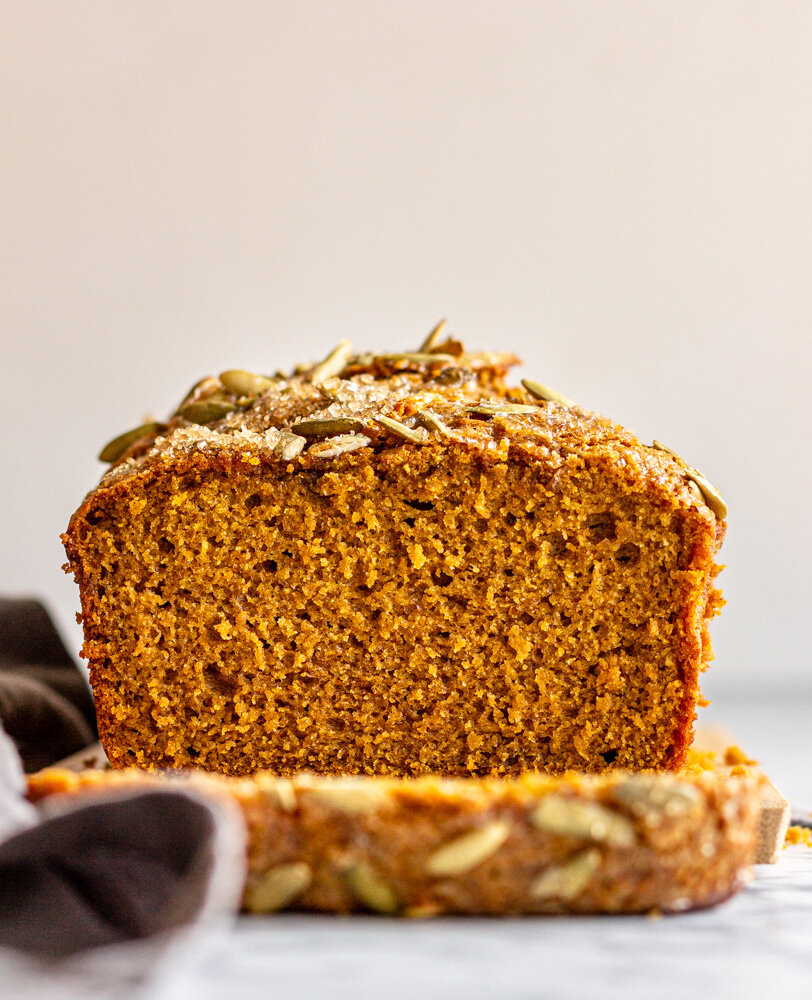
Pumpkin Granola Bars

These simple, homemade pumpkin granola bars are the perfect fall snack. They are vegan and gluten-free, filled with warming spices, nuts, and chocolate chunks.

pumpkin granola bars-8.jpg

Are we still in pumpkin season? I feel like there is really no clear beginning and end to the whole pumpkin craze. Is it whenever Starbucks tells us? Pumpkin season starts in August when they begin serving PSLs and ends when they switch to Peppermint Mocha? How are we supposed to know these things? I have no Christmas tree up, so I think it’s fair to continue eating pumpkin over here. At least through Thanksgiving, then we can re-assess.

I have been making some rendition of these pumpkin granola bars for at least five years. My first recipe notebook is a big hardcover one, filled with mostly other people’s recipes I found on the internet and wrote down as I tried them has the date I started it written in the front cover- 1/27/15. We were living in Nashville, I was still teaching full-time, and my business was going to be called “That Baking Lady” (there are little pencil-drawn illustrations of my logo scratched into that first page). These granola bars are the sixth recipe in that book the page has collected its fair amount of chocolate smudges and oil stains over the years. I have no idea where I got this recipe, it’s not really my own, I’ve just adapted and streamlined it over the years, but we’ve been making some version of them in our house every year since.

Filled with pumpkin, chocolate chunks, oats, and pumpkin seeds, these granola bars feel really healthy, while also satiating your dessert cravings. You can easily substitute mix-ins, add extra nuts or dried fruit, and they hold in the fridge, wrapped tightly in plastic wrap for up to a week. These granola bars can also be made vegan if you use maple syrup and dairy-free chocolate, so they make a great holiday baking treat for all of your vegan friends.

Pumpkin Granola Bars
Yield
8
Author
Anna Ramiz
Prep time
10 Min
Cook time
20 Min
Total time
30 Min

Pumpkin Granola Bars

These simple, homemade pumpkin granola bars are the perfect fall snack. They are vegan and gluten-free, filled with warming spices, nuts, and chocolate chunks.

Ingredients

  • 2 cups rolled oats
  • 2 tbsp ground flaxseed, optional
  • 1 tsp ground cinnamon
  • 1/2 tsp ground ginger
  • 1/2 tsp ground cardamom
  • 1/4 tsp ground nutmeg
  • 1/4 tsp ground allspice
  • 1/4 tsp kosher salt
  • 1/2 cup canned pumpkin
  • 1/4 cup loose almond butter
  • 1/4 cup maple syrup or honey*
  • 2 tbsp coconut sugar
  • 1 tbsp vanilla extract
  • 1/2 cup dark chocolate, chopped*
  • 1/3 cup pumpkin seeds, plus more for sprinkling on top
  • flaky salt

Instructions

  1. Preheat oven to 350° F and line a rectangular baking pan (8x8” or 9x9”) with parchment paper. Set aside
  2. In a large bowl, whisk together oats, flaxseed, spices, salt, pumpkin seeds, and chopped chocolate.
  3. In a large measuring cup or another bowl, whisk together pumpkin, almond butter, maple syrup/honey, coconut sugar, and vanilla until smooth and homogenous.
  4. Pour the wet ingredients into the bowl with the dry ingredients and stir together with a rubber spatula until all of the dry ingredients are well-coated.
  5. Pour batter into your prepared pan and use your hands to press into an even layer. Sprinkle with more pumpkin seeds. Bake for 20-22 minutes, until set and the edges are beginning to brown. Sprinkle the bars with flaky salt, and let them cool completely in the pan.
  6. Slice into 8 equal-sized bars, wrap individually, and store in the refrigerator for up to a week.

Notes:

Did you make this recipe?
Tag @gatheredatmytable on instagram and hashtag it #gatheredatmytable

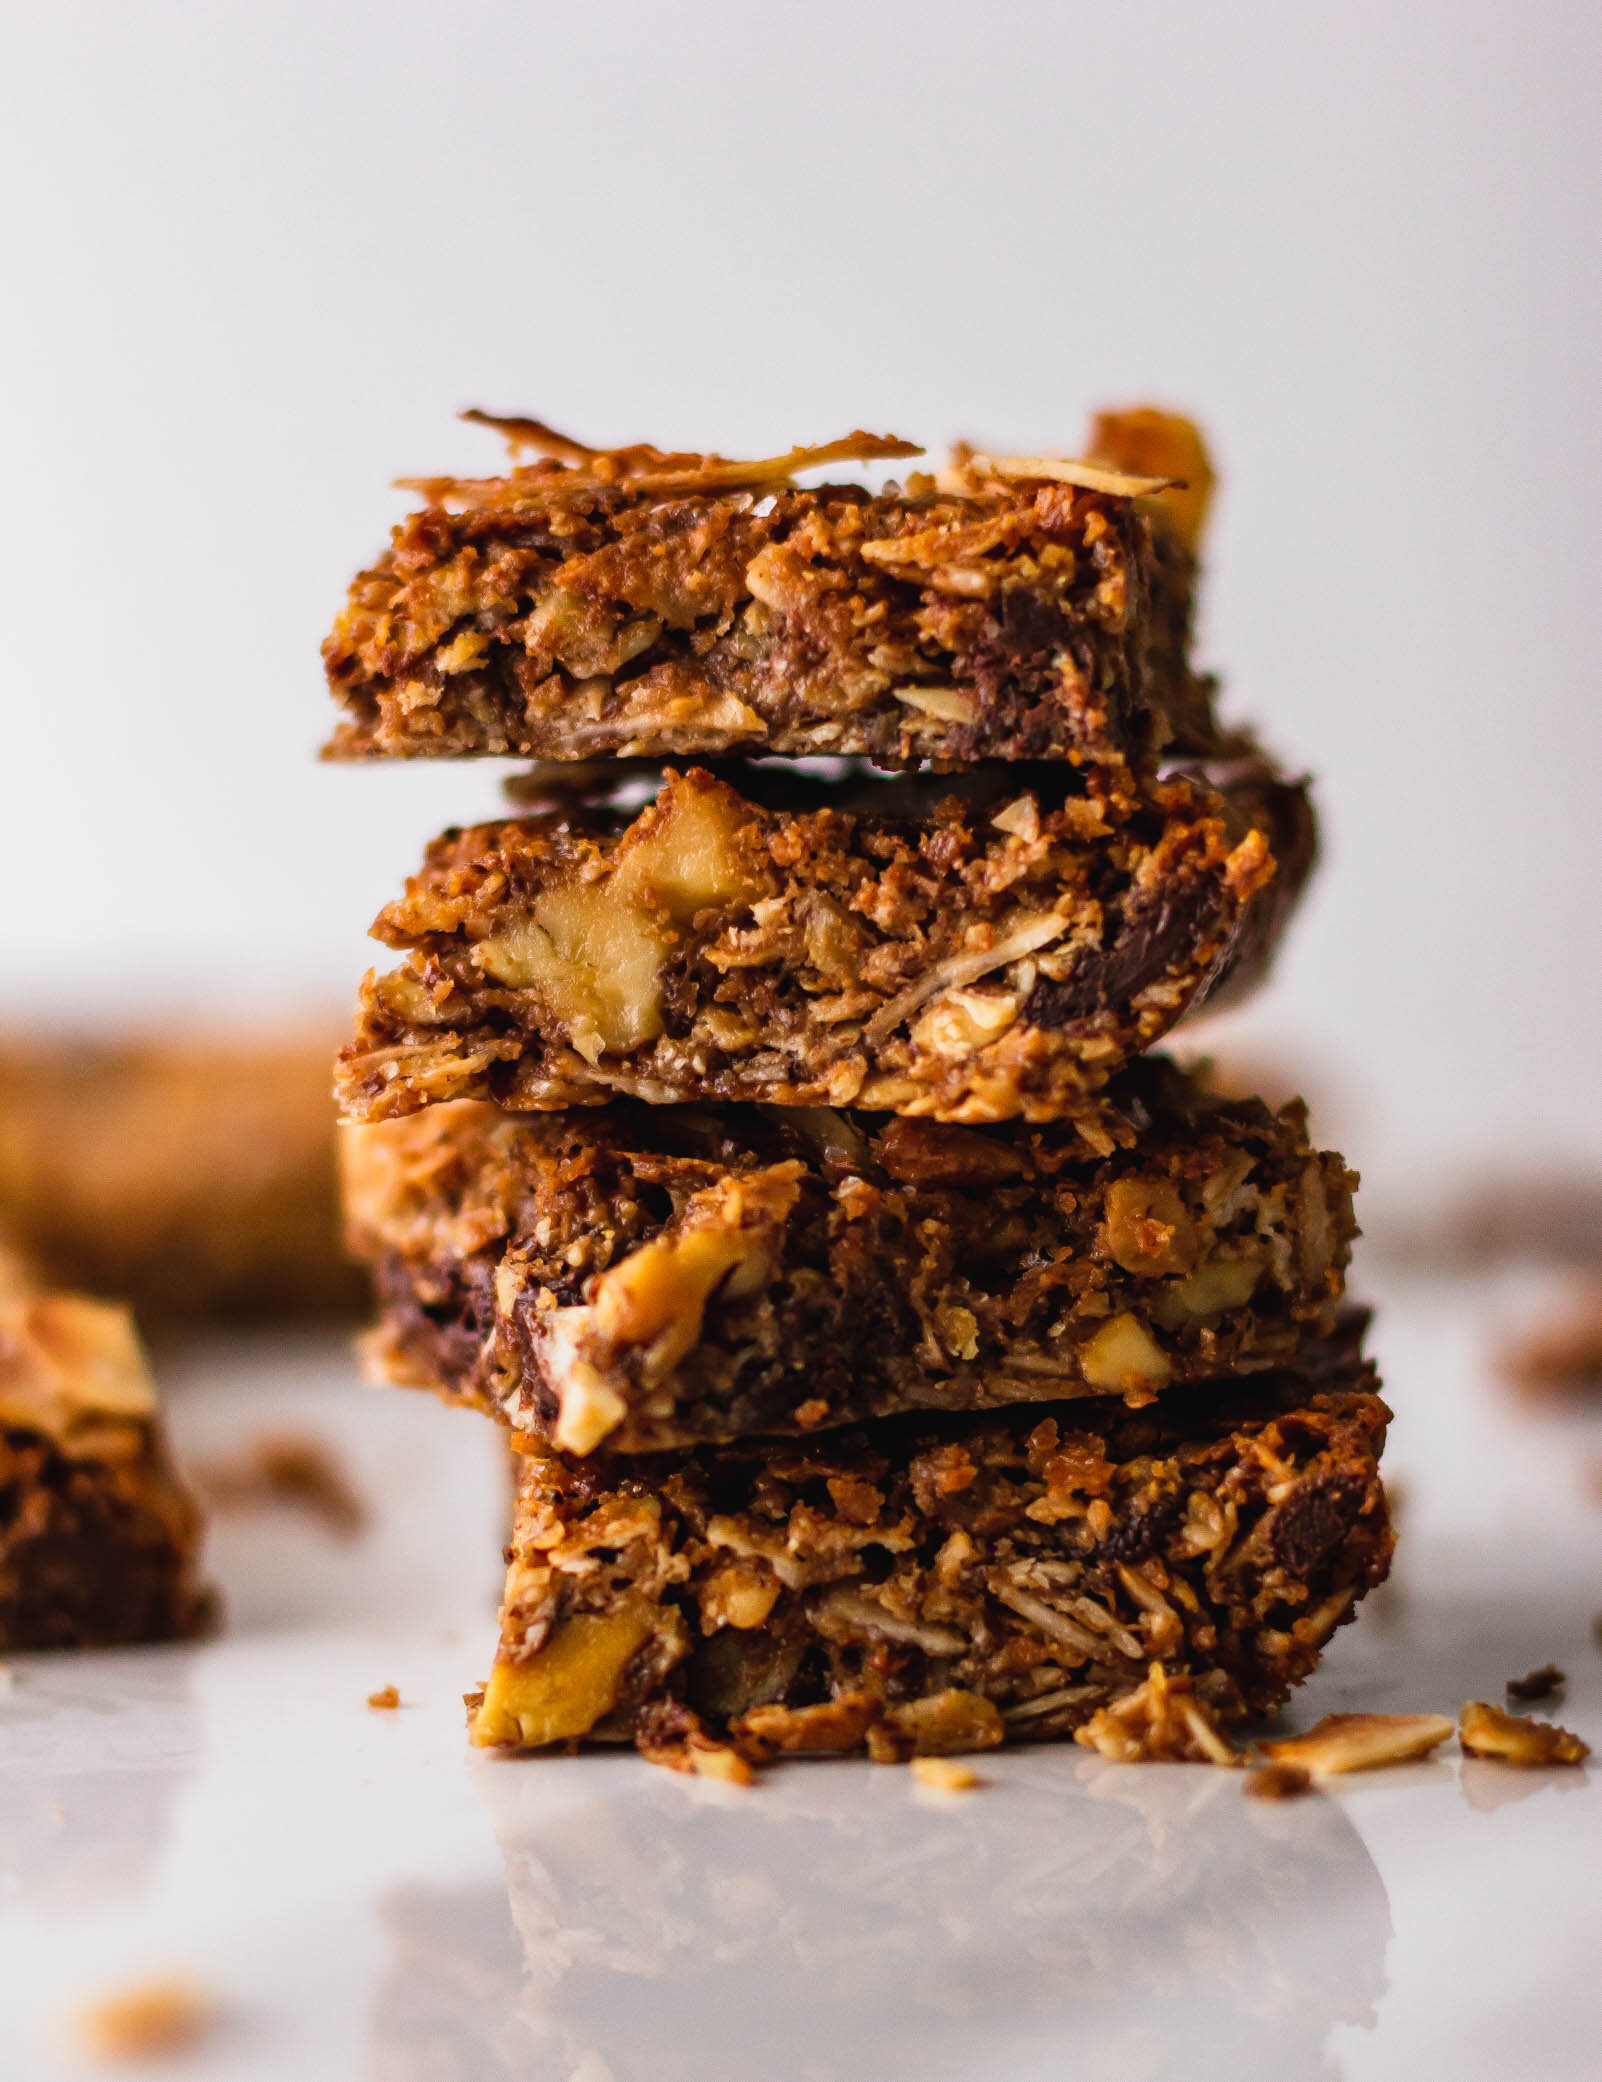
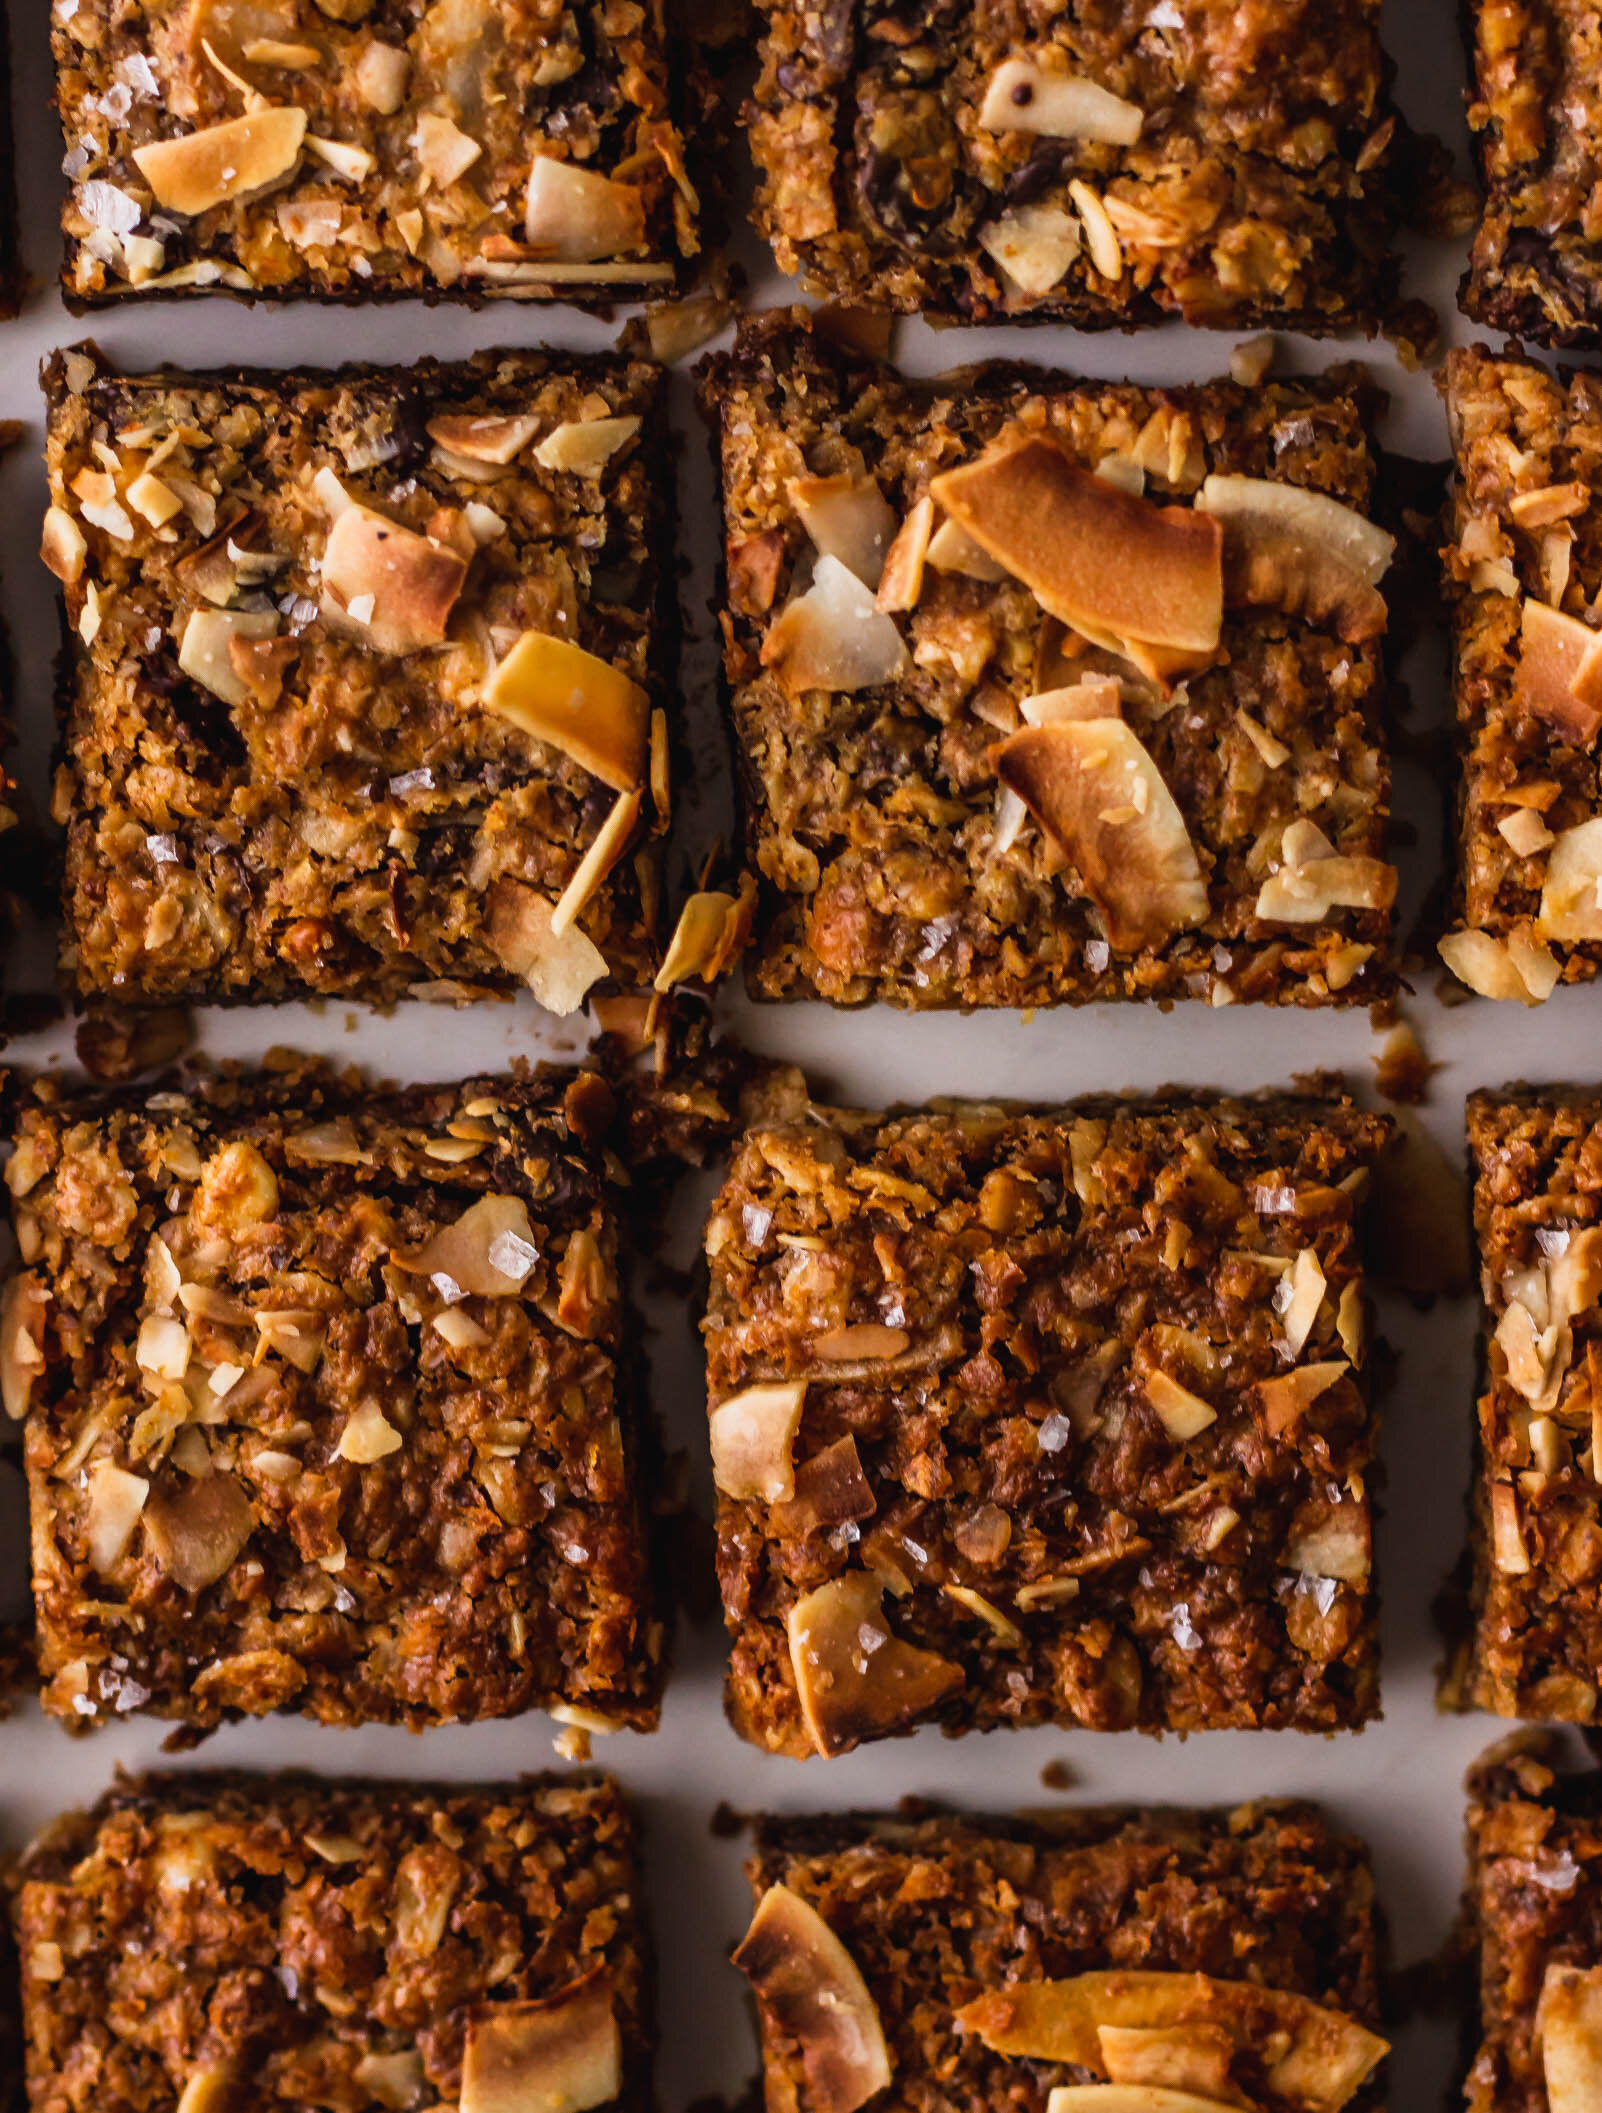
Peanut Butter Oat Breakfast Bars

Gluten free, vegan peanut butter oat bars are great for breakfast or an afternoon snack. Filled with nuts, oats, and chocolate and topped with flaky salt, they are endlessly adaptable, healthy, and use ingredients you probably already have in your pantry.

closecorner2.jpg

I’m very picky when it comes to bakeries. A lot of American bakeries rely on sugar alone as flavor and, due to the volume of production, most treats are mediocre at best. That being said, there are a few bakeries who produce exceptional breads, pastries, and treats. They focus on quality over quantity and charge appropriately for their labor, allowing them to invest in skilled bakers and high-quality ingredients. Stopping by one of these rare bakery gems is an absolute delight. One of my very favorite bakeries is Wild Love Bakehouse in Knoxville, Tennessee. It’s a small cafe where natural light streams through the floor to ceiling windows, where you can watch the bakers knead and laminate dough through glass walls, where people gather at picnic tables watching kids run up and down the grassy lawn, where the coffee is always perfect and the croissants are always flaky. It’s a community spot through and through.

All summer, we would spend mornings before work or days off huddled around those picnic tables, drinking iced coffees and littering the table with croissant crumbs and Wild Love quickly became one of the friends I would miss upon my return to Florida. Everything that they make is great, from the chocolate croissants to the sausage biscuits, but it was their peanut butter oat bar that surprisingly stole the show. The peanut butter oat bar is the only gluten free baked good offered, so they sell out fast. They are thick squares, double the size of a brownie. Oats, nuts, and chocolate chips are bound together by peanut butter to create a cookie-like protein bar that will keep you full until lunch. And, of course, the tops are littered with a smattering of flaky salt, which you know if you’ve been around this blog for any amount of time is the fastest way to my heart.

singleslice4.jpg

making homemade granola bars

When I came back home to Florida and could no longer drive 3 minutes down the street for my peanut butter bar fix, I started working on my own. These can pass as breakfast or dessert, or both and will keep in the fridge for the whole week. If you are trying to stay away from refined sugars, try substituting coconut sugar for brown sugar. Feel free to make them your own, using whatever mix-ins you’d like, but make sure you don’t forget the salt! To make them vegan, just make sure to use vegan chocolate chips!

Yield: one 9x13" pan
Author: Anna Ramiz
Peanut Butter Oat Breakfast Bars

Peanut Butter Oat Breakfast Bars

Prep time: 15 MinCook time: 30 HourTotal time: 30 H & 15 M
Gluten free, vegan peanut butter oat bars are great for breakfast or an afternoon snack. Filled with nuts, oats, and chocolate and topped with flaky salt, they are endlessly adaptable, healthy, and use ingredients you probably already have in your pantry.

Ingredients

  • 1 3/4 cup rolled oats
  • 3/4 cup ground flaxseed
  • 1/2 tsp ground cinnamon
  • 1/2 tsp kosher salt
  • 1/3 cup light brown sugar*
  • 1/2 cup coconut oil, melted
  • 1/2 cup maple syrup
  • 1/3 cup almond butter
  • 1/3 cup peanut butter
  • 1 T vanilla extract
  • 1/2 cup walnuts, toasted
  • 1 cup dark chocolate pieces
  • 1/2 cup coconut chips, toasted

Instructions

  1. Preheat the oven to 350° F. Line a 9x13” baking dish with parchment leaving about an inch overhang and set aside.
  2. In the bowl of a food processor, combine 3/4 cups rolled oats and flaxseed. Pulse until oats are coarsely ground and resemble the consistency of bread crumbs. Transfer the mixture to a large bowl and add the remaining 1 cup whole rolled oats, cinnamon, and salt.
  3. Place chopped walnuts on a small baking sheet and toast for 5-7 minutes, until nutty and fragrant. In the last 2-3 minutes of toasting, add the coconut chips. Remove from the oven when everything is lightly browned and let cool while you mix the wet ingredients.
  4. In a medium bowl, combined melted coconut oil, maple syrup, brown sugar, vanilla extract, and nut butters. Whisk until smooth and homogenous.
  5. Pour combined wet ingredients into the dry ingredients and fold with a rubber spatula until well mixed and a crumbly batter has formed. Fold in the walnuts, toasted coconut, and chocolate.
  6. Pour the mixture into the prepared pan and use a rubber spatula or your hand to press down into an even layer. Bake for 25-30 minutes, rotating the pan halfway through the baking time, until golden brown. Remove from the oven, sprinkle with flaky salt, and let cool in the pan for at least an hour. (The longer you let them cool, the more likely they will hold together). If you want to speed this up, when the pan has cooled mostly, you can transfer it to the refrigerator.
  7. When you are ready to slice, grab the parchment paper sides and gently lift the bars out of the pan. Slice into even squares and share with a friend!

Notes:

If you are trying to stay away from refined sugars, try substituting coconut sugar for brown sugar.


To make these vegan, make sure to use vegan chocolate chips in place of regular chocolate chips.

Did you make this recipe?
Tag @gatheredatmytable on instagram and hashtag it #gatheredatmytable

Harvest Cookies

Happy Thanksgiving Week! Thanksgiving is my favorite holiday of the year. I love fall cooking and baking and for me, Thanksgiving is like the Olympics. It’s the one day of the year where it is completely reasonable and normal to over extend yourself, planning a feast full of intricate and time consuming dishes and I am just giddy over it. For the last 4 years, I have hosted our Thanksgiving dinner and I rarely make the same dishes twice. This year is different though, and we will be traveling for Thanksgiving, spending it with friends in Colorado. Sometimes, we need time consuming desserts. They are warm and cozy and an opportunity to make something a little bit special for those that you love. Other times, like when you are a Thanksgiving traveler, you need something a little quicker and easier to bring to the big dinner. In walks these harvest cookies.

A pumpkin oatmeal cookie, filled with toasted nuts and seeds and studded with chocolate chips, they are the perfect mix of autumn and ease and can be made way in advance (which is one of the biggest pros for a Thanksgiving dish). I chose a blend of pumpkin seeds, walnuts, and sunflower seeds, but you can use any nut/seed combination that you prefer. After mixing up the dough, I like to scoop them onto cookie sheets and freeze them. Then I transfer my cookie balls to a freezer bag and have fresh baked cookies in 15 minutes, any time I want. (Just add a couple extra minutes to your baking time if you are baking from frozen). The best part of these cookies is that with all their oats and seeds, you can also enjoy them Friday morning for breakfast, so consider double-batching it. If you’re still looking for one more, low maintenance, crowd-pleasing dessert to add to your Thanksgiving dinner table, you can put an end to your search and spend the rest of your week worrying about brining a turkey.

Recipe: Harvest Cookies

Yield: 18 large cookies

Ingredients: 

1 cup (230 g) butter, softened

3/4 cup (170 g) brown sugar

1/4 cup (80 g) maple syrup

1/4 cup (54 g) sugar

1 egg yolk

1 cup (266 g) canned pumpkin

1 T vanilla extract

1 1/2 cup (200 g) all purpose flour

3 cups oats, toasted*

1 tsp baking soda

1 tsp salt

2 tsp cinnamon

1 tsp cardamom

1/4 tsp cloves

1/2 tsp nutmeg

1 cup nuts (I used walnuts, pepitas, and sunflower seeds), toasted and chopped 

1 1/2 cup chocolate chips

Procedure: 

  1. In a medium bowl, mix together flour, salt, baking soda, cinnamon, cardamom, cloves, and nutmeg. Set aside. 

  2. In the bowl of a standing mixer fitted with the paddle attachment, cream together butter and sugars until light and fluffy. 

  3. Add the eggs, one at a time, scraping down the sides of the bowl after each addition. Add the vanilla and the pumpkin and mixed until combined. 

  4. Gradually add the dry ingredients, mixing until just combined. Add oats and nuts and mix until just combined. Fold in chocolate chips. 

  5. Cover the bowl and refrigerate for at least 30 minutes and up to 12 hours.

  6. Preheat the oven to 350 degrees and line a cookie sheet with parchment paper. 

  7. Using a large cookie scoop (or ice cream scoop), place balls of cookie dough 2” apart on the baking sheets. Bake for 12-14 minutes, until browning and dry to the touch. Allow cookies to cool on the pan for 3-5 minutes and then transfer to a cooling rack. 

*Notes: Let’s talk about toasting oats. You don’t have to do it, but I recommend it. Like toasting nuts, toasting your oats helps to bring out a little more flavor and it adds a depth to your final baked good. To toast your oats, spread them out on a baking sheet and put them in a 375 degree oven for 5-10 minutes. They won’t really change color, but you should be able to smell the toasty aroma. Let them cool before using. After you finish toasting your oats, spread your nuts on the same pan and tuck them in the oven for another 5-10 minutes, keeping a careful eye not to burn them.