Sour Orange and Tequila Upside Down Cake

sourorangecake8.jpg

I’ve been doing some research lately on SEO, an aspect of internet business I am greatly lacking in. Apparently crucial to running a successful blog, SEO or search engine optimization is a technical, behind-the-scenes area that uses specific words and plugins to help Google easily read your content and push your blogs and recipes to the top of the Google search lists. This is obviously super important for bloggers and recipe developers as people actually need to see and read our recipes in order for us to run a mildly successful recipe writing business. It’s an area that I will admit, I am not strong in, and could use a little extra support in since most of my posts ring in somewhere near the bottom of the billion pages of Google search results, but if I’m being honest, there’s something about the whole SEO optimization thing that feels uncomfortable to me. One of the things I’ve read over and over again is that you should be performing key word searches before creating recipes so that you’re able to see the types of recipes people are already Google-ing and then create recipes based off of that. This idea feels so inauthentic to me! My whole mission in life is teaching people how to elevate their baking, using creative flavors and ingredients that are a bit unexpected and teaching techniques that the average home baker may be unfamiliar with. Often times, this means that the types of recipes people search for are recipes that they are already familiar with like chocolate chip cookies or brownies or something with a peanut butter chocolate combination. Not many people sit down and search “sour orange and tequila upside down cake”, not because they don’t like it or it’s a bad recipe, but simply because it’s a flavor combination that they didn’t know they needed! And I love love love introducing people to baked goods that they didn’t know they needed. But that does put me in a bit of a pickle, because in order to get my quirky recipes out there, I need to get people to my blog because what is the point if no one even ever sees them. Most of this rambling is me processing and getting all my feelings out into words (which is also an SEO no-no— don’t talk about things that aren’t directly related to the recipe, but I’m a real person and since I pay to keep this website up and running, I think I can occasionally go off-topic.) All of this to say, I’m going to continue sharing weird flavor combinations and encouraging you to bake out of your comfort zone, but I may include a s’mores cookie bar (a recipe I’m currently working on so keep an eye out) every now again to keep the internet happy. 

let’s talk about cake

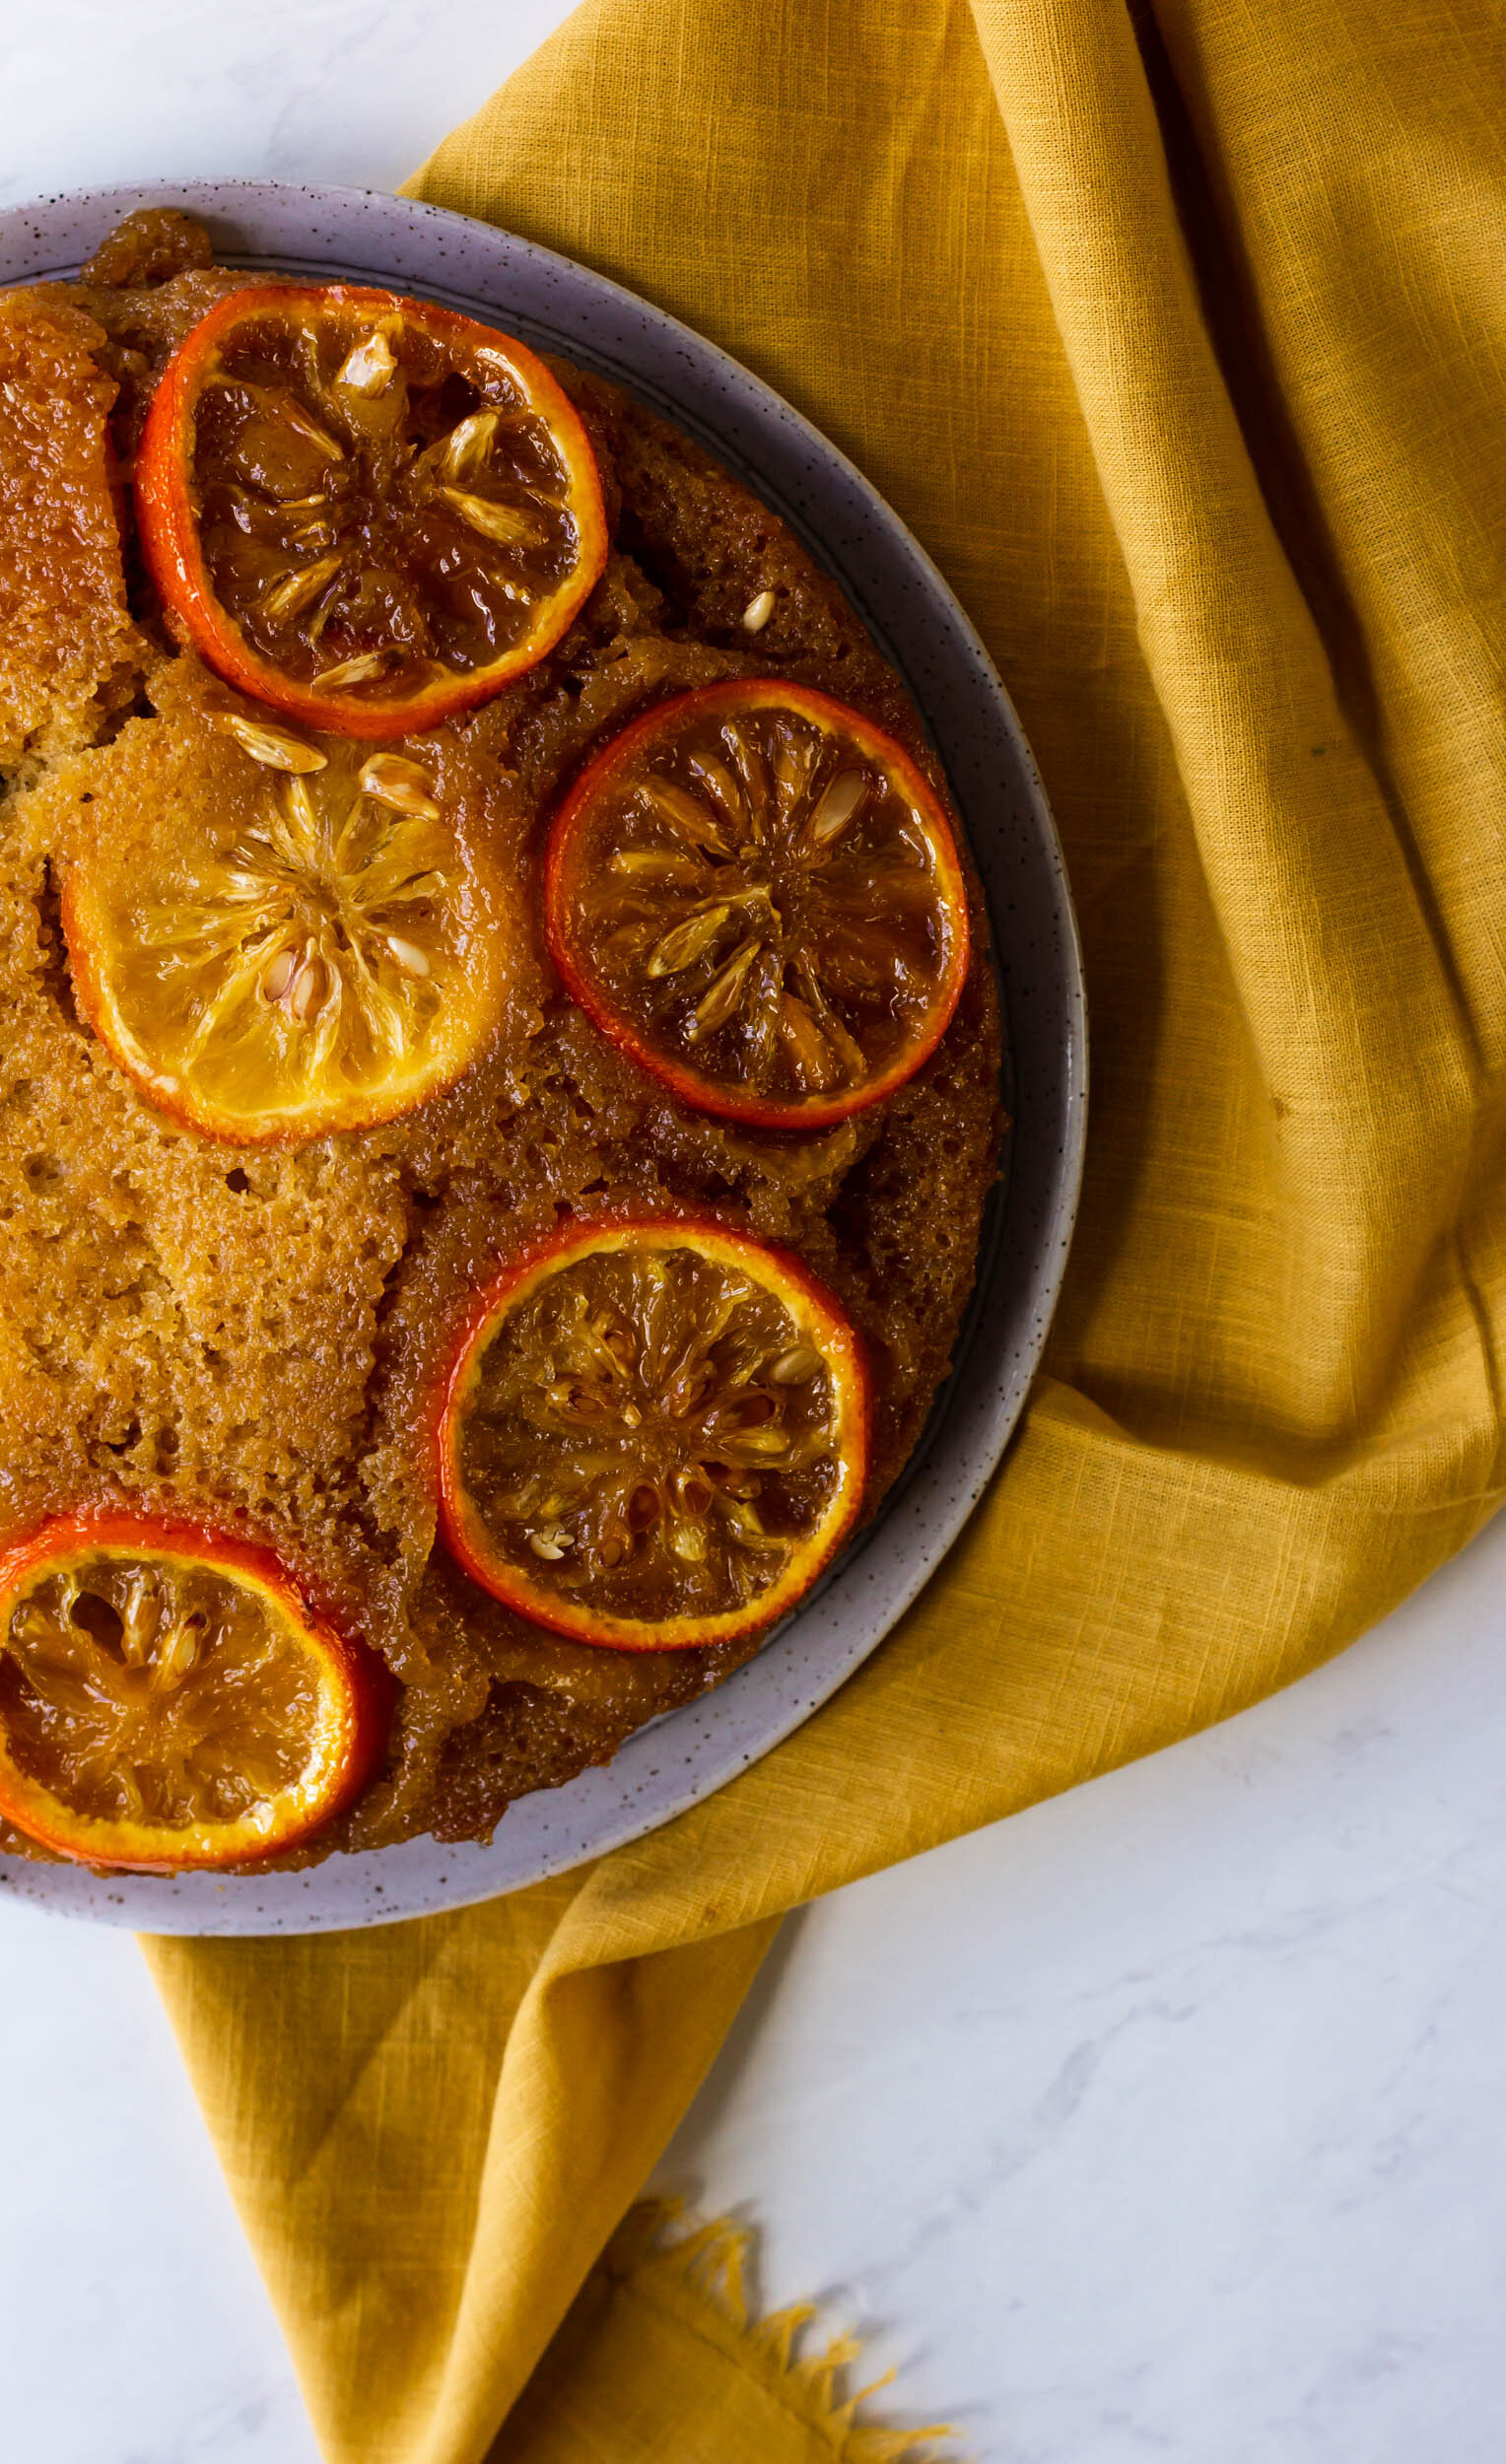
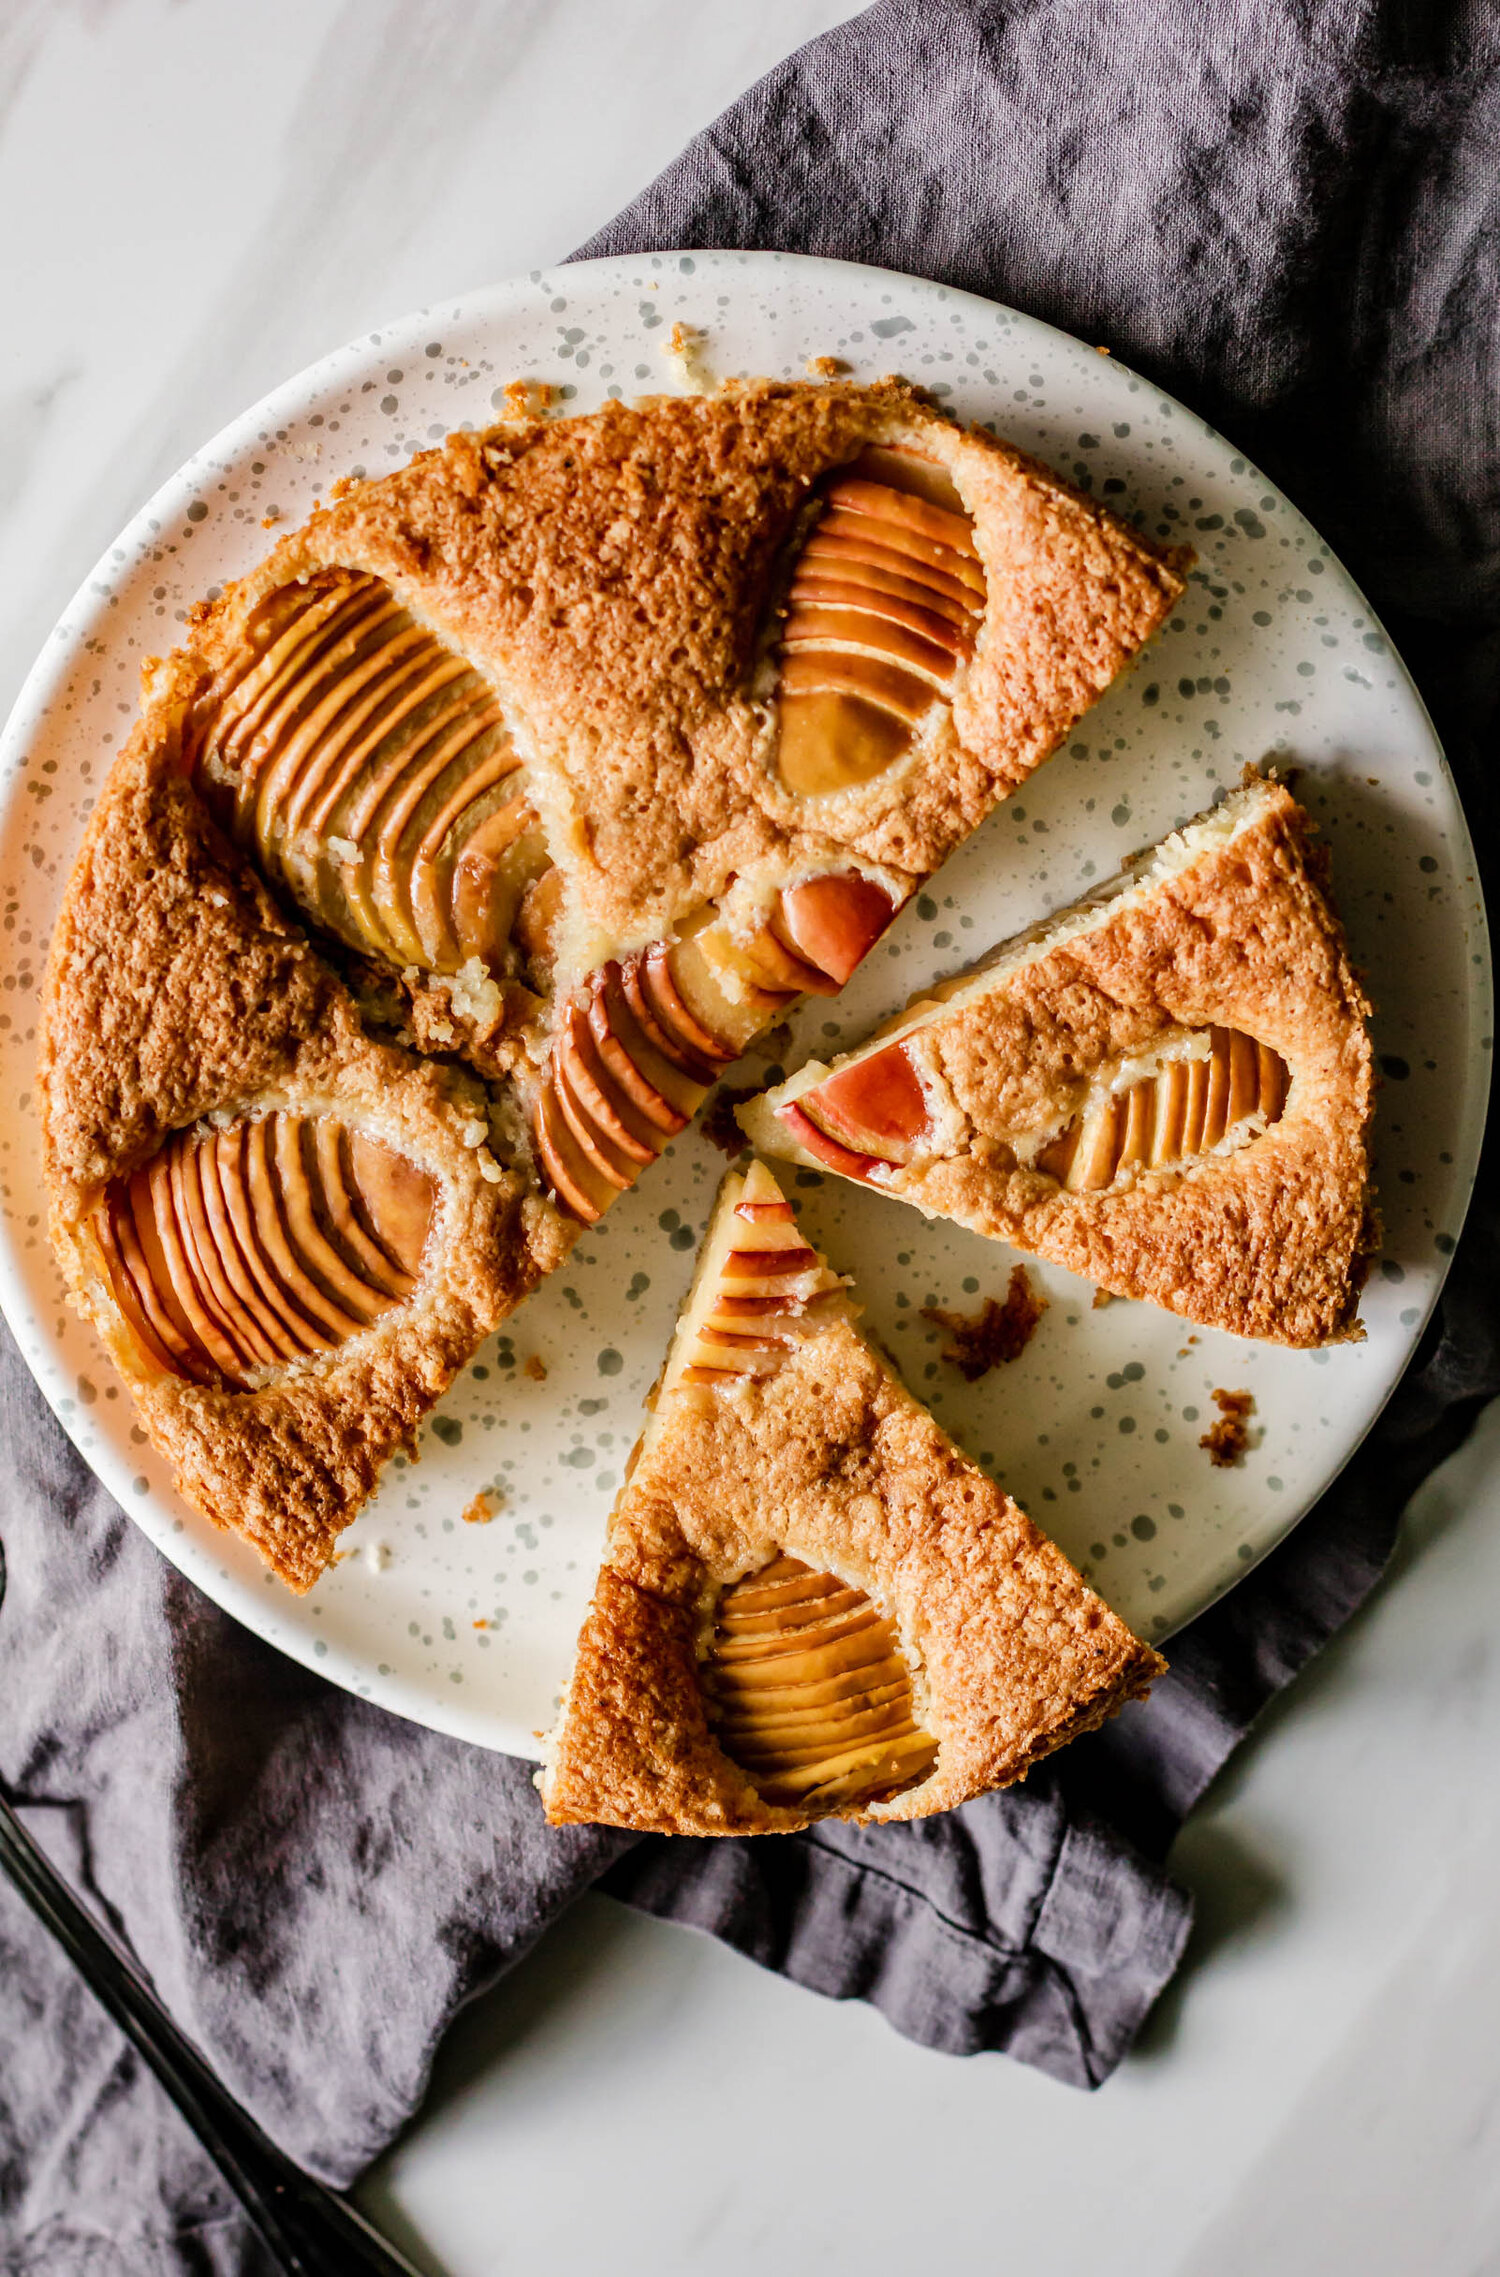
I’ve been planning a version of this Sour Orange and Tequila Upside Down Cake in my head for months. If you know me, you know I LOVE a good upside down cake. I even wrote a whole little e-book discussing how wonderful upside down cakes are at showcasing your fun produce finds—if you don't have a copy, what are you waiting for?! I also saw a picture of a Salted Pineapple and Mezcal Cake on What’s Cooking Good Looking’s site a few months ago and ever since then, I’ve been waiting for my perfect boozy produce cake to arrive. Then I got sour oranges. They are tart and slightly bitter, similar to lemons, but with all of the floral brightness of oranges and they were perfect!

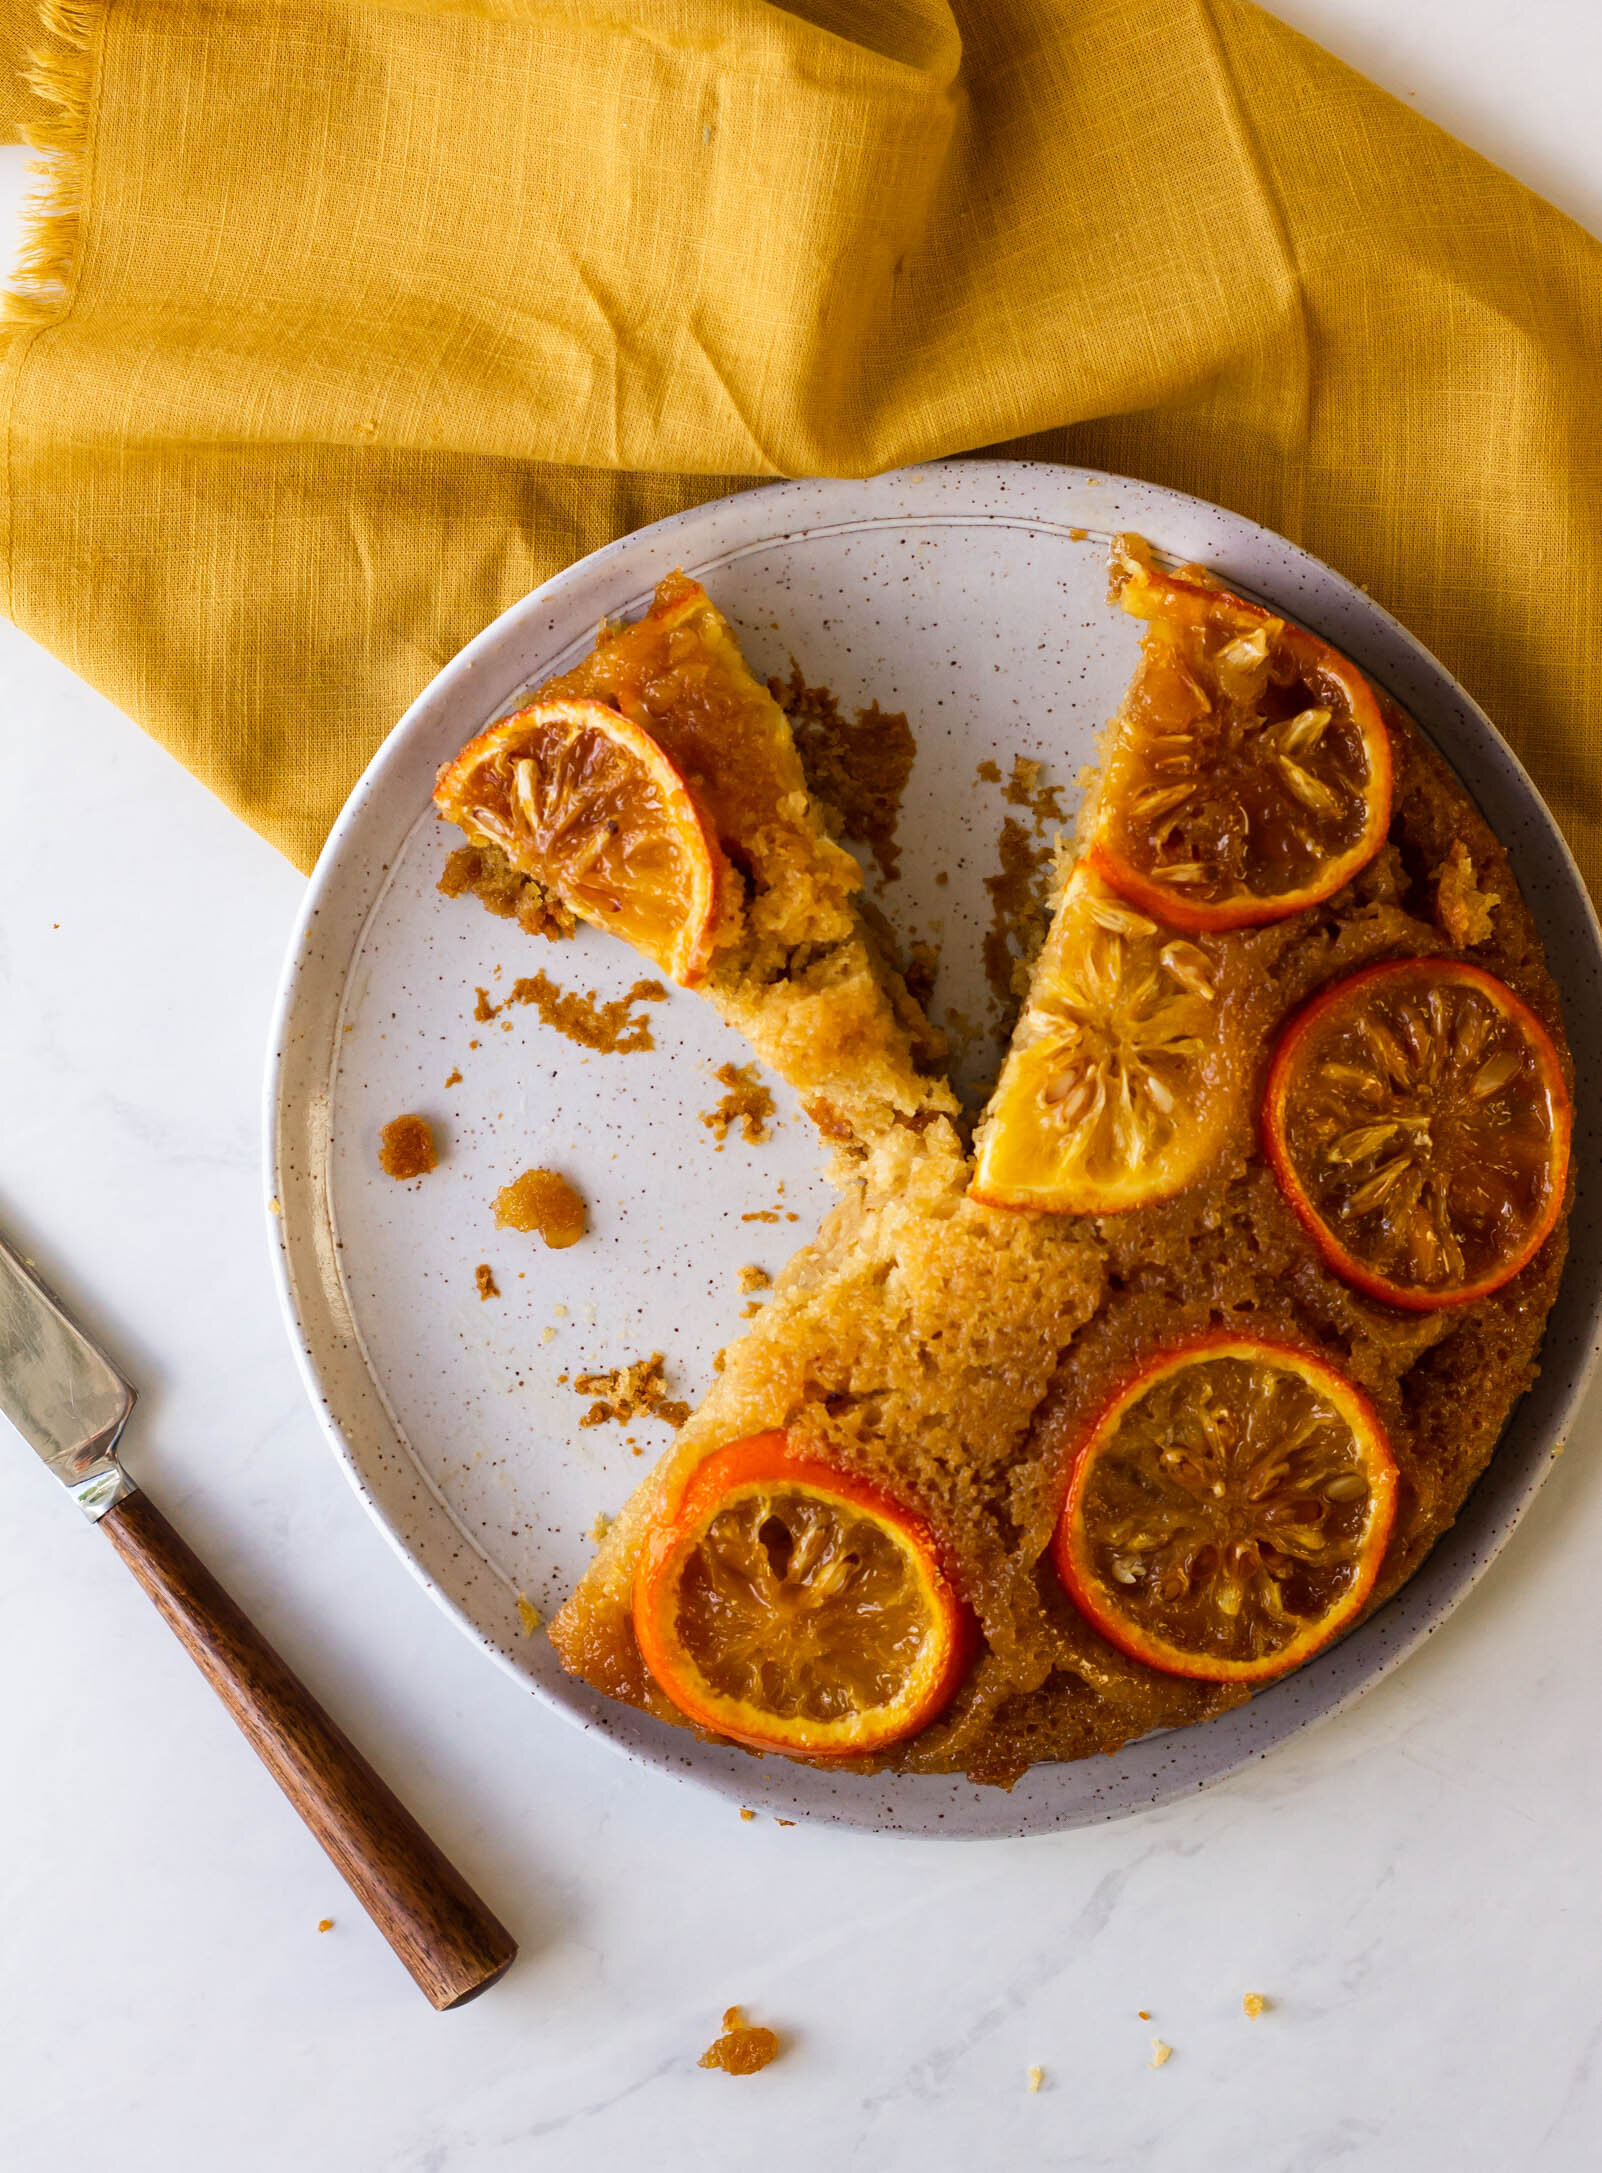
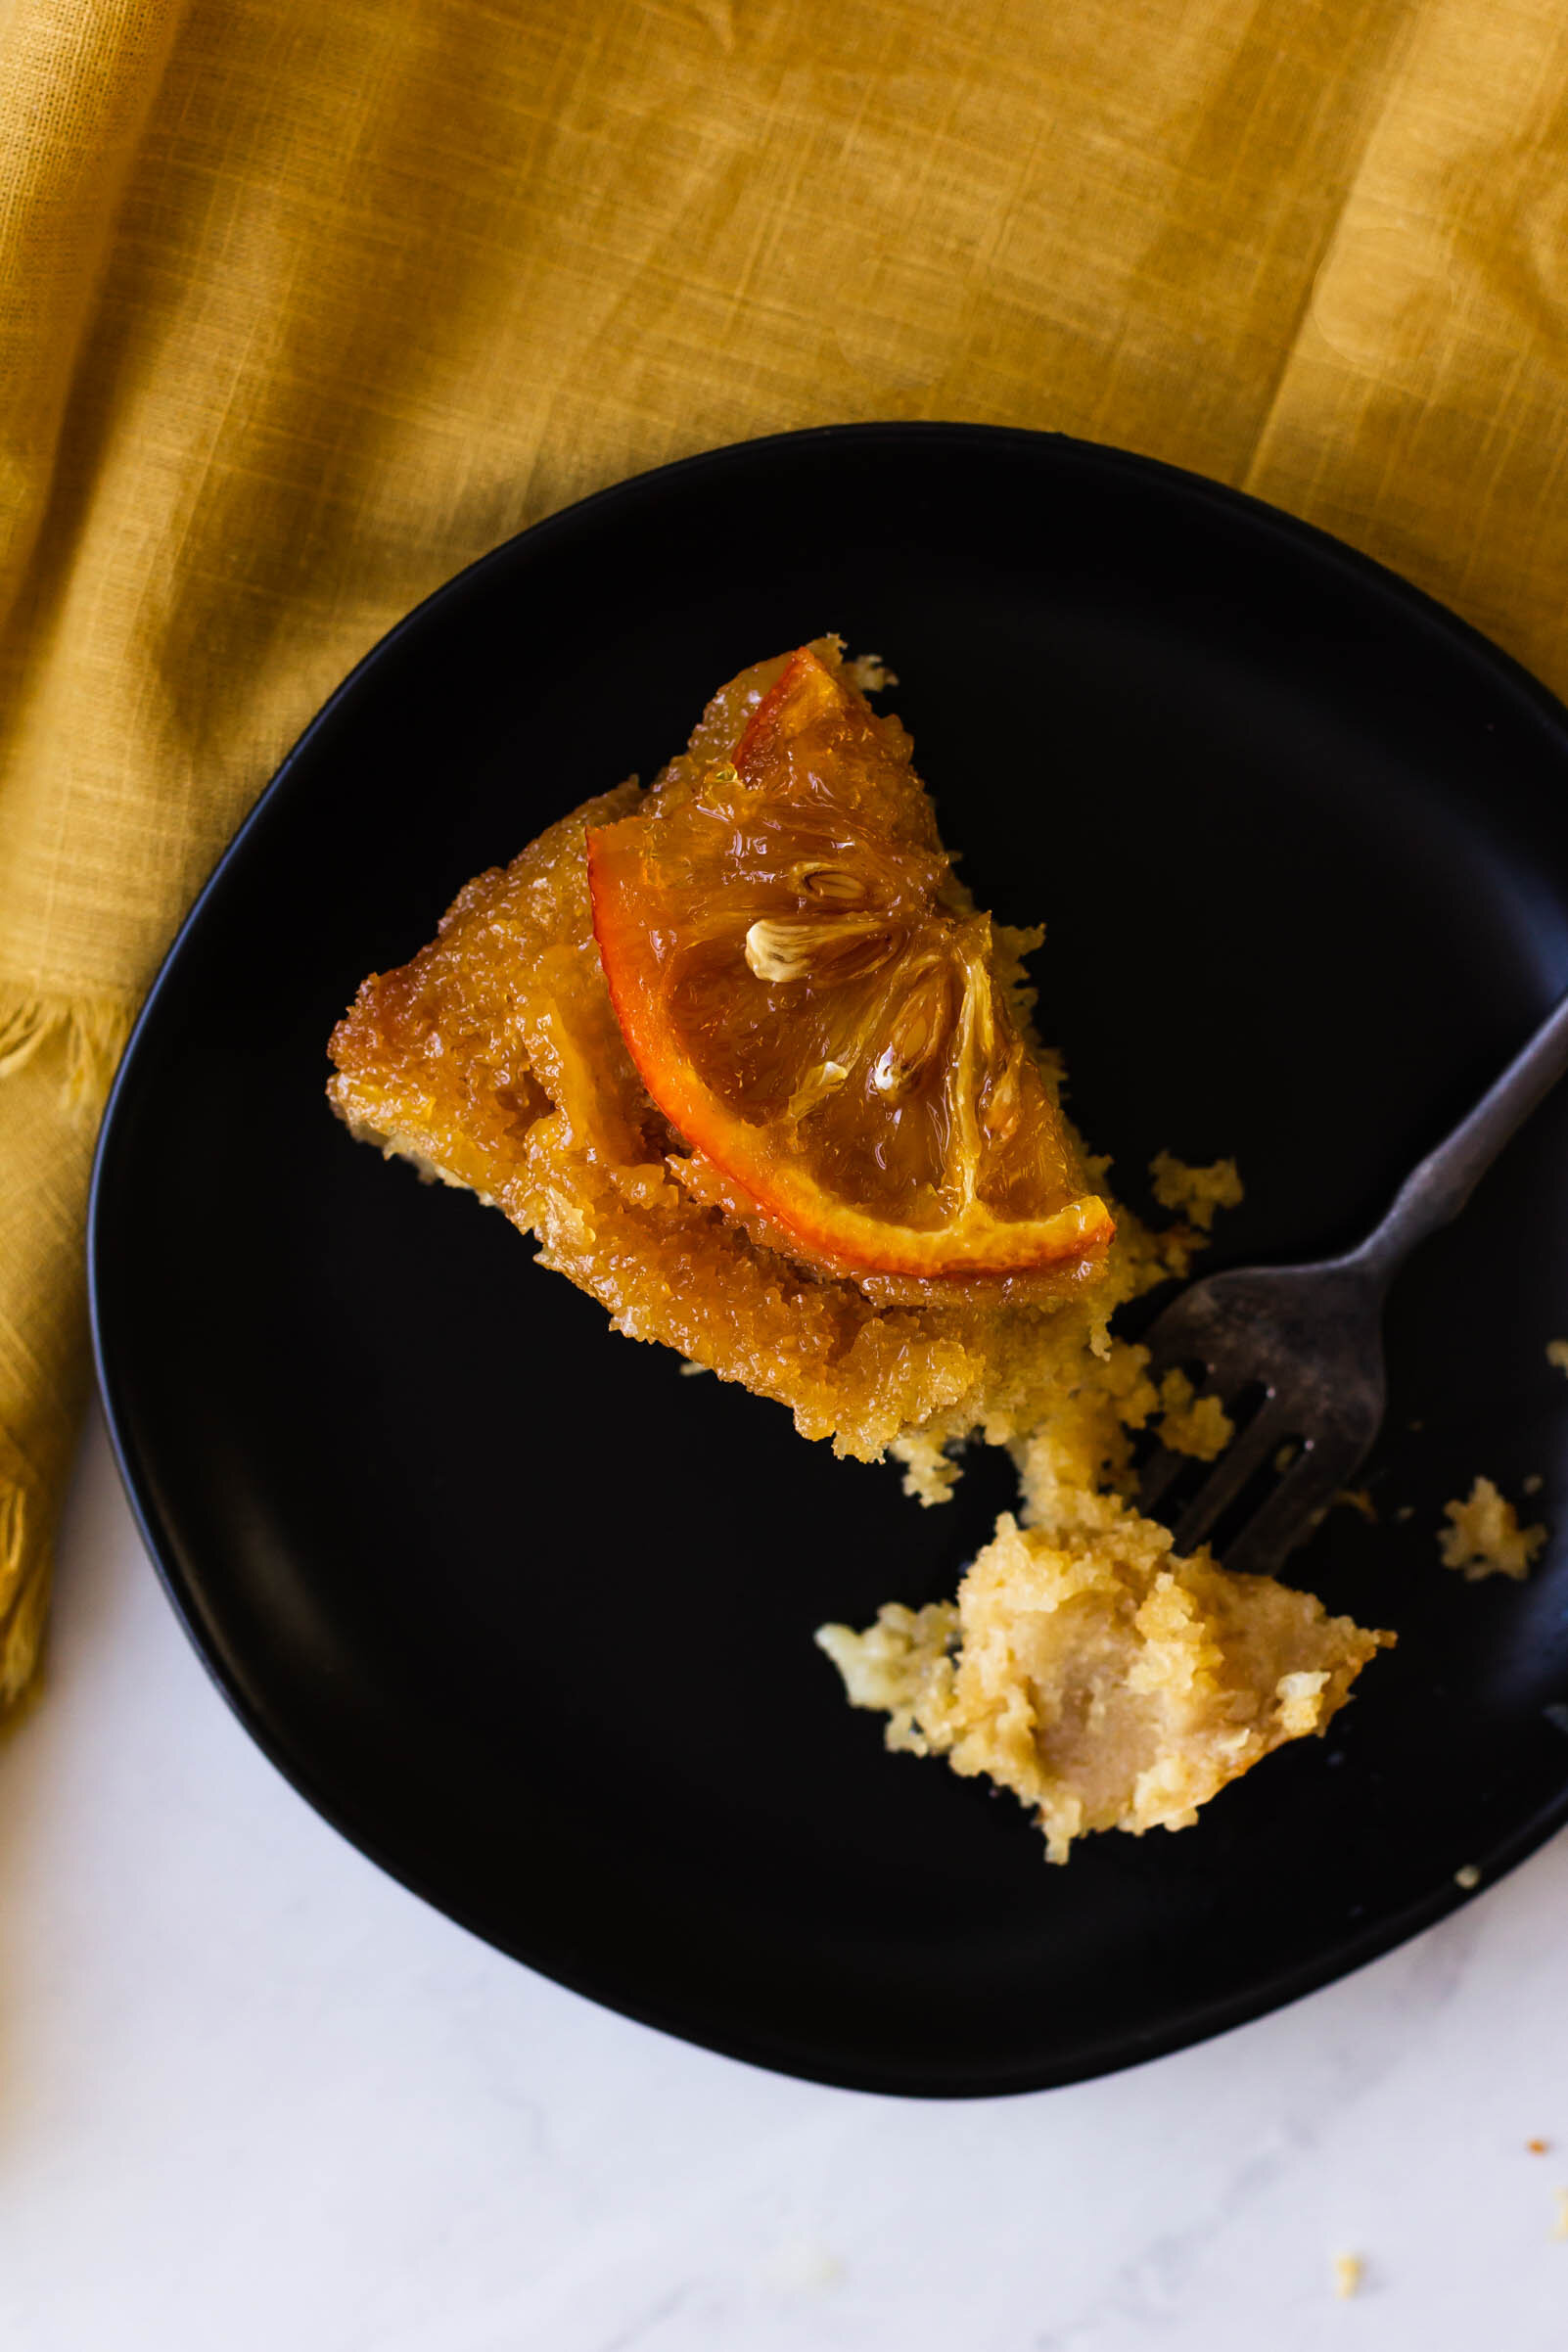
The cake itself is a rendition of a base cake I use in a bunch of different recipes. It’s easy to throw together, doesn’t use a mixer, and can be adapted in all sorts of ways. The sour oranges are marinated in tequila and then cutely arranged into a layer of brown sugar caramel, topped with cake batter and then baked.

When testing this recipe, I was a little frustrated. Everything tasted perfect, but my oranges decided to do a little slip-n-slide action and it did not come out as pretty as I had hoped. I toyed with the idea of re-doing it for photogenic purposes but decided against it for two reasons: 1) I was all out of sour oranges and it’s not easy to get your hands on more. I could have done the cake just as easily with blood oranges or sumo or any other citrus, but I really loved the sour orange flavor and I wasn’t quite ready to give that up. 2) Part of me running this blog is to teach you how to make really delicious desserts at your house and a piece of that is making desserts accessible. If everything that I produce is a work of art and looks flawless, that’s really not realistic to the home kitchen. Home kitchens are where we make really tasty food that isn’t always beautiful and that is a-okay! So I promise you that I am a real person whose oranges don’t do exactly what I want every time. I also promise you that this is a great cake recipe that will produce a great cake in your kitchen, but if your baked goods don’t always look like little airbrushed magazine photos, that’s okay! Keep on baking!

Yield: makes one 9" round cake
Author: Anna Ramiz
Sour Orange and Tequila Upside Down Cake

Sour Orange and Tequila Upside Down Cake

Prep time: 40 MinCook time: 40 MinInactive time: 12 HourTotal time: 13 H & 19 M
A citrusy, boozy upside down cake filled with cinnamon, tequila, and brown sugar caramel. recipe inspired by jodi moreno (what's cooking good looking)

Ingredients

for the topping
  • 2 sour oranges*, thinly sliced
  • 1/3 cup tequila
  • 2 cinnamon sticks
  • 1/2 cup (113 g) unsalted butter
  • 1/2 cup (110 g) brown sugar
  • 1 tsp kosher salt
for the cake batter
  • 1/2 cup (113 g) unsalted butter
  • 1 1/2 tsp vanilla extract
  • 2 cups (240 g) all purpose flour
  • 1/2 cup (100 g) granulated sugar
  • 1/2 cup (110 g) brown sugar
  • 1/2 tsp ground cinnamon
  • 1/2 tsp baking powder
  • 1/2 tsp baking soda
  • 3/4 tsp kosher salt
  • 1 cup (227 g) buttermilk, at room temperature
  • 2 large eggs

Instructions

  1. The night before making the cake, combine sour orange slices, cinnamon sticks, and tequila in a bowl. Cover tightly and let marinate overnight in the refrigerator.
  2. Preheat the oven to 350° F. Grease a 9” springform cake pan and line the bottom with parchment paper. Set aside.
  3. In a large skillet set over medium high heat, melt 1/2 cup of butter. When the butter is melted, add the brown sugar and cook, whisking occasionally, until the brown sugar is dissolved and the mixture is bubbly and homogenized. Whisk in the salt and then pour the caramel mixture into your prepared cake pan.
  4. Remove the orange slices from the marinade and place in an even layer on top of the caramel in the prepared cake pan. Discard cinnamon sticks and save leftover tequila marinade for the cake batter.
  5. In a small saucepan, place the remaining 1/2 cup of unsalted butter and cook over medium-high heat, swirling occasionally, for 5-7 minutes, until the butter is foamy and fragrant, and has little browned specks. Set aside to cool.
  6. In a large mixing bowl, whisk together flour, sugar, brown sugar, cinnamon, baking powder, baking soda, and salt.
  7. In a large measuring cup, whisk together buttermilk, eggs, vanilla, and reserved tequila marinade until smooth and well-combined.
  8. Pour the wet ingredients into the bowl with the dry ingredients and whisk until the batter is well combined and no dry streaks remain. Whisk in the browned butter. Pour the batter over top of the orange slices.
  9. Place your cake pan on a parchment-lined sheet tray to catch any overflowing caramel, and bake for 35-40 minutes, until a knife or toothpick inserted in the center of the cake comes out clean.
  10. Let the cake cool in the pan for 15-20 minutes, until warm enough to handle, and then carefully invert the cake onto a plate. Serve warm.

Notes:

If you can't find sour oranges, don't fret! You can substitute another type of orange, like blood orange, or navel orange or cara cara in this cake. You could even play around with some other citrus (I bet limes would be fun) or even pineapple slices. Orange peels are edible, just make sure that you slice them thinly enough that they are able to soften completely during the baking time.

Did you make this recipe?
Tag @gatheredatmytable on instagram and hashtag it #gatheredatmytable
Created using The Recipes Generator

Toasted Sugar and Dalgona Coffee Pots de Creme

toasted sugar and dalgona coffee pot de creme

toasted sugar and dalgona coffee pot de creme

This recipe is part of a paid partnership with Highground Organic Instant Coffee. As always, all thoughts and opinions are all my own. Thank you for supporting the brands that make Gathered At My Table possible!

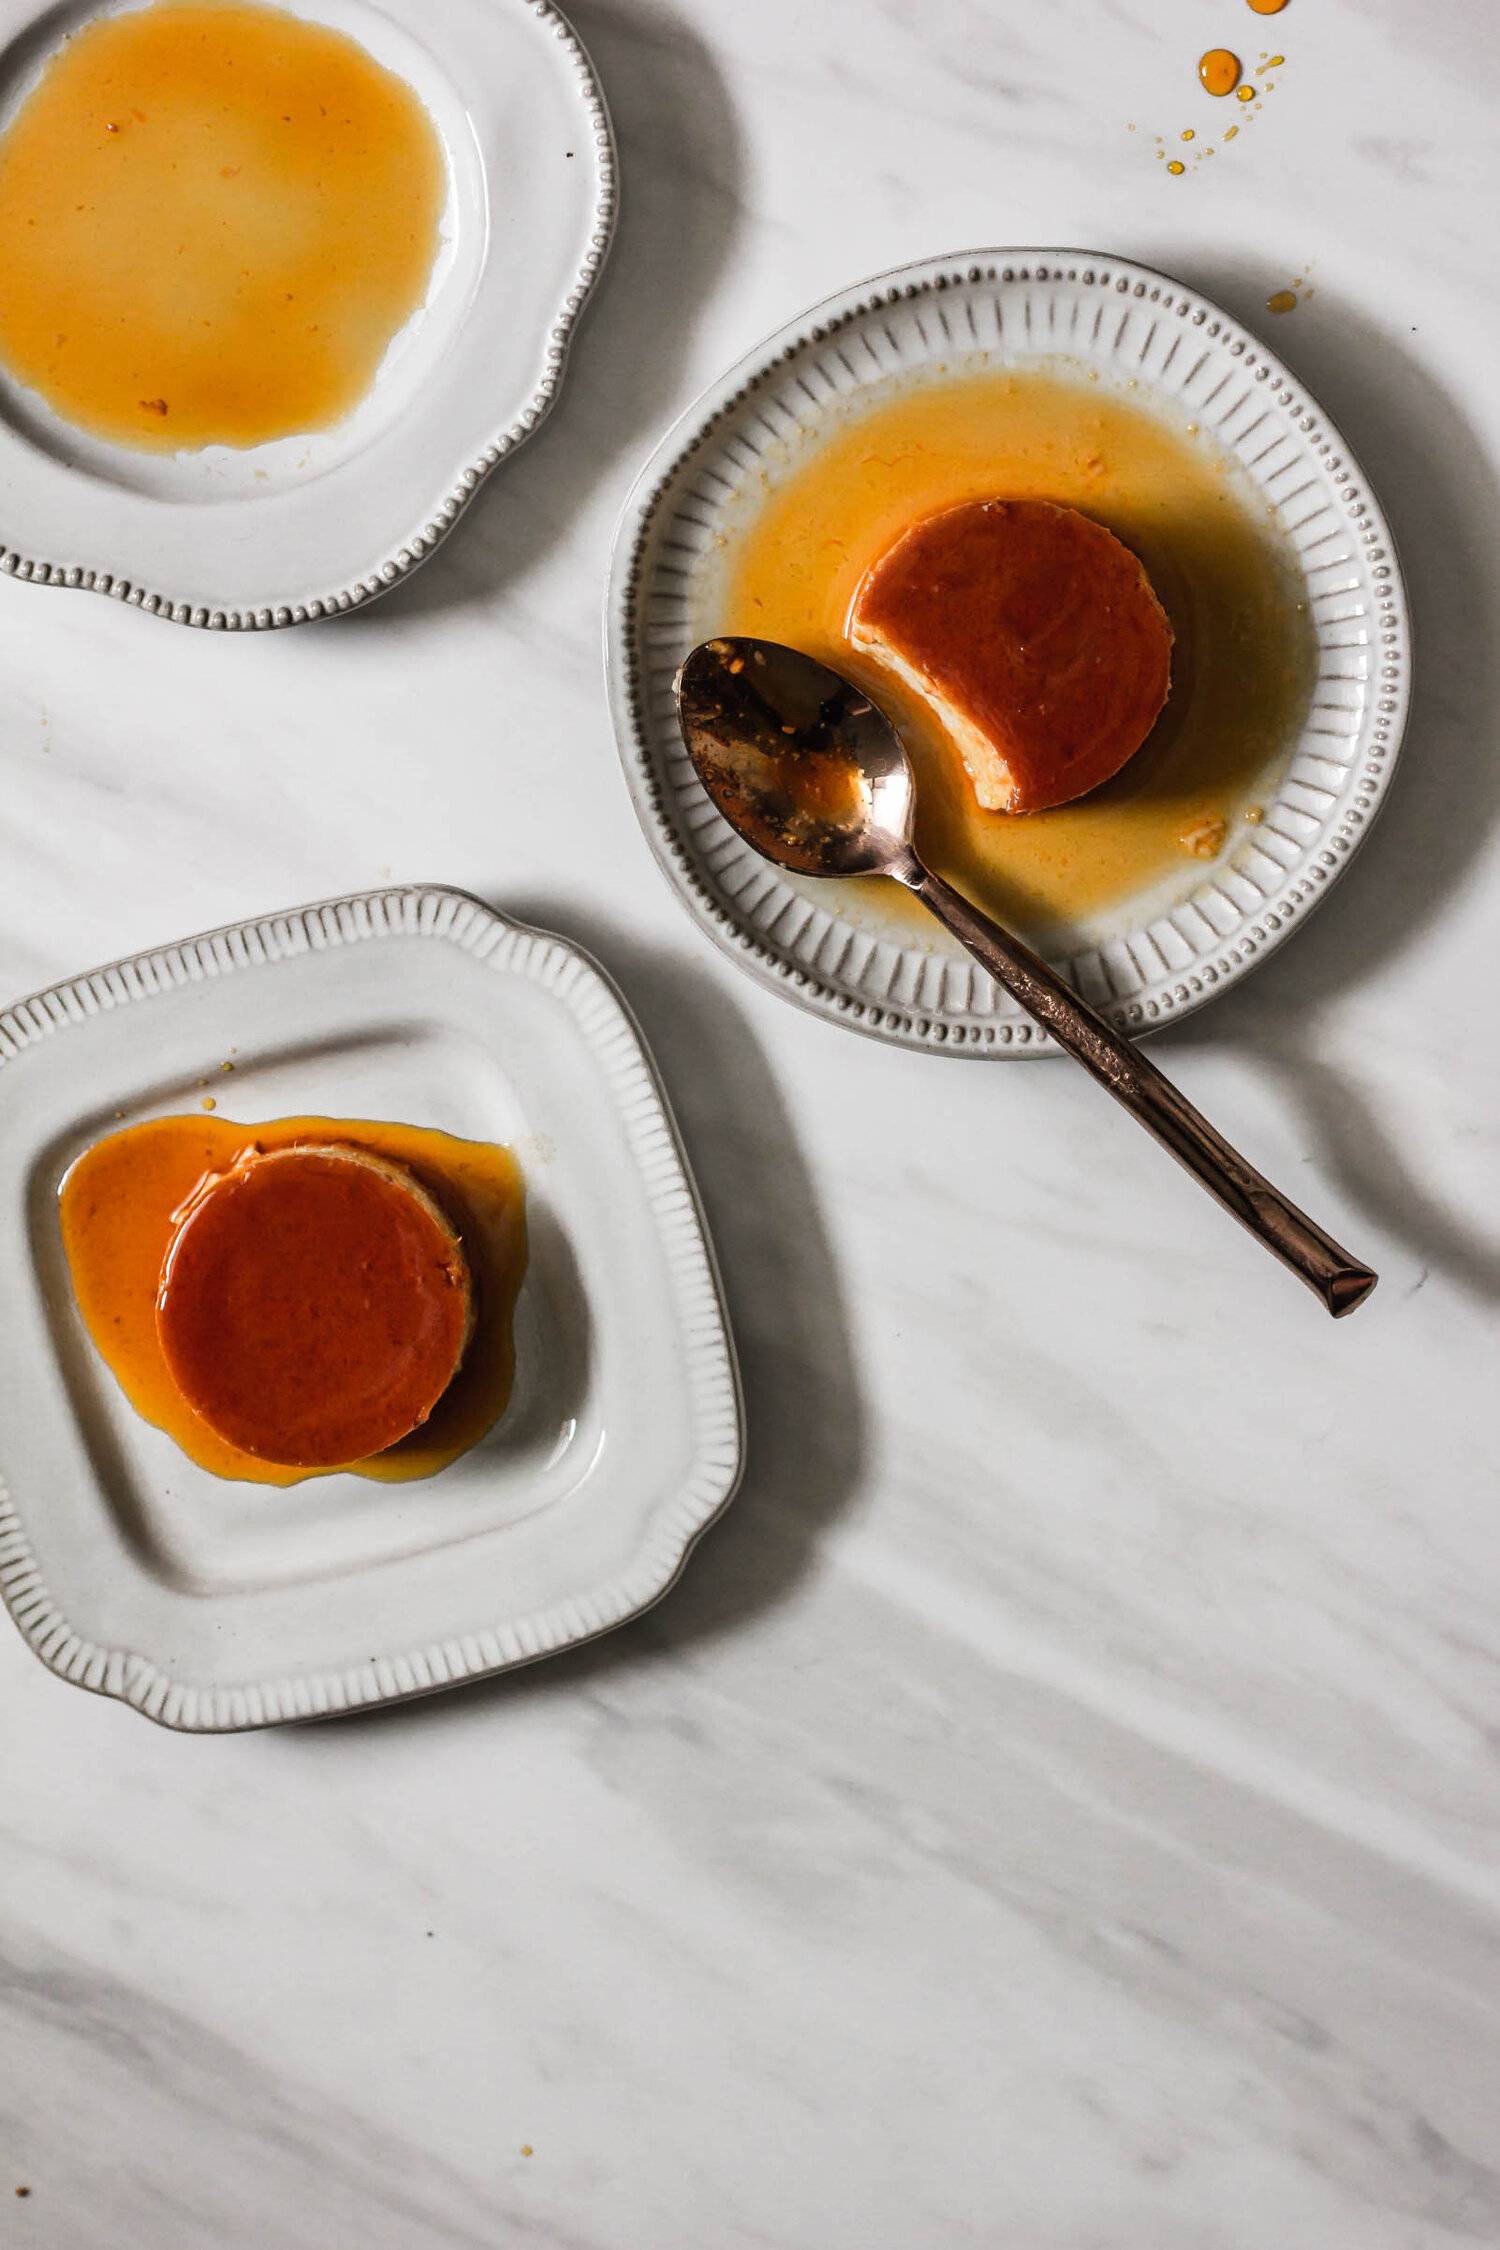
The first time that I tasted a pot de creme was the first time that I realized that I could become a pastry chef. Back in college, while I spent my days in a classroom studying to be a teacher, my cousin Joey was attending culinary school across town. (Side note: He is now a very fancy executive chef at a very fancy restaurant and resort and his food is actual artwork. It’s amazing.) Anyway, Joey would stage in the afternoons and evenings at a upscale restaurant in town which meant that we would often pop in said restaurant for deeply discounted (read: free) fancy food experiences. We would sit at a little table near the open kitchen and eat whatever the kitchen sent out to us. At the end of our first dining experience, the pastry chef sent out a sampler of all of the desserts on the menu featuring a chocolate pot de creme served with toasted brioche sticks for dipping. I about lost my mind. The custard was rich and creamy. The brioche was so perfectly toasted, the outsides were crispy and the inside was as soft as a pillow. It was the first dessert that my 19-year-old self saw artistry in, something more precise and creative than the cookies and brownies I’d been living on my whole life. It took me another seven years to actually make the career change into pastry, but it all began with that little pot de creme.

what is a pot de creme?

Pot de creme (literally translated to pot of cream) falls into the baked custards family of pastry. It shares similarities with many of it’s custard cousins— it’s baked in a water bath, uses eggs as the primary setting agent, can be flavored in many different ways. Pots de creme are often lumped in with puddings, which is not technically accurate. While the consistency is very similar to a pudding, a pot de creme only uses eggs as it’s thickener/setting agent, while pudding traditionally employs some sort of starch, like flour or cornstarch, to aid in thickening.

While they do take a bit of time to make, pots de creme are fairly hands-off. A simple, egg based custard is made (very similar in process to a creme anglaise sauce) by heating milk and cream and then tempering in egg yolks and sugar. The hot cream is then poured into jars or ramekins and baked at a very low temperature in a water bath until set. The custards then cool to room temperature and are chilled for at least 6 hours and served cold (preferably with perfectly toasted brioche).

pot de creme featuring highground coffee

pot de creme featuring highground coffee

dalgona coffee

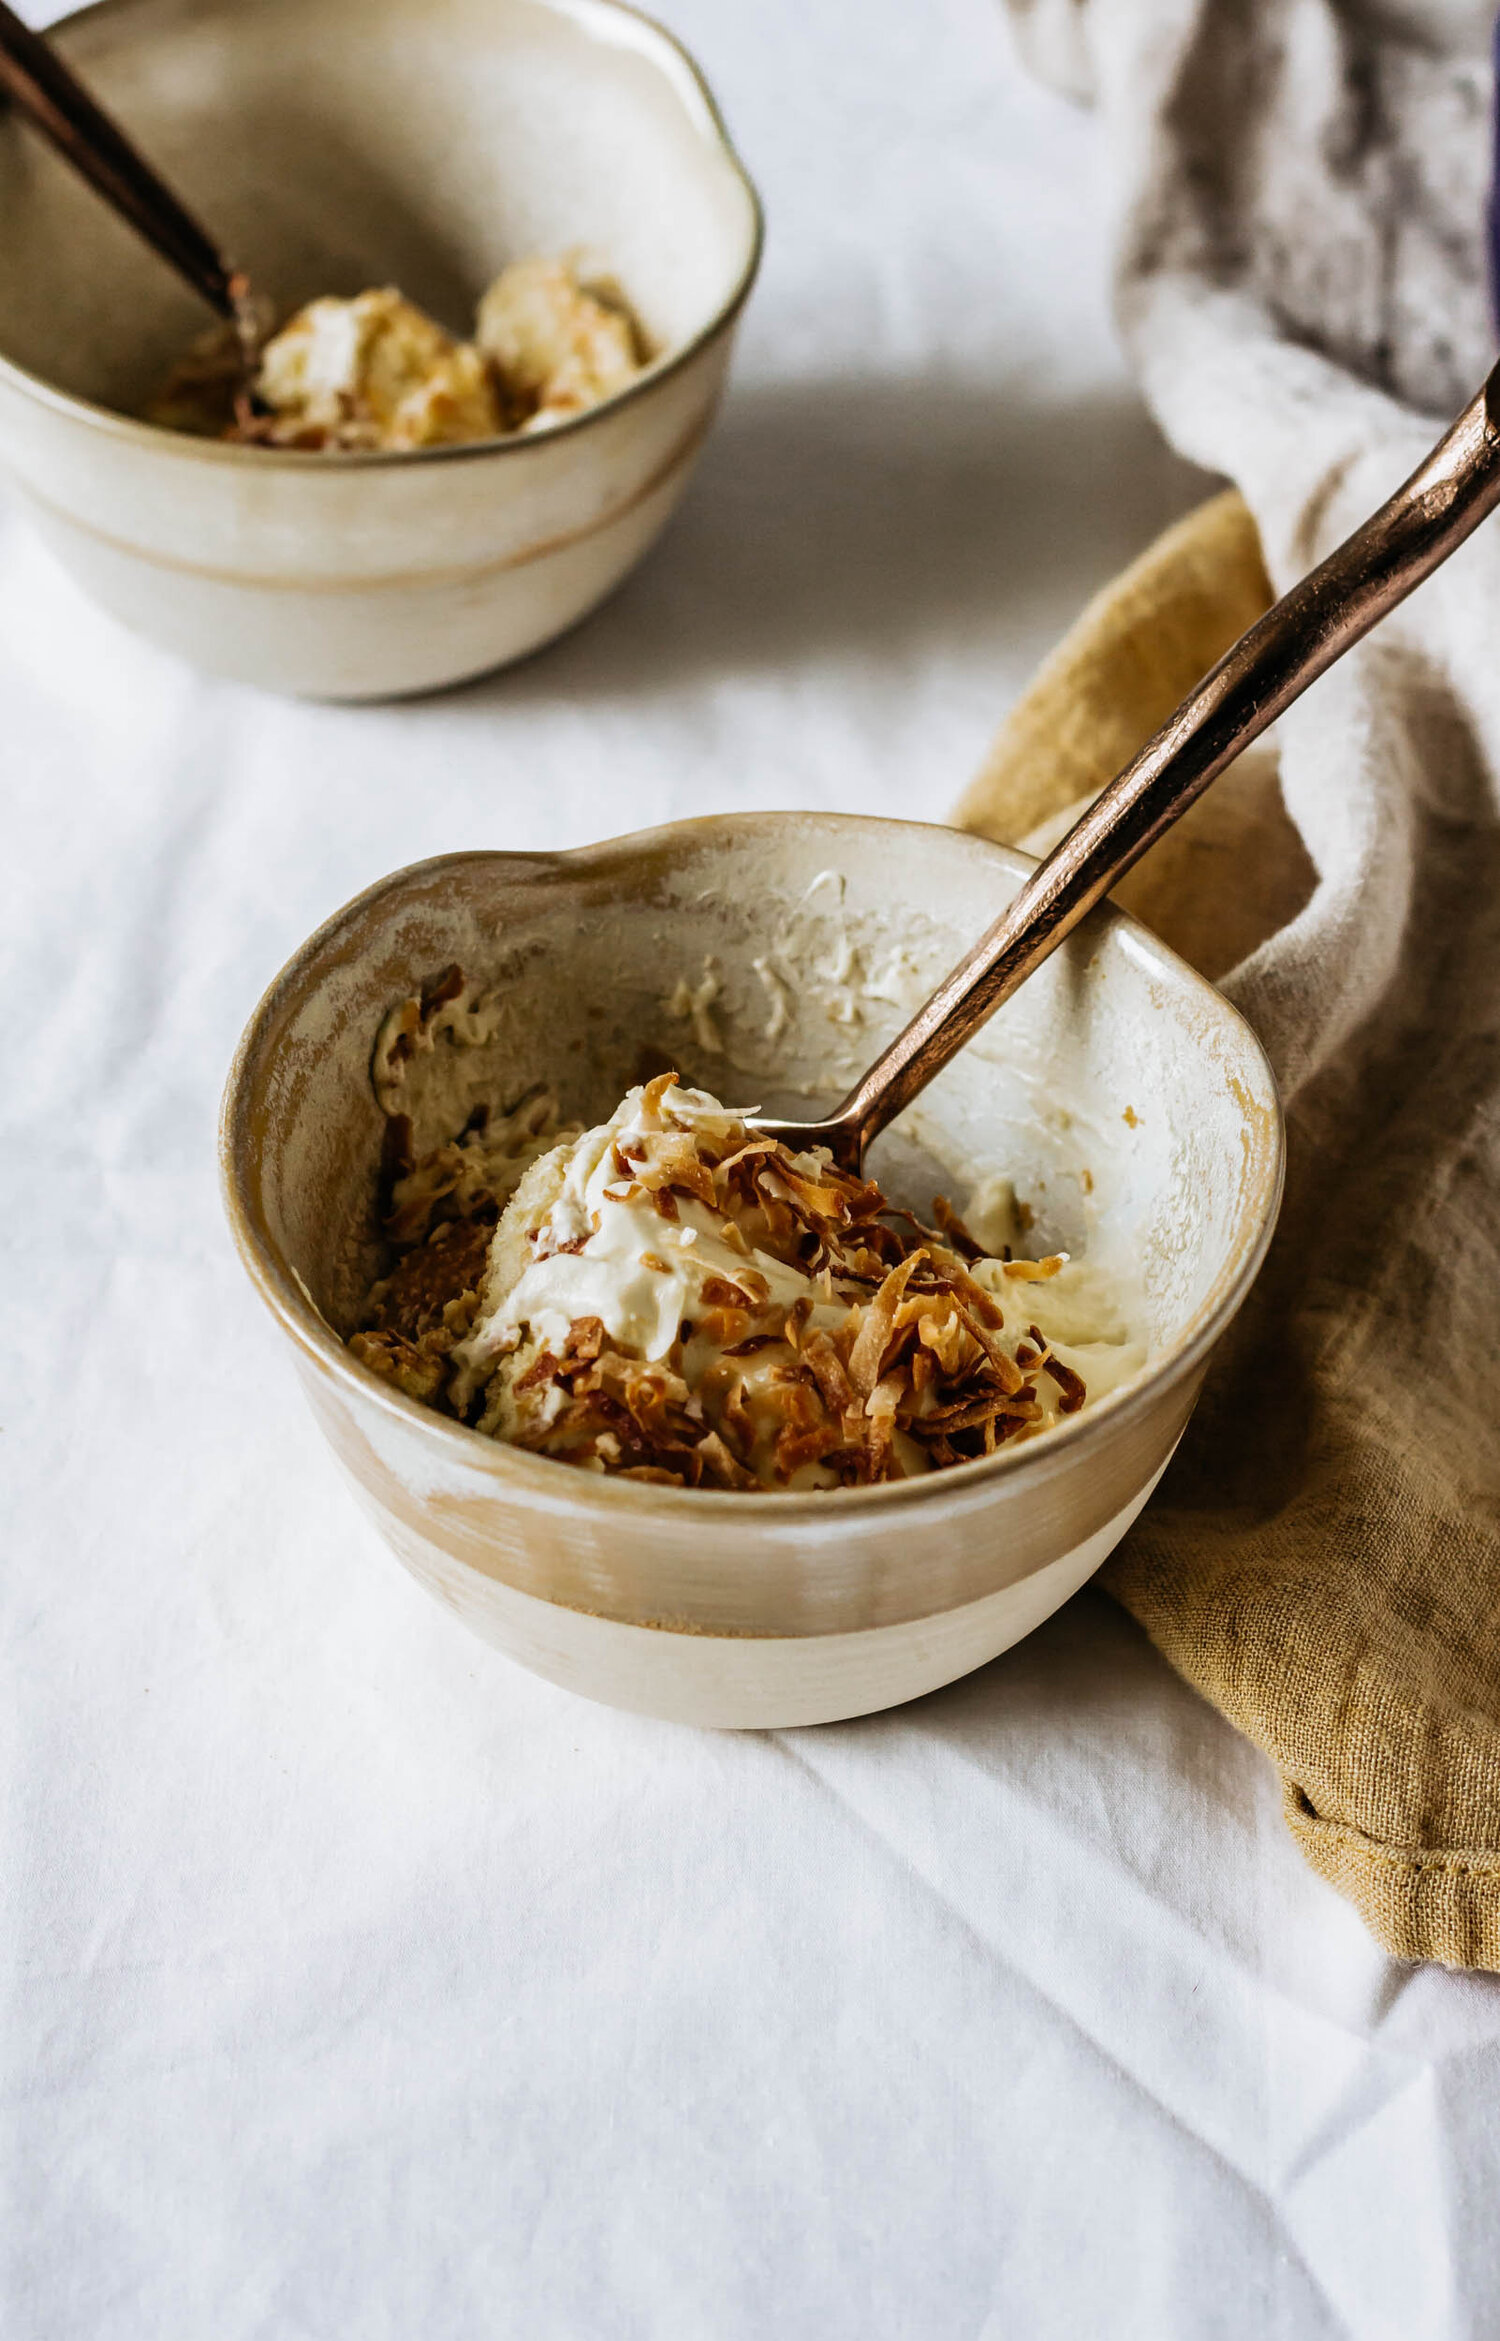
I know that I’m close to a year late on this whole Dalgona coffee trend, but I’m here! That’s all that matters. Dalgona coffee is a whipped coffee that got it’s start in South Korea and took over our Instagram feeds last spring. (Michele at Hummingbird High has a very in depth look at Dalgona coffee over on her blog.) It’s so simple to make and adds a really fun texture to the pot de creme. Highground Instant Coffee, hot water, and sugar are whipped using an electric mixer until it creates a fluffy, aerated coffee that holds it’s shape and texture when added to milk or scooped on top of pots de creme. It’s like having a latte and dessert at the same time.

a note on toasted sugar

The toasted sugar in this recipe is completely optional, but it is a fun little pastry chef trick for adding depth and flavor to otherwise fairly simple and straightforward desserts. The recipe below makes more toasted sugar than is needed for this recipe (it is very difficult to toast small amounts of sugar without making oven caramel, which is not something we want), but you can store the cooled sugar in a sealed container and bake with it just like you would regular granulated sugar. If you decide to skip the toasted sugar in this recipe, just use granulated sugar in its place.

toasted sugar and dalgona coffee pot de creme

toasted sugar and dalgona coffee pot de creme

Yield: makes six 6 oz puddings
Author: Anna Ramiz
Toasted Sugar and Dalgona Coffee Pot de Creme

Toasted Sugar and Dalgona Coffee Pot de Creme

Prep time: 30 MinCook time: 2 HourInactive time: 7 HourTotal time: 9 H & 30 M
A creamy vanilla bean and toasted sugar custard topped with whipped Dalgona coffee featuring Highground Organic Instant Coffee.

Ingredients

for the toasted sugar
  • 1 lb granulated sugar
for the pot de creme
  • 2 cups heavy cream
  • 1/2 cup whole milk
  • 1/2 cup toasted sugar
  • 1 vanilla bean
  • 5 egg yolks
for the dalgona coffee

Instructions

to make the toasted sugar
  1. Preheat the oven to 300° F. Place granulated sugar in a 9x13” baking dish and roast for 50-60 minutes, stirring every 10 minutes until sugar is a light tan color. Cool completely. Set aside the amount needed for the recipe, and store the rest in an airtight container and use in place of regular sugar.
to make the pot de creme
  1. Preheat oven to 300° F.
  2. Combine heavy cream and milk in a medium saucepan. Scrape out the inside of the vanilla bean and place the seeds and the empty pods into the pot with the cream and bring to a simmer. When the cream is hot, remove the pot from the heat and cover. Let steep for 1 hour and then strain out the vanilla bean pods.
  3. Return cream to the saucepan and add 1/4 cup of the toasted sugar. Bring to a simmer.
  4. Meanwhile, in a large bowl, whisk together the remaining 1/4 cup toasted sugar and the egg yolks.
  5. Whisking continually, gradually stream the hot cream into the bowl with the egg yolks.
  6. Strain the mixture through a fine mesh sieve and then divide it evenly between six glass jars or ramekins.
  7. Place the ramekins in a 9x13” baking dish and fill the dish with water, reaching to halfway up the sides of the ramekins. Bake the pot de cremes for 55-60 minutes, until the edges are set but the center still has a slight jiggle. Turn off the oven, open the door slightly and allow the pot de cremes to cool completely.
  8. Remove each ramekin and wrap with plastic wrap. Chill for at least 6 hours.
to make the dalgona coffee
  1. In a large bowl, combine toasted sugar, instant coffee, and boiling water. Whip using a handheld mixer for 3-5 minutes, until mixture is light and fluffy.
  2. Spoon dalgona coffee on the tops of the chilled pot de cremes and serve immediately.

Notes:

In this recipe, toasted sugar is completely optional. Toasted sugar is slightly caramelized so it adds a more complex flavor to the pot de creme and it's fun to have on hand to play around with. The recipe for this toasted sugar will yield more than you need for the recipe, so keep it on hand and substitute it in place of regular sugar in any baked good. If you choose not to make the toasted sugar, simply use granulated sugar in it's place.


This recipe is sponsored by Highground Instant Coffee, but the opinions shared here are all my own. Thanks for supporting the brands that make Gathered At My Table possible!


Did you make this recipe?
Tag @gatheredatmytable on instagram and hashtag it #gatheredatmytable
Created using The Recipes Generator

Bananas Foster Eton Mess

bananas foster eton mess

bananas foster eton mess

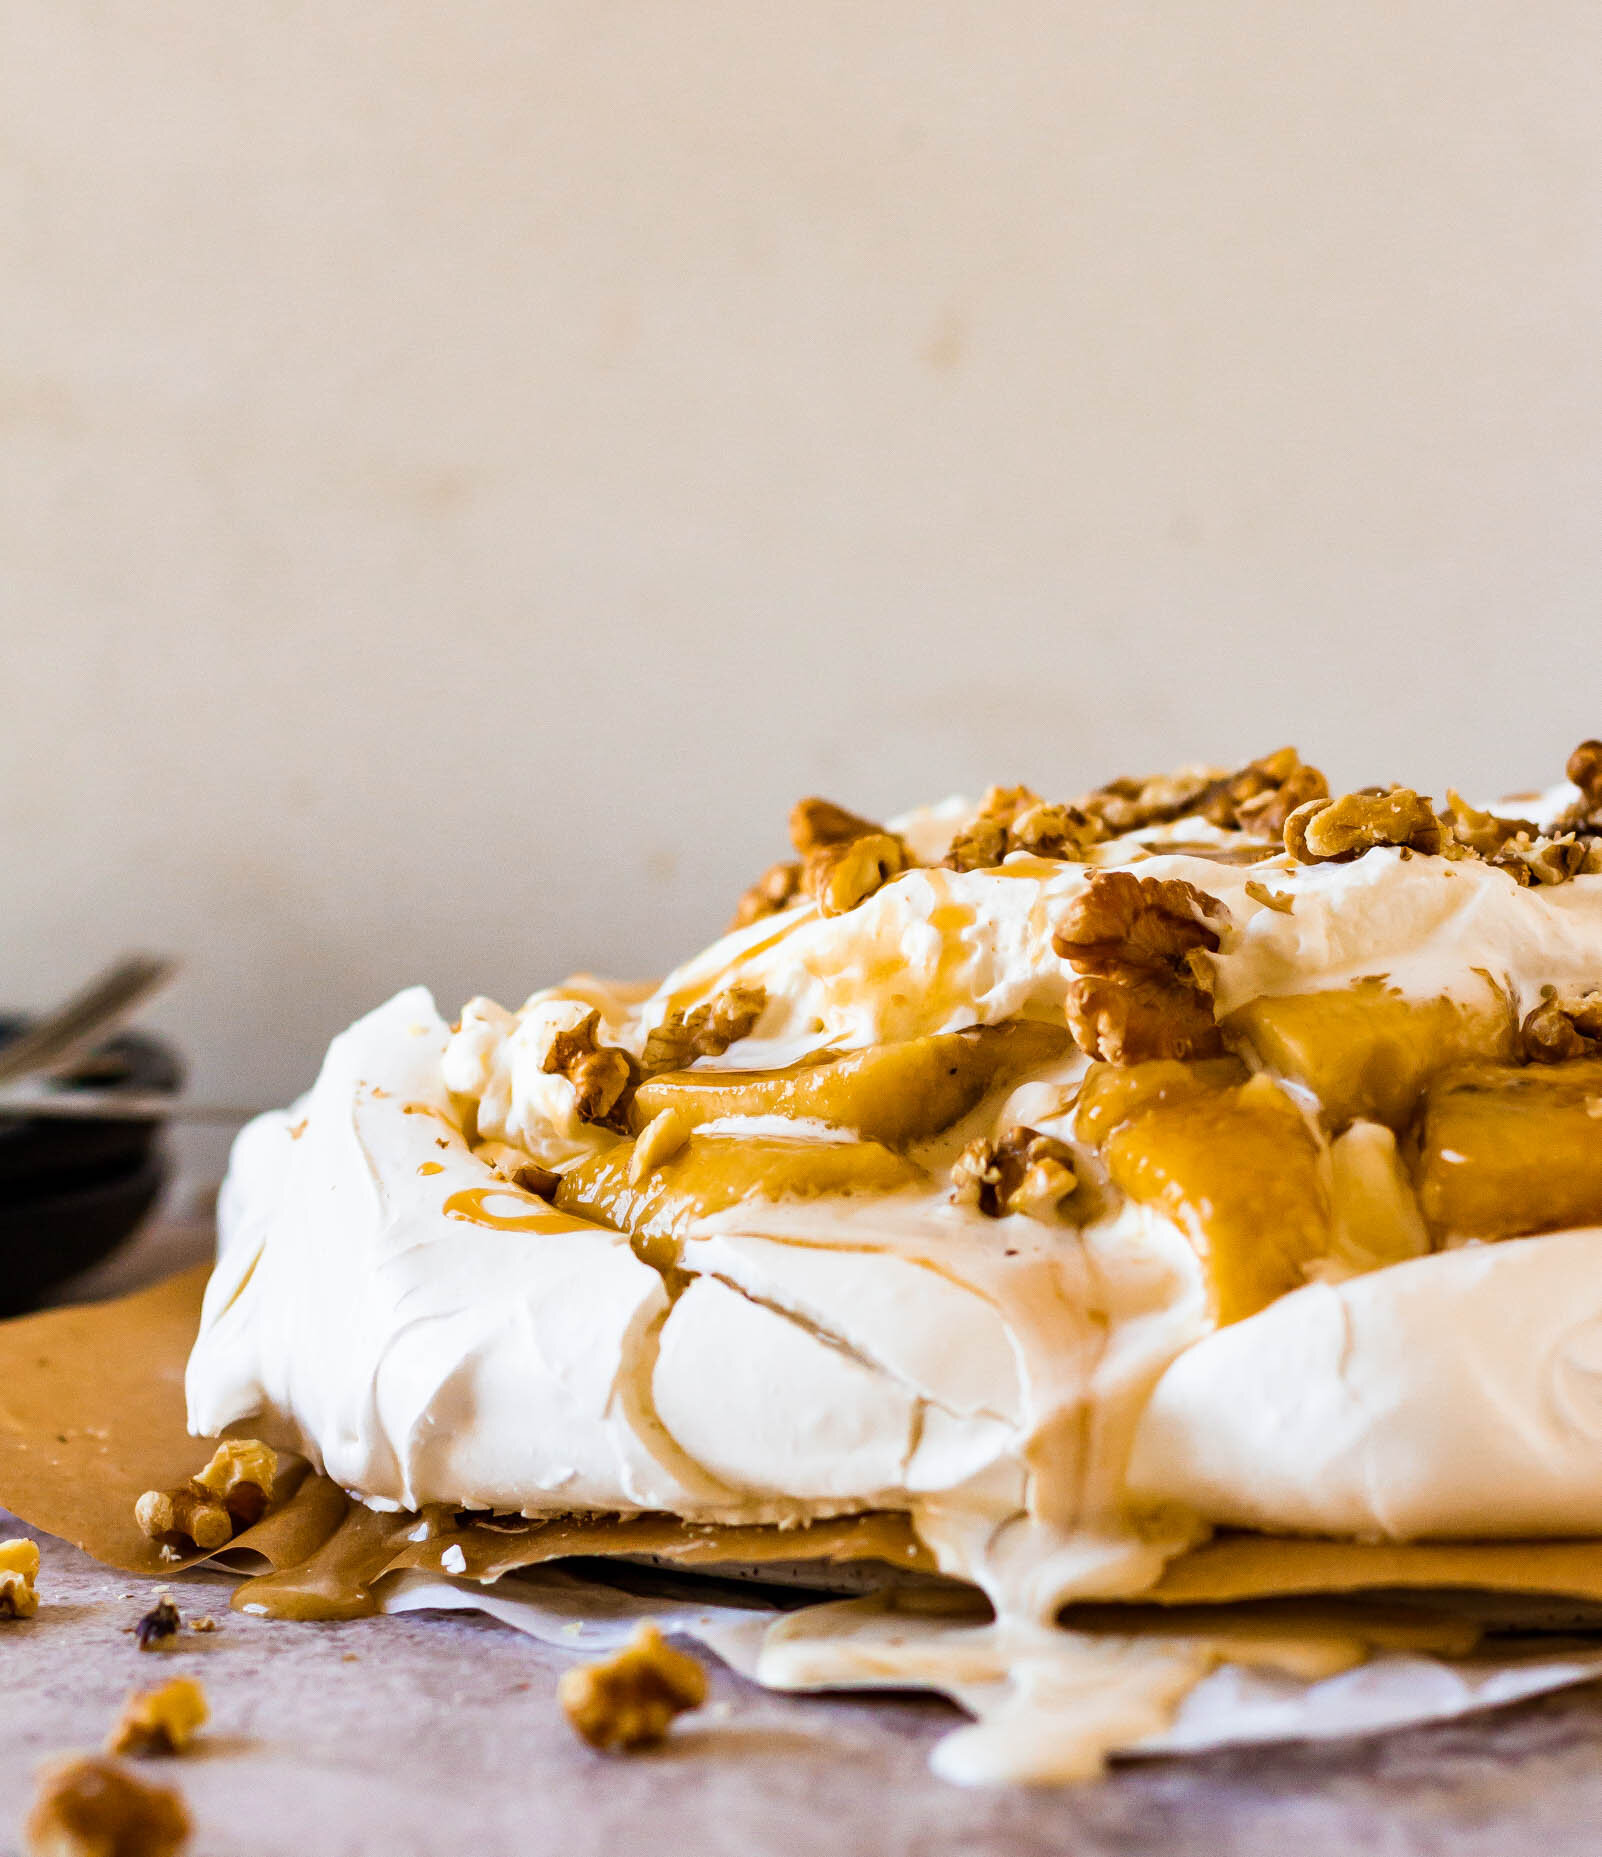
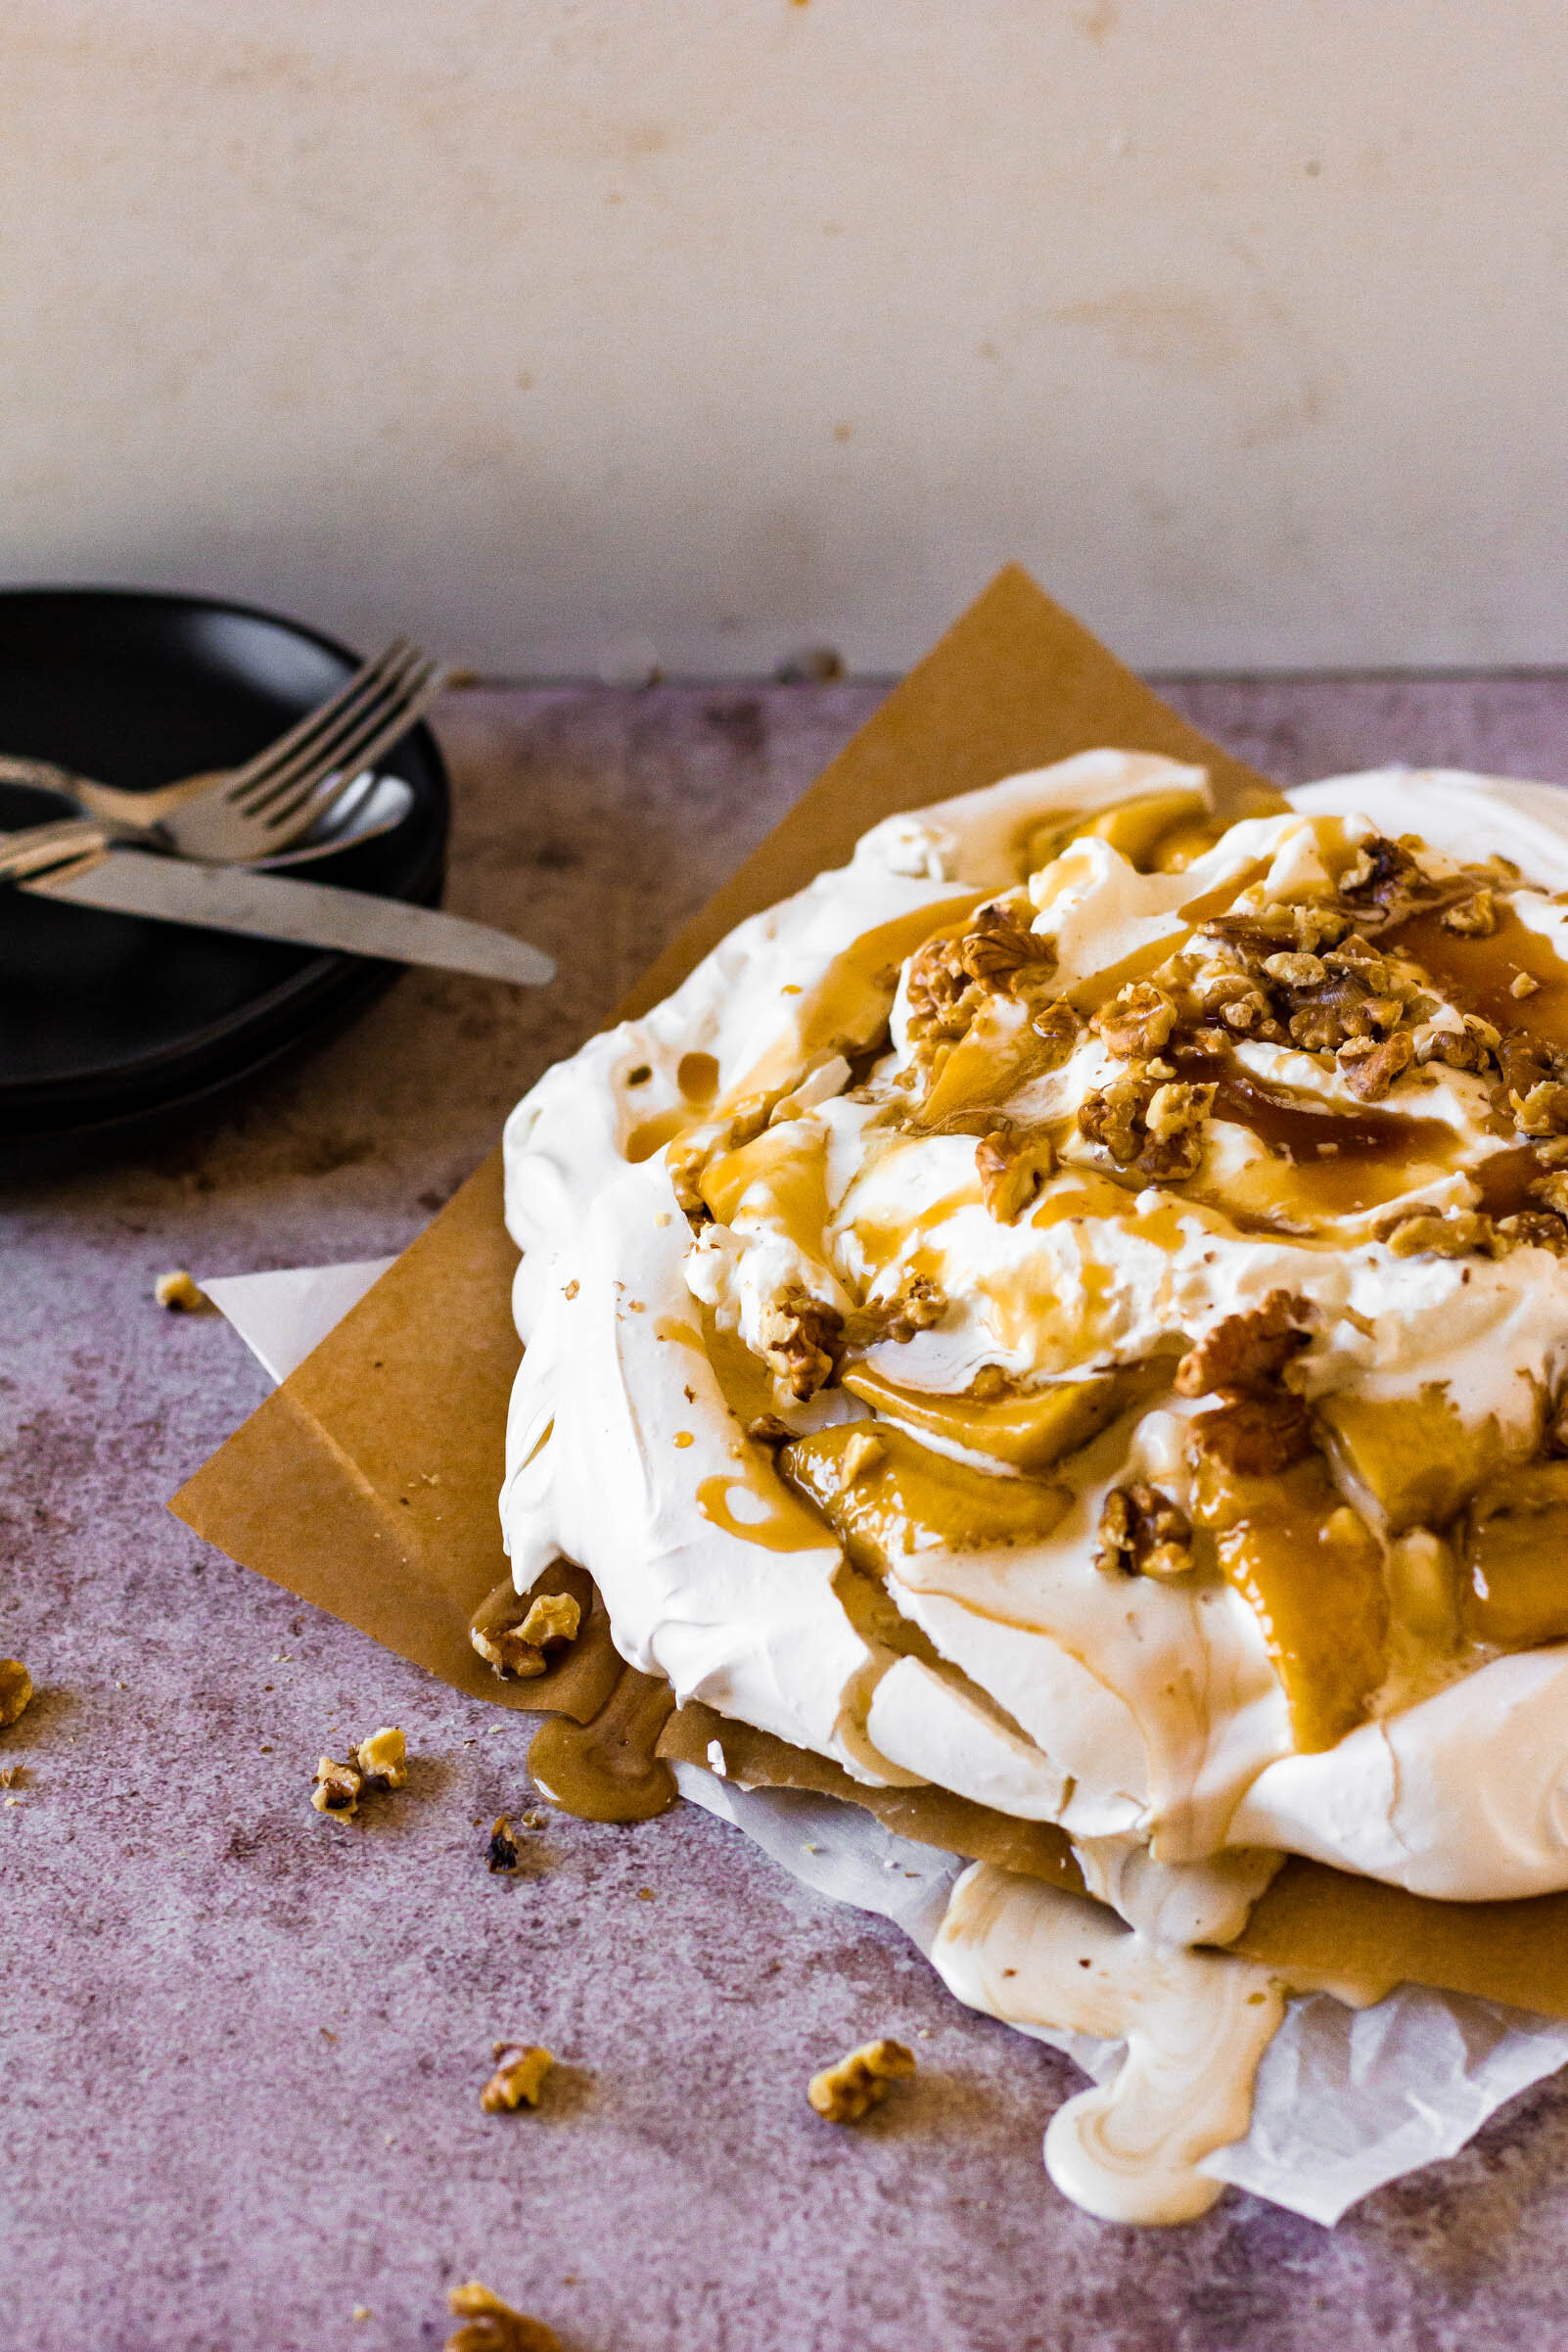
Last week, we talked all about meringue so it’s only fitting that today we make some! This bananas foster Eton mess is essentially a big crunchy, marshmallow-y pillow of baked French meringue topped with whipped cream and bananas swimming in a rum caramel sauce. Literally, what else could you need?

I like any desserts that are called “mess” because it makes me feel like the decorative bar is set so low. The Eton Mess is the ultimate lazy show-stopper. It made it’s first appearance in England in the late 1800s at Eton College’s cricket match (hence the name) and traditionally consists of just meringue, whipped cream, and strawberries. But you guys know how we feel about tradition around here, so I took the liberty of subbing our strawberries for bananas foster. Eton mess is a such a beautiful dessert to showcase whatever fruit you have in season, don’t limit yourself!

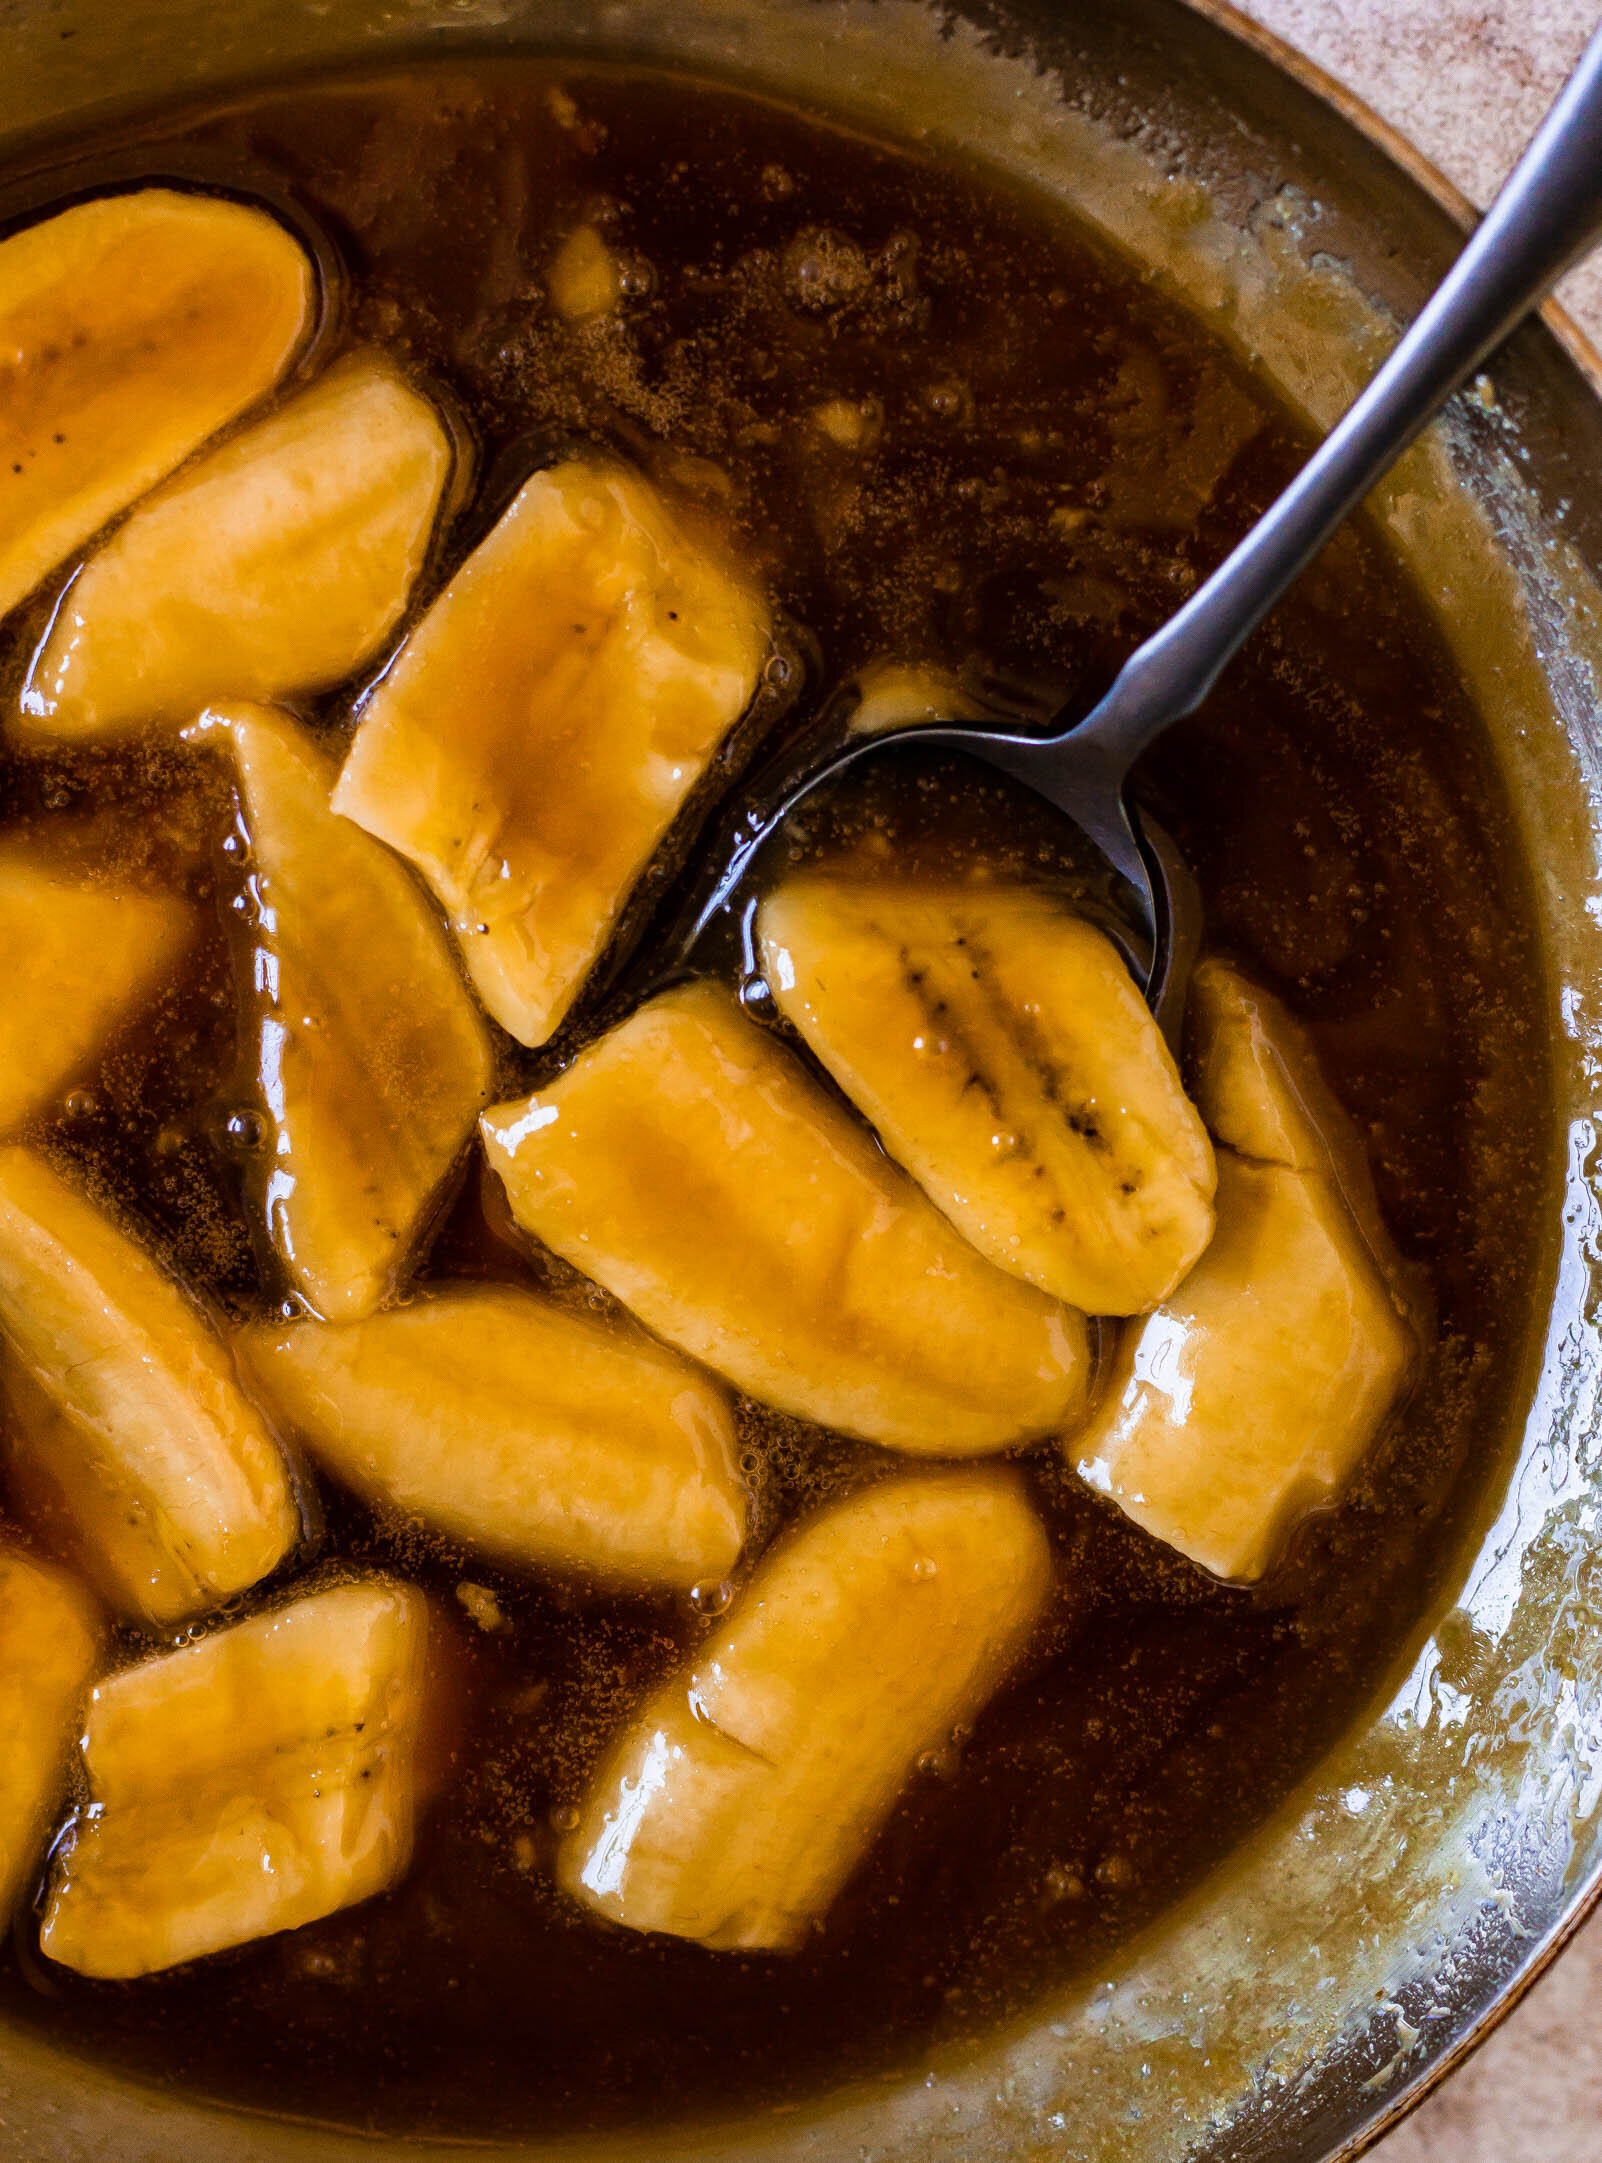
For this particular version, a French meringue is spread into a big circle on a sheet pan and then baked low and slow until crisp and the bottom easily releases from the pan. While the meringue is cooling, a simple brown sugar, rum, butter-filled caramel sauce is made and a few past-their-prime bananas are tossed in. Heavy cream gets whipped with a little sweetened condensed milk and everything is very slouchily piled high on the meringue. One thing to note, none of the components of this dessert hold very well on their own and so when you put them together, you have a beautiful dessert that needs to be eaten immediately. If you are making this for a dinner party or other evening soiree, I recommend baking the meringue sometime in the late afternoon, and then making the caramel and whipped cream just before serving (they are both very quick to toss together). Serve immediately after assembling or you will find yourself in a puddle of sweet cream and caramel, which is honestly not a bad thing, but also not exactly what we are going for here.

Yield: makes one large desserts, serves 8-10
Author: Anna Ramiz
Bananas Foster Eton Mess

Bananas Foster Eton Mess

Prep time: 30 MinCook time: 2 HourTotal time: 2 H & 30 M
Instead of the traditional strawberries, this Eton Mess is made of a crisp, marshmallow-like baked meringue topped with bananas swimming in rum caramel and lots of homemade whipped cream.

Ingredients

for the french meringue
  • 200 g (about 5-6) egg whites
  • 350 g (1 3/4 cup) granulated sugar
for the bananas foster
  • 3 ripe bananas, sliced
  • 4 tbsp (57 g) unsalted butter
  • 1/2 cup (110 g) brown sugar
  • 1 tbsp coffee liqueur
  • 2 tbsp heavy cream
  • Pinch of salt
for the whipped cream
  • 1 cup (227 g) heavy cream
  • 1/4 cup (78 g) sweetened condensed milk
  • 1/2 cup toasted walnuts, optional 

Instructions

to make the meringue
  1. Preheat oven to 200° F. Line a sheet pan with parchment paper and set aside.
  2. Place egg whites in the bowl of a stand mixer fitted with the whisk attachment and begin whipping on medium speed. When the egg whites begin to froth, gradually stream in sugar while the mixer continues to run. When all of the sugar has been added, increase the mixer speed to medium-high and continue to whip until smooth and glossy and medium peaks form.
  3. Pour meringue onto your prepared baking sheet and use an offset spatula to smooth into a circle, about 9” in diameter.
  4. Bake for 1 to 1- 1/2 hours, until meringue is dry and crispy and easily releases from the bottom of the pan. Set aside to cool.
to make the bananas foster
  1. Set a large skillet over medium heat. Add the butter and brown sugar to the pan and cook without stirring, until butter is melted. When the butter is melted, you can begin to whisk the caramel occasionally. Continue to cook for 5-7 minutes, until brown sugar is dissolved and caramel is deep brown and bubbling. Whisk until smooth and homogenized.
  2. Carefully whisk in coffee liqueur and heavy cream and cook for 1-2 minutes more. Stir in bananas and salt and remove from heat to cool slightly while you make the whipped cream.
to make the whipped cream and assemble
  1. Place heavy cream in the bowl of a stand mixer fitted with the whisk attachment. Begin whipping on medium-low speed, until frothy and then gradually increase speed. When the cream has reached soft peaks, add the sweetened condensed milk and then continue to whip until whipped cream has reach medium peaks.
  2. Spread half of the whipped cream over the meringue. Spoon bananas and caramel on top of the whipped cream, followed by the remaining whipped cream and toasted walnuts. Serve immediately.

Notes:

  • a note on "peaks": Most of the time, meringue done-ness is discussed in terms of peaks—soft, medium or stiff. I usually like to explain the difference between the three by using pictures, but I’ll try to use my words to help you create a picture in your head. When you remove the whisk from the bowl, the meringue at the top should create a tip. If the tip immediately falls back over onto itself, you’ve reached the soft peak stage. If the tip stays upright, but the very top of it falls back onto itself creating a little wave look, you’ve reached medium peaks. If, when you pull the whisk out of the bowl, the tip stands upright, you’ve reached the stiff peak stage. **This also applies to whipped cream**
  • None of the components of this dessert hold very well on their own and so when you put them together, you have a beautiful dessert that needs to be eaten immediately. If you are making this for a dinner party or other evening soiree, I recommend baking the meringue sometime in the late afternoon, and then making the caramel and whipped cream just before serving (they are both very quick to toss together). Serve immediately after assembling or you will find yourself in a puddle of sweet cream and caramel, which is honestly not a bad thing, but also not exactly what we are going for here.


Did you make this recipe?
Tag @gatheredatmytable on instagram and hashtag it #gatheredatmytable
Created using The Recipes Generator