All About Meringue

baked swiss meringue cookies filled with berry jam

baked swiss meringue cookies filled with berry jam

Earlier this week, after spending the last few days working on custard recipes and special order cakes, I found three deli containers of egg whites shoved in the back of my fridge. In an effort to curb food waste and do a little deep dive on here (because it’s been a while), we’re going to spend the day talking about all things meringue—aka, the most fun thing to make with all of your extra egg whites. So let’s get started!

Also, if you’re someone who isn’t into reading and wants a much shorter meringue run-down, you can find a 30 second reel on my Instagram!

What is meringue?

First off, what exactly is meringue? Simply put, meringue is the combination of egg whites and sugar, whipped to create semi-stable air bubbles. It can be baked, piped, buttercreamed, torched…really, the possibilities are endless. Egg whites are made up of water and protein. When they are whipped, the protein strands begin to unravel and they create little stretchy networks that capture the water and air bubbles. (This is what happens when you whip egg whites without sugar for folding into a batter. When baked, those air bubbles create steam and function as a leavening agent.) When sugar is added to the mix, it helps to stabilize the foam and create elasticity, giving us swoopy, glossy meringue. Occasionally, an acid such as cream of tartar or lemon juice is added to give an extra bit of stability insurance, but it’s not a necessary ingredient in the meringue-making process.

italian meringue

italian meringue

While there are a multitude of meringue processes and methods, the three most common types of meringue are French, Swiss, and Italian. Each use the same base ingredients (egg whites + sugar), but each have a slightly different methodology which results in different levels of stability and different usages.

French Meringue

French meringue is also sometimes called “common meringue” and it is the simplest and most straightforward type. Egg whites are placed in a clean mixing bowl and whipped until they begin to froth. Then, sugar is gradually streamed in (while whipping), and after all of the sugar has been added, mixing speed is increased until the meringue reaches your desired stiffness (*see tips and tricks below). When making French meringue, take care not to add all of the sugar at once, or it will weigh down the egg whites, preventing all of those air bubbles from forming. Because French meringue uses raw egg whites, it must be baked, often at a very low temperature, until crunchy on the outside and the bottom of the meringue can be lifted off of the pan. French meringue is a great base for pavlovas, meringue cookies, and eton mess. French meringue is the least stable type of meringue and should be baked immediately to prevent separation and weeping.

Swiss Meringue

Swiss meringue is my very favorite of all the meringues because, IMHO, it’s the most versatile. Swiss meringue is the second most stable meringue and is can be used in really any application. Want to bake it like a French meringue? Go for it. Looking for a buttercream base? Meet your BFF, Swiss meringue. Interested in torching it on the side of a Baked Alaska? Swiss is here for you. To make Swiss meringue, egg whites and sugar are combined in a heat-proof bowl and then placed over top of a pot of boiling water. They are cooked, stirring frequently to prevent scrambling, until hot to the touch and all of the sugar has dissolved. The mixture is then transferred to a mixture and whipped until room temperature, glossy, and beautiful.

Italian Meringue

Finally, we have Italian meringue. Italian meringue is the most stable type of meringue, and is often considered the most difficult type. She's gonna make you work for her stability. I wouldn’t say the Italian meringue is difficult, just a little tricky. Egg whites are added to the bowl of a mixer and then set aside for a bit. Meanwhile, the sugar is combined with water in a saucepan and cooked to a syrup (242°F). While the sugar is cooking and when it is starting to get close to that perfect syrup temperature, you begin whipping your egg whites. Ideally, your egg whites will be starting to froth just as your syrup reaches 242° F and that’s when the real fun happens. The hot syrup is slowly streamed into the whipping egg whites. When all of the syrup as been added, the mixer speed is increased and the meringue gets whipped until cool and elastic. It takes a little practice, but once you’ve mastered the temperature and the syrup drizzle, Italian meringue makes the best buttercream around town.

P.S. there is a great, very versatile Italian meringue buttercream recipe, as well as a French meringue pavlova recipe + even more on meringues, in my e-book, Pastry Foundations

bananas foster eton mess made with French meringue, recipe coming soon

bananas foster eton mess made with French meringue, recipe coming soon

What can you do with meringue?

Meringue can be used in many different applications and is the base of some of our favorite desserts. Baked meringues can be made into pavlovas or cookies, topped with fruit, jams, whipped cream, nuts…pretty much anything. Maybe the most common application is buttercream. For both Swiss and Italian meringue, room temperature butter can be added to room temperature meringue to create a very smooth, buttery frosting. Swiss and Italian meringues can be piled on top of finished pies, like this Key Lime Pie, and torched in place of whipped cream, while French meringue can be baked atop your favorite pie or tart. Italian meringue is also the base of homemade marshmallows.

Meringue Tips and Tricks

  • When it comes to working with meringue, cleanliness is your best friend. Egg whites can be a bit finicky and will refuse to whip if there are any traces of fat near them. This means that you should make sure that your bowl is clean and that there are no little wisps of egg yolk in your whites.

  • Cleanliness is also important when it comes to sugar. Make sure that there are no large clumps or little foreign specks in your sugar, as these can weigh down your whites or cause crystallization.

  • The fresher the egg, the better your meringue. If you’re struggling with your meringues and the egg whites don’t seem to be whipping properly, they may be too old. Dump it out and try with fresh eggs.

  • Heat and humidity do not play well with meringue. Once baked, store meringue in a cool, dry place to prevent stickiness and collapse.

  • Most of the time, meringue done-ness is discussed in terms of peaks—soft, medium or stiff. I usually like to explain the difference between the three by using pictures, but I’ll try to use my words to help you create a picture in your head. When you remove the whisk from the bowl, the meringue at the top should create a tip. If the tip immediately falls back over onto itself, you’ve reached the soft peak stage. If the tip stays upright, but the very top of it falls back onto itself creating a little wave look, you’ve reached medium peaks. If, when you pull the whisk out of the bowl, the tip stands upright, you’ve reached the stiff peak stage.


Print Friendly and PDF

more meringue recipes

PavlovaswithBerries2.jpg

brown sugar pavlovas with mascarpone cream

angledtorched1.jpg

key lime pie

Cake10.jpg

chocolate cake with chocolate milk swiss meringue buttercream

Spiced Caramel Chocolate Lava Cakes

lavacakes20.jpg

It’s Valentine’s Day Weekend and that means really only one thing in the food world—chocolate. I took a poll on my Instagram stories at the beginning of the week asking if people preferred chocolate desserts or pink desserts and I truly don’t even know why I asked. Chocolate is always the winner. My perfect Valentine’s dessert (or honestly anytime dessert) is very simple, very rich, very gooey, and often salted. So basically, little lava cakes.

Back about 7 years ago or so, I pinned a recipe on Pinterest for molten cakes baked in muffin tins. It was from a very random blog, with a poor, artificially lit photo (one that would never stand on my carefully curated Pinterest boards of today!), and my sister-in-law decided to try out the recipe. They were a hit. We made them for party desserts. We made them for my other sister-in-law’s freezer when she had her first baby. I took them on road trips. We just became best friends. And then, like Jessie and her little girl owner in Toy Story 2, we grew apart. Other flashy recipes caught my attention. I started laminating doughs and layering cakes and going to pastry school. Fast forward to about a year ago, I had a craving for lava cakes and set out to sort through thousands of pins to find the recipe, and it was gone! Of course, I had never written the recipe down, so I set out to make my own perfect little molten lava cake recipe and here we are. These lava cakes are the product of lots of testing, lots of suffering through too dry or not-cooked-enough cakes, but we made it friends.

about the spiced caramel

You guys know I can’t just give you a normal, caramel lava cake recipe. It’s against my nature! So here, we spice our caramel with fennel seeds, cardamom pods, and black peppercorns. The spices give a little added flavor contrast to the chocolate and help to cut through some of the sweetness. It’s made using a traditional wet caramel, meaning sugar is cooked with water (which helps prevent that pesky sugar crystallization) until it turns a deep amber color. Heavy cream that has been steeped with your spices gets added, followed by butter and salt. Make sure to chill the caramel well, so that it’s scoop-able when filling the cakes or it will ooze out the sides during baking!

about the lava cakes

The actual cakes themselves are fairly straightforward here. All of your favorite ingredients make an appearance- flour, sugar, brown sugar, butter, eggs, and chocolate. The cakes get baked in muffin tins and the batter can be actually be chilled and baked off later if you want to make them ahead. You can also freeze and wrap baked cakes individually and heat them in the microwave, although you do lose a little of that molten middle. Still chocolate-y and still delicious. They are really the most perfect Valentine’s day treat.

Yield: makes six
Author: Anna Ramiz
Spiced Caramel Chocolate Lava Cakes

Spiced Caramel Chocolate Lava Cakes

Prep time: 20 MinCook time: 20 MinTotal time: 40 Min
Rich, decadent molten chocolate lava cakes filled with homemade caramel, spiced with cardamom, fennel, and black peppercorns.

Ingredients

for the spiced caramel
  • ½ cup (100 g) granulated sugar
  • 2 tbsp water
  • ½ tsp lemon juice
  • ¼ cup heavy cream
  • ¼ tsp fennel seeds, roughly chopped
  • 8 whole cardamom pods
  • ½ tsp black peppercorns
  • 1 tbsp unsalted butter
  • pinch of salt
for the lava cakes
  • 3 oz + 2 tbsp unsalted butter, divided
  • 6 oz dark chocolate, roughly chopped
  • 1 egg
  • 3 egg yolks
  • ¼ cup (50 g) granulated sugar
  • ¼ cup (60 g) brown sugar
  • 3 tbsp all purpose flour
  • 2 ½ tsp cocoa powder, divided
  • ¼ tsp kosher salt
  • ¼ tsp vanilla extract
  • spiced caramel, recipe included, chilled

Instructions

to make the spiced caramel
  1. Place heavy cream, fennel seeds, cardamom pods, and black peppercorns in a small saucepan set over medium heat. Bring to a simmer and then immediately remove from heat. Cover and let steep for 30 minutes. Strain out the spices and set cream aside.
  2. In a medium pot, stir together sugar, water, and lemon juice. Set over medium heat and cook without stirring until the sugar is dissolved and the mixture begins to take on a light brown color. At this point, you can gently stir the caramel. Continue to cook until the caramel reaches a deep amber color.
  3. Remove the caramel from the heat and whisk in the reserved heavy cream. (The mixture will bubble up, this is okay, just keep stirring). When all the cream has been added, return it to the heat and cook for one more minute.
  4. Remove from the heat again, stir in butter and a pinch of salt and then transfer to a clean bowl to cool.
  5. Store caramel in an air-tight container in the fridge for up to a week.
to make the lava cakes
  1. Preheat the oven to 425° F. Melt 2 tbsp of butter and divide between six muffin tins. Sprinkle 1 ½ tsp of the cocoa among the six muffin tins and use your fingers to mix the butter and cocoa powder and rub the mixture thoroughly up the sides of the tins to prevent sticking.
  2. In a heat-proof bowl set over a pot of simmering water, melt the chocolate. Set aside.
  3. In the bowl of a stand mixer fitted with the paddle attachment, add 3 oz of butter, sugar, and granulated sugar. Cream for 2-3 minutes, until light and fluffy, scraping down the sides as needed.
  4. With the mixer on low speed, add eggs and egg yolks one at a time, mixing well after each addition. Add the vanilla extract.
  5. Add the flour, remaining 1 tsp of cocoa powder, and salt and mix on low speed until just combined. Stream in the melted chocolate and continue to mix for 1-2 minutes until homogenous. Remove the bowl from the mixer, scrape down the sides, and fold with a rubber spatula to ensure that the batter is evenly mixed.
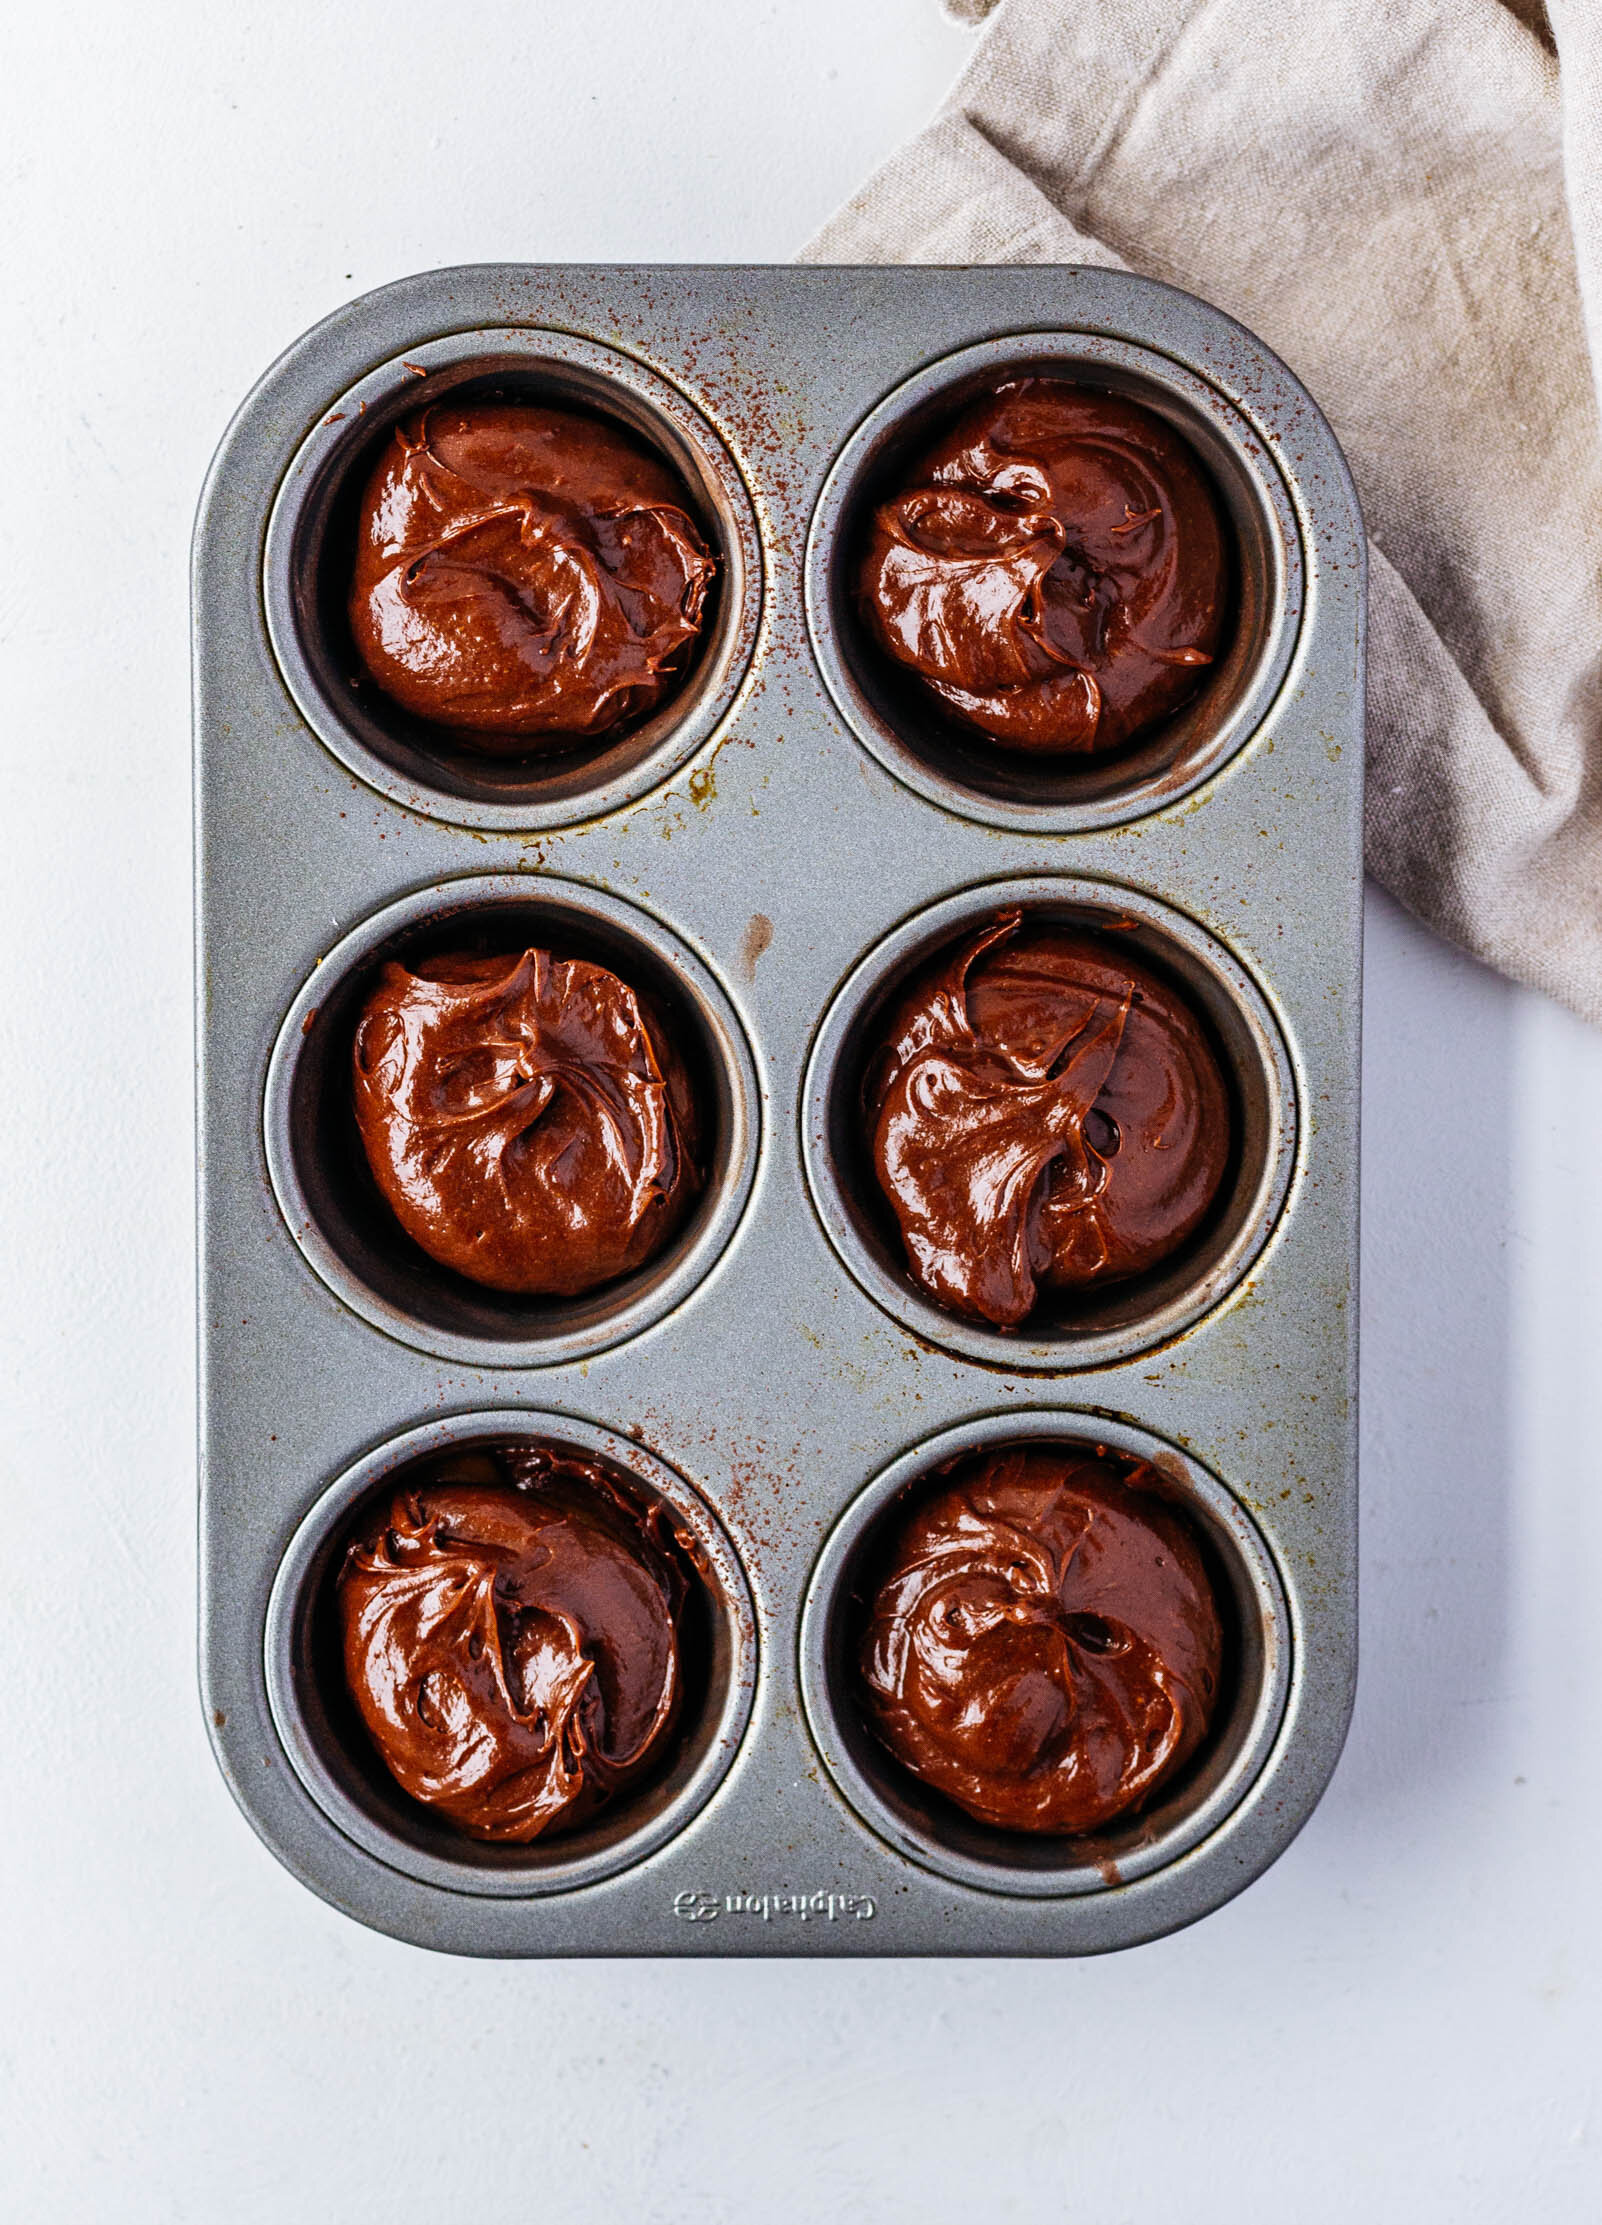
  6. Use a 2 ½ tbsp cookie scoop and place one scoop of batter in each of the prepared muffin tins. Place one teaspoon of cold caramel in the center of the batter, and then top each with another 2 ½ tbsp scoop of batter. Tap the pan gently once or twice to settle the batter.
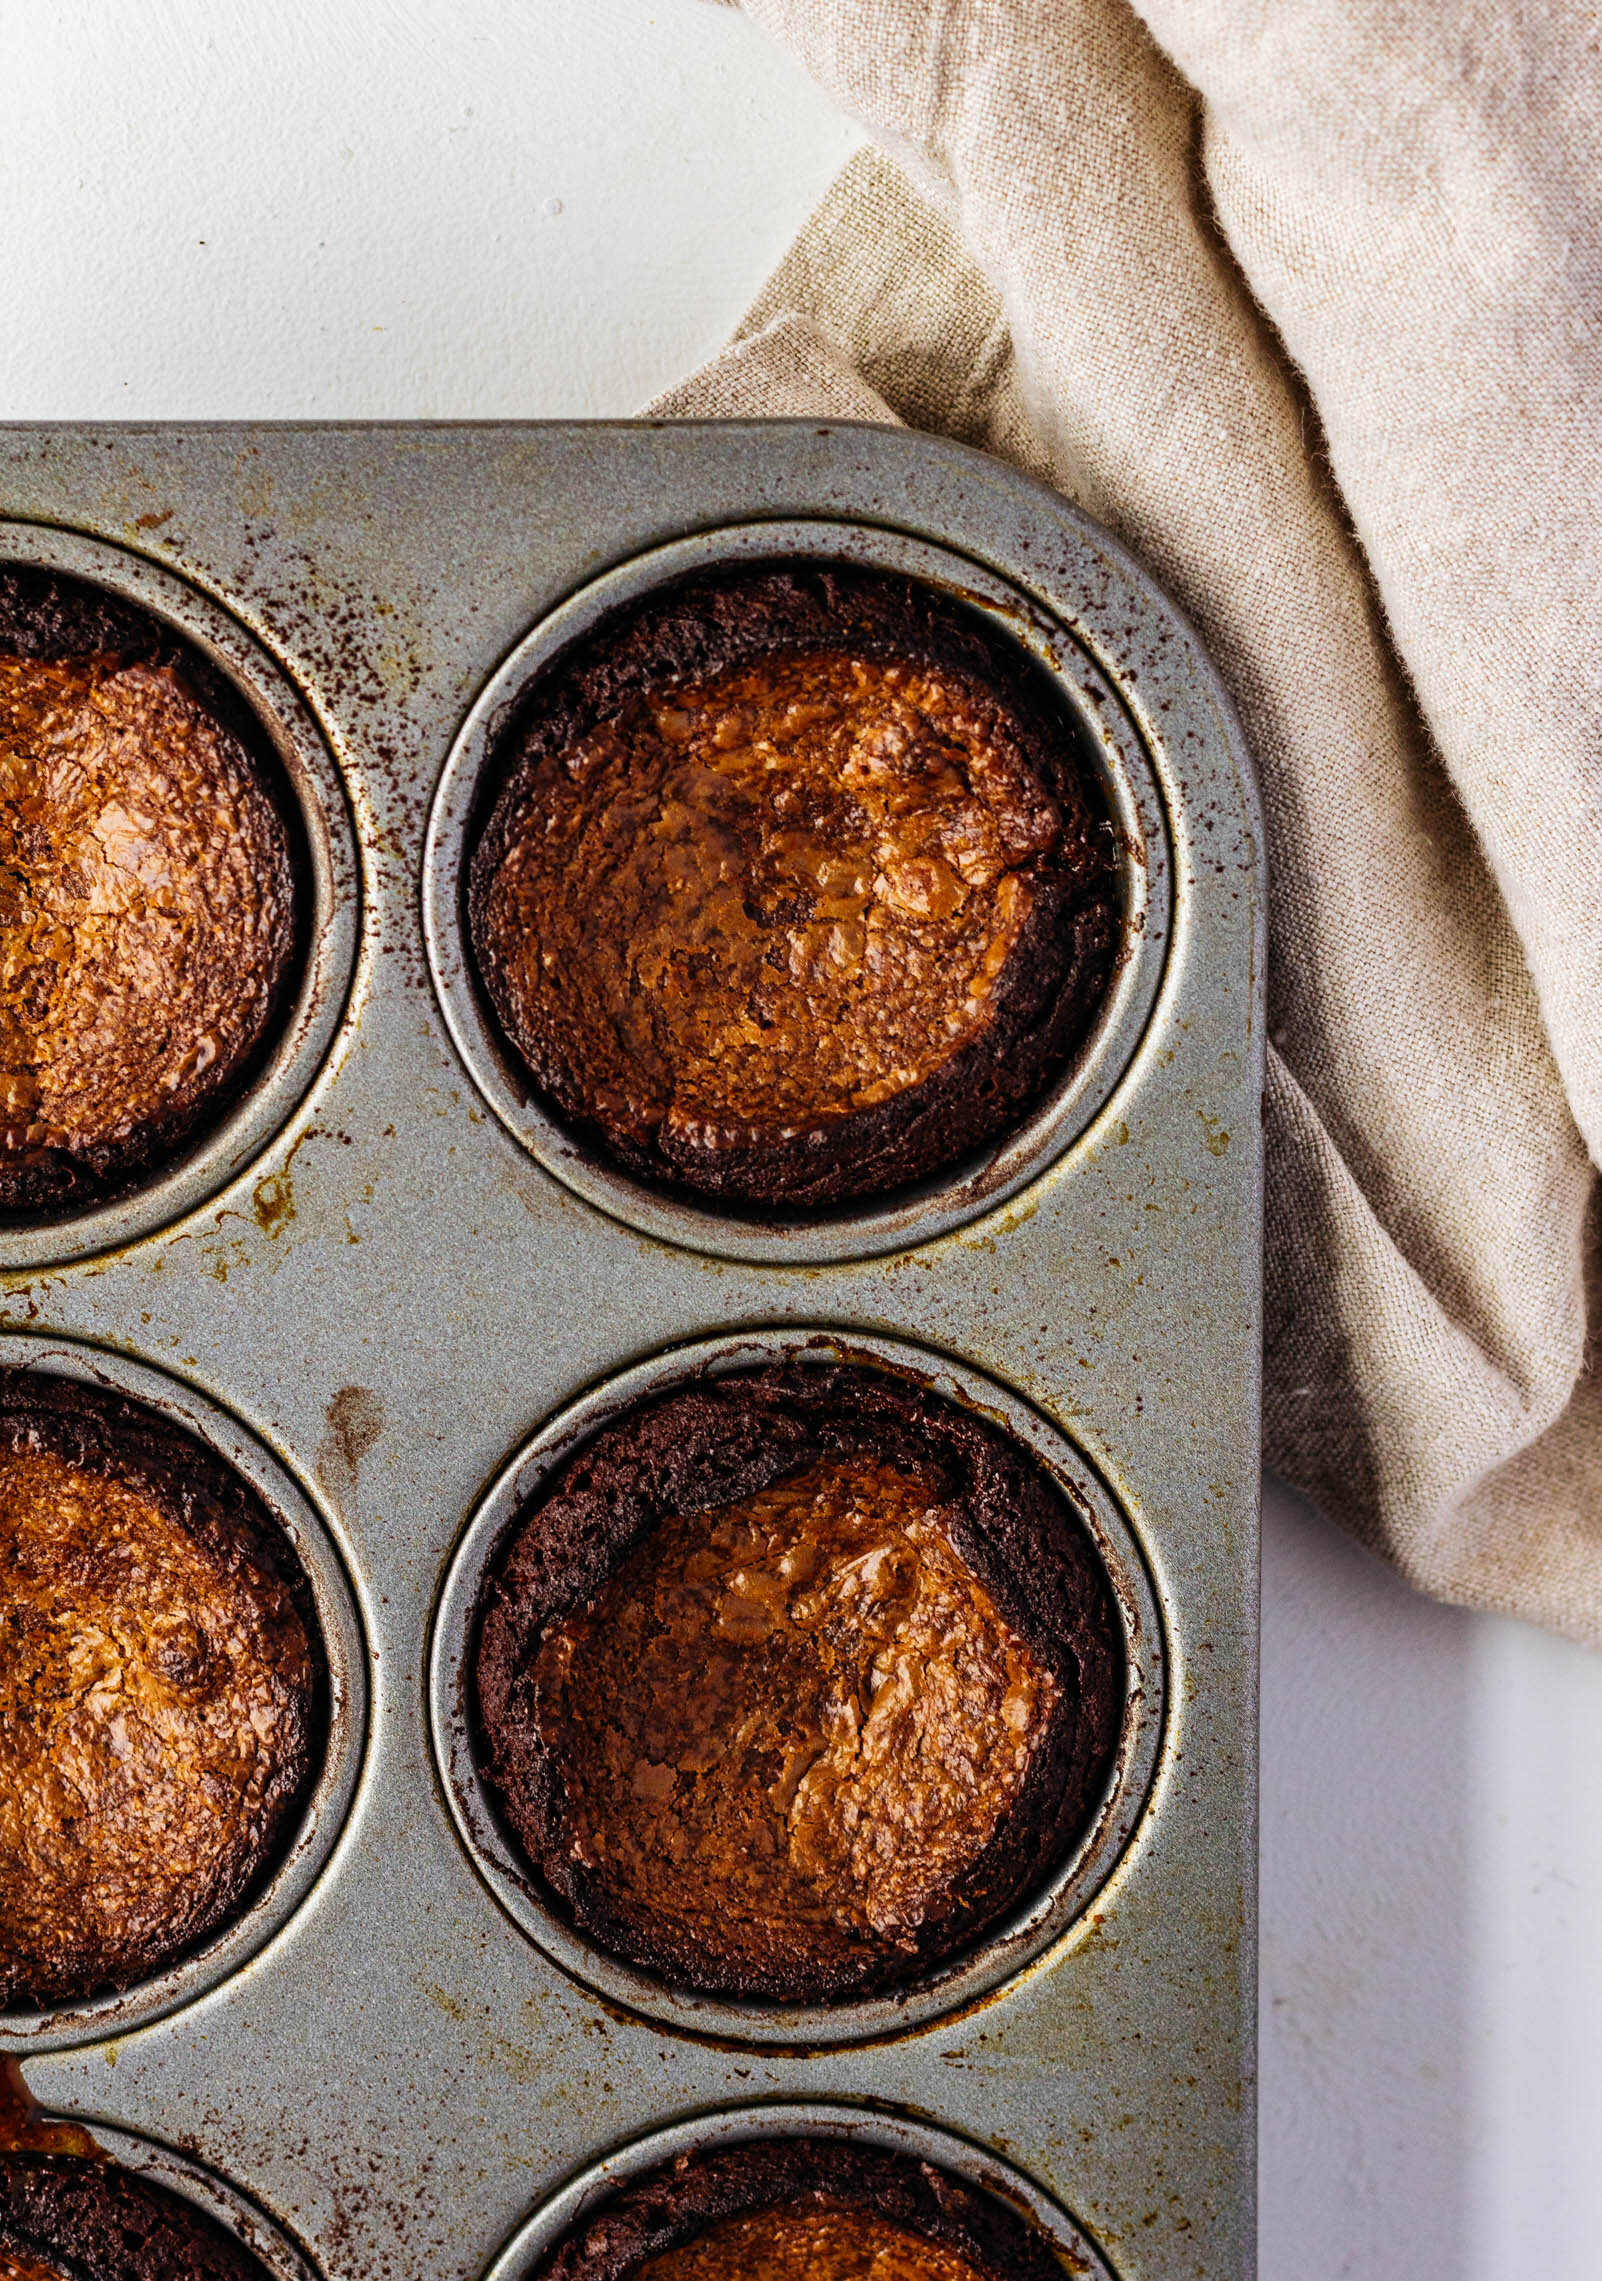
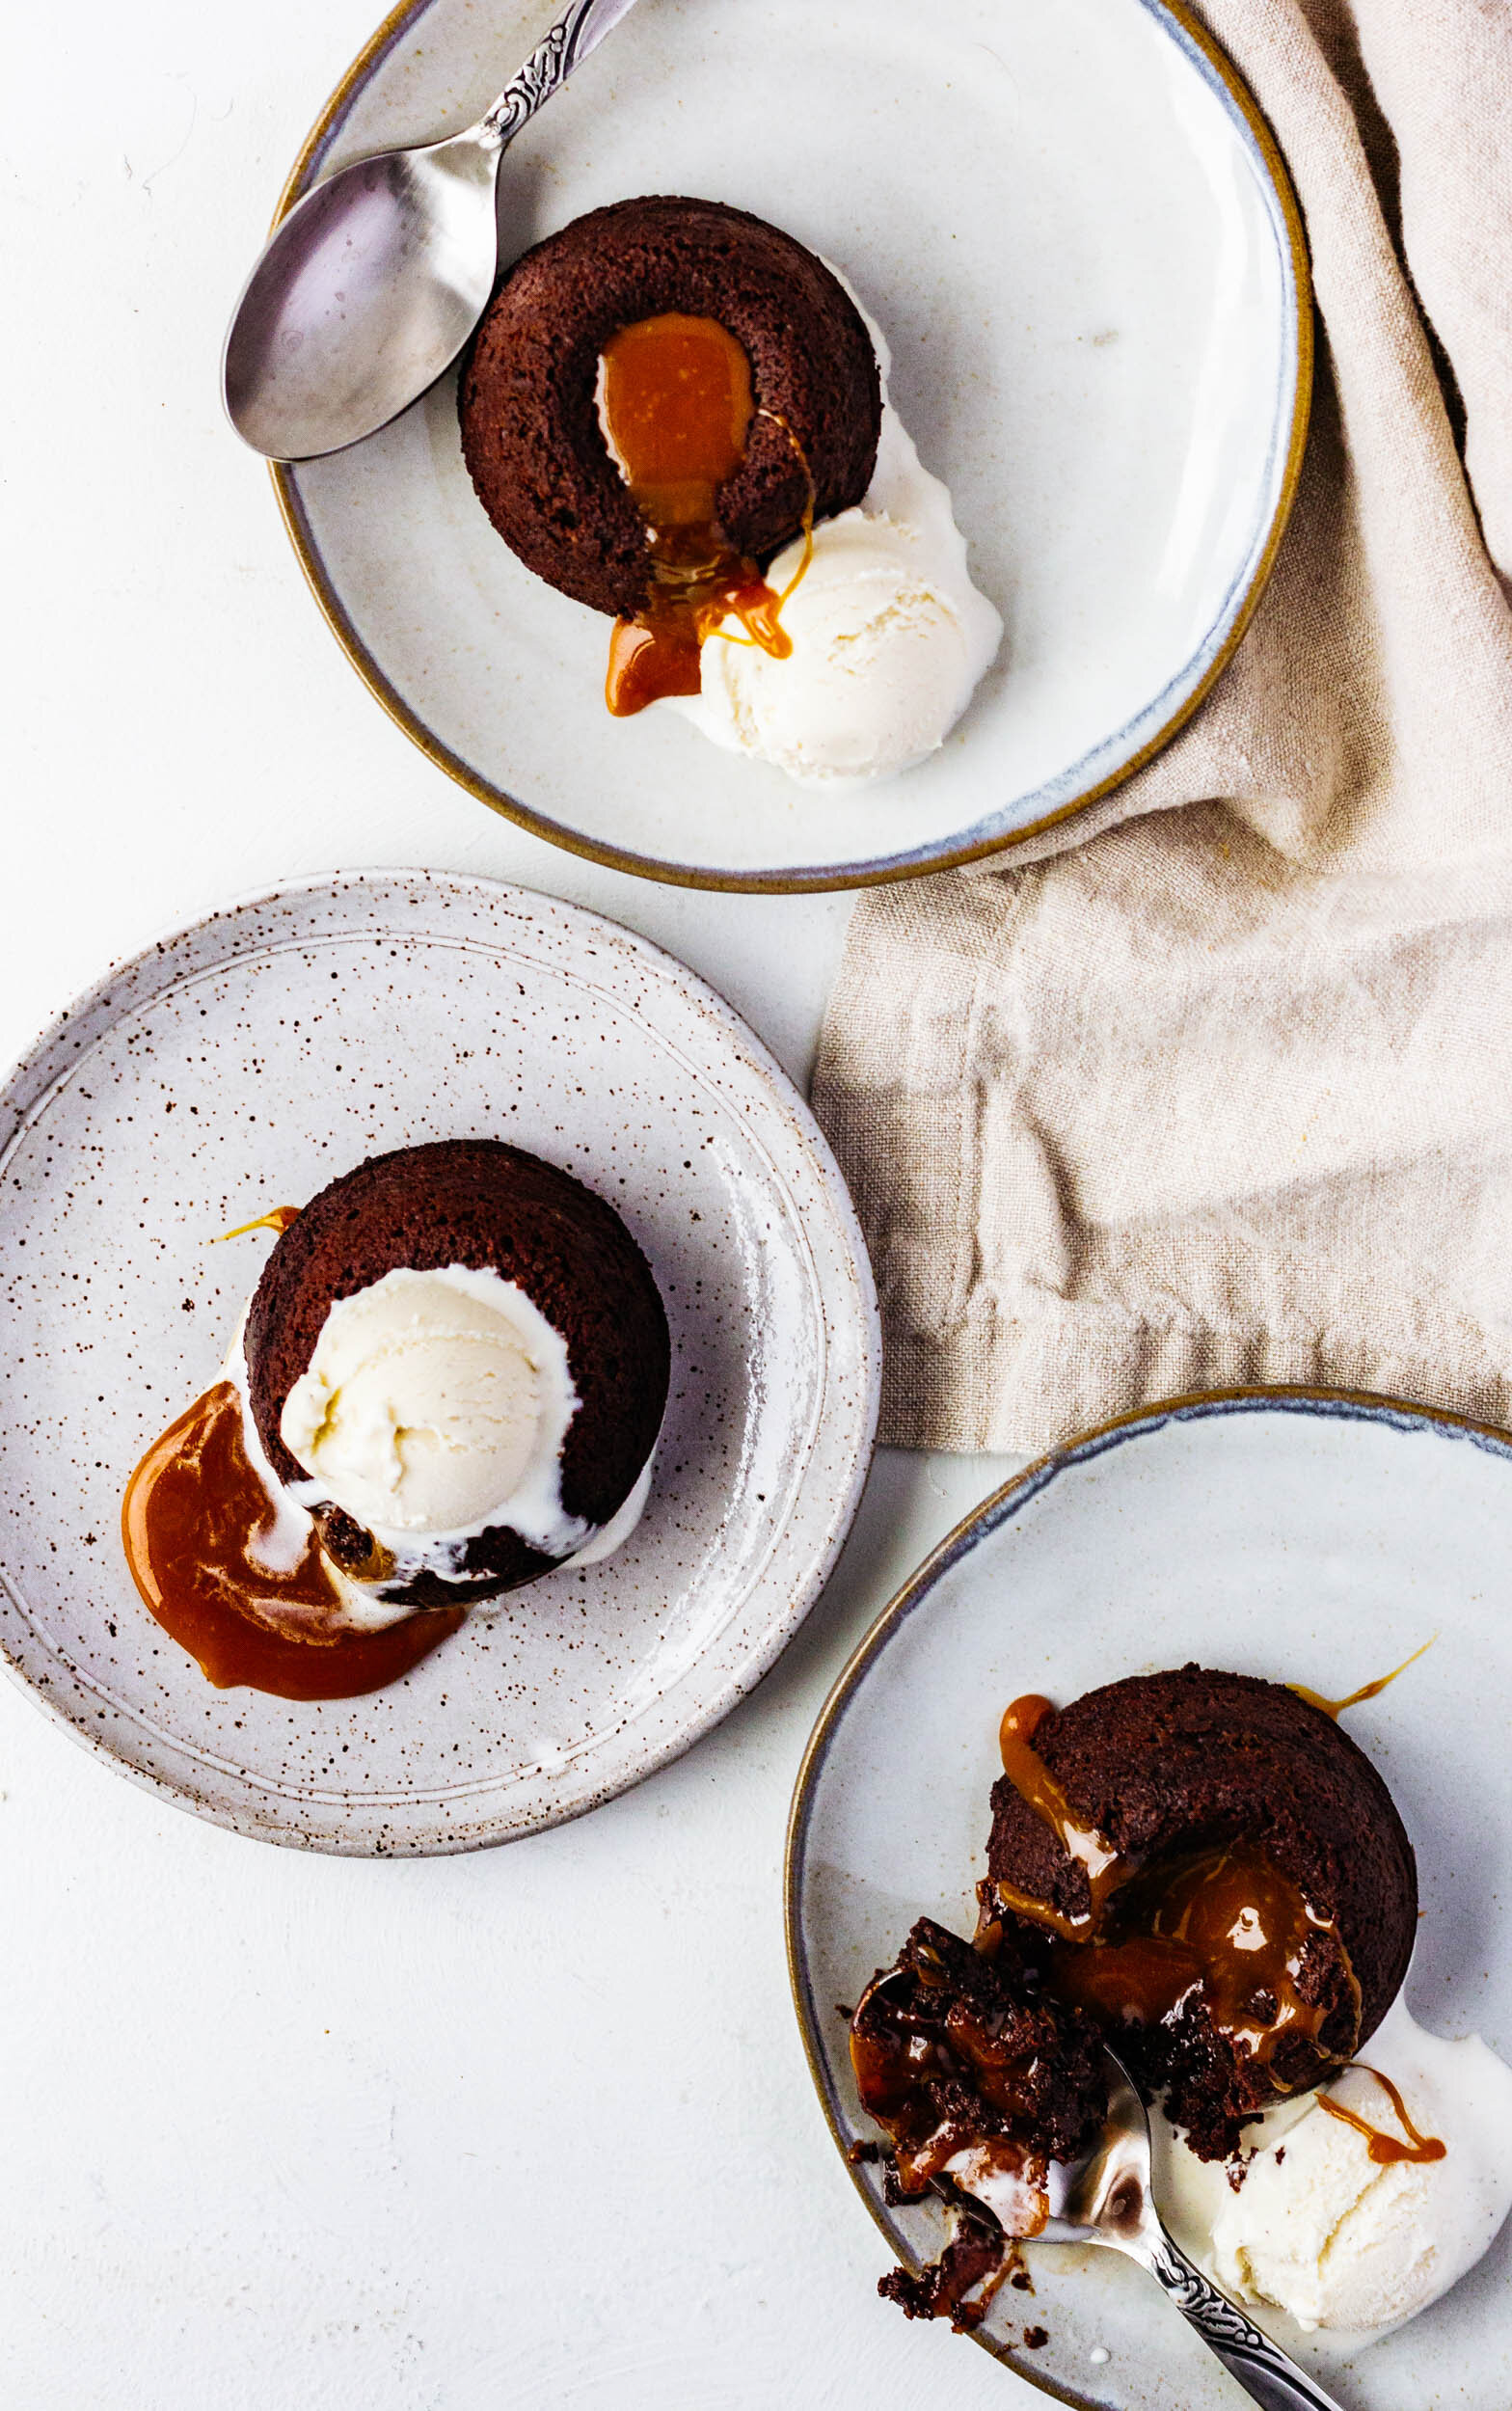
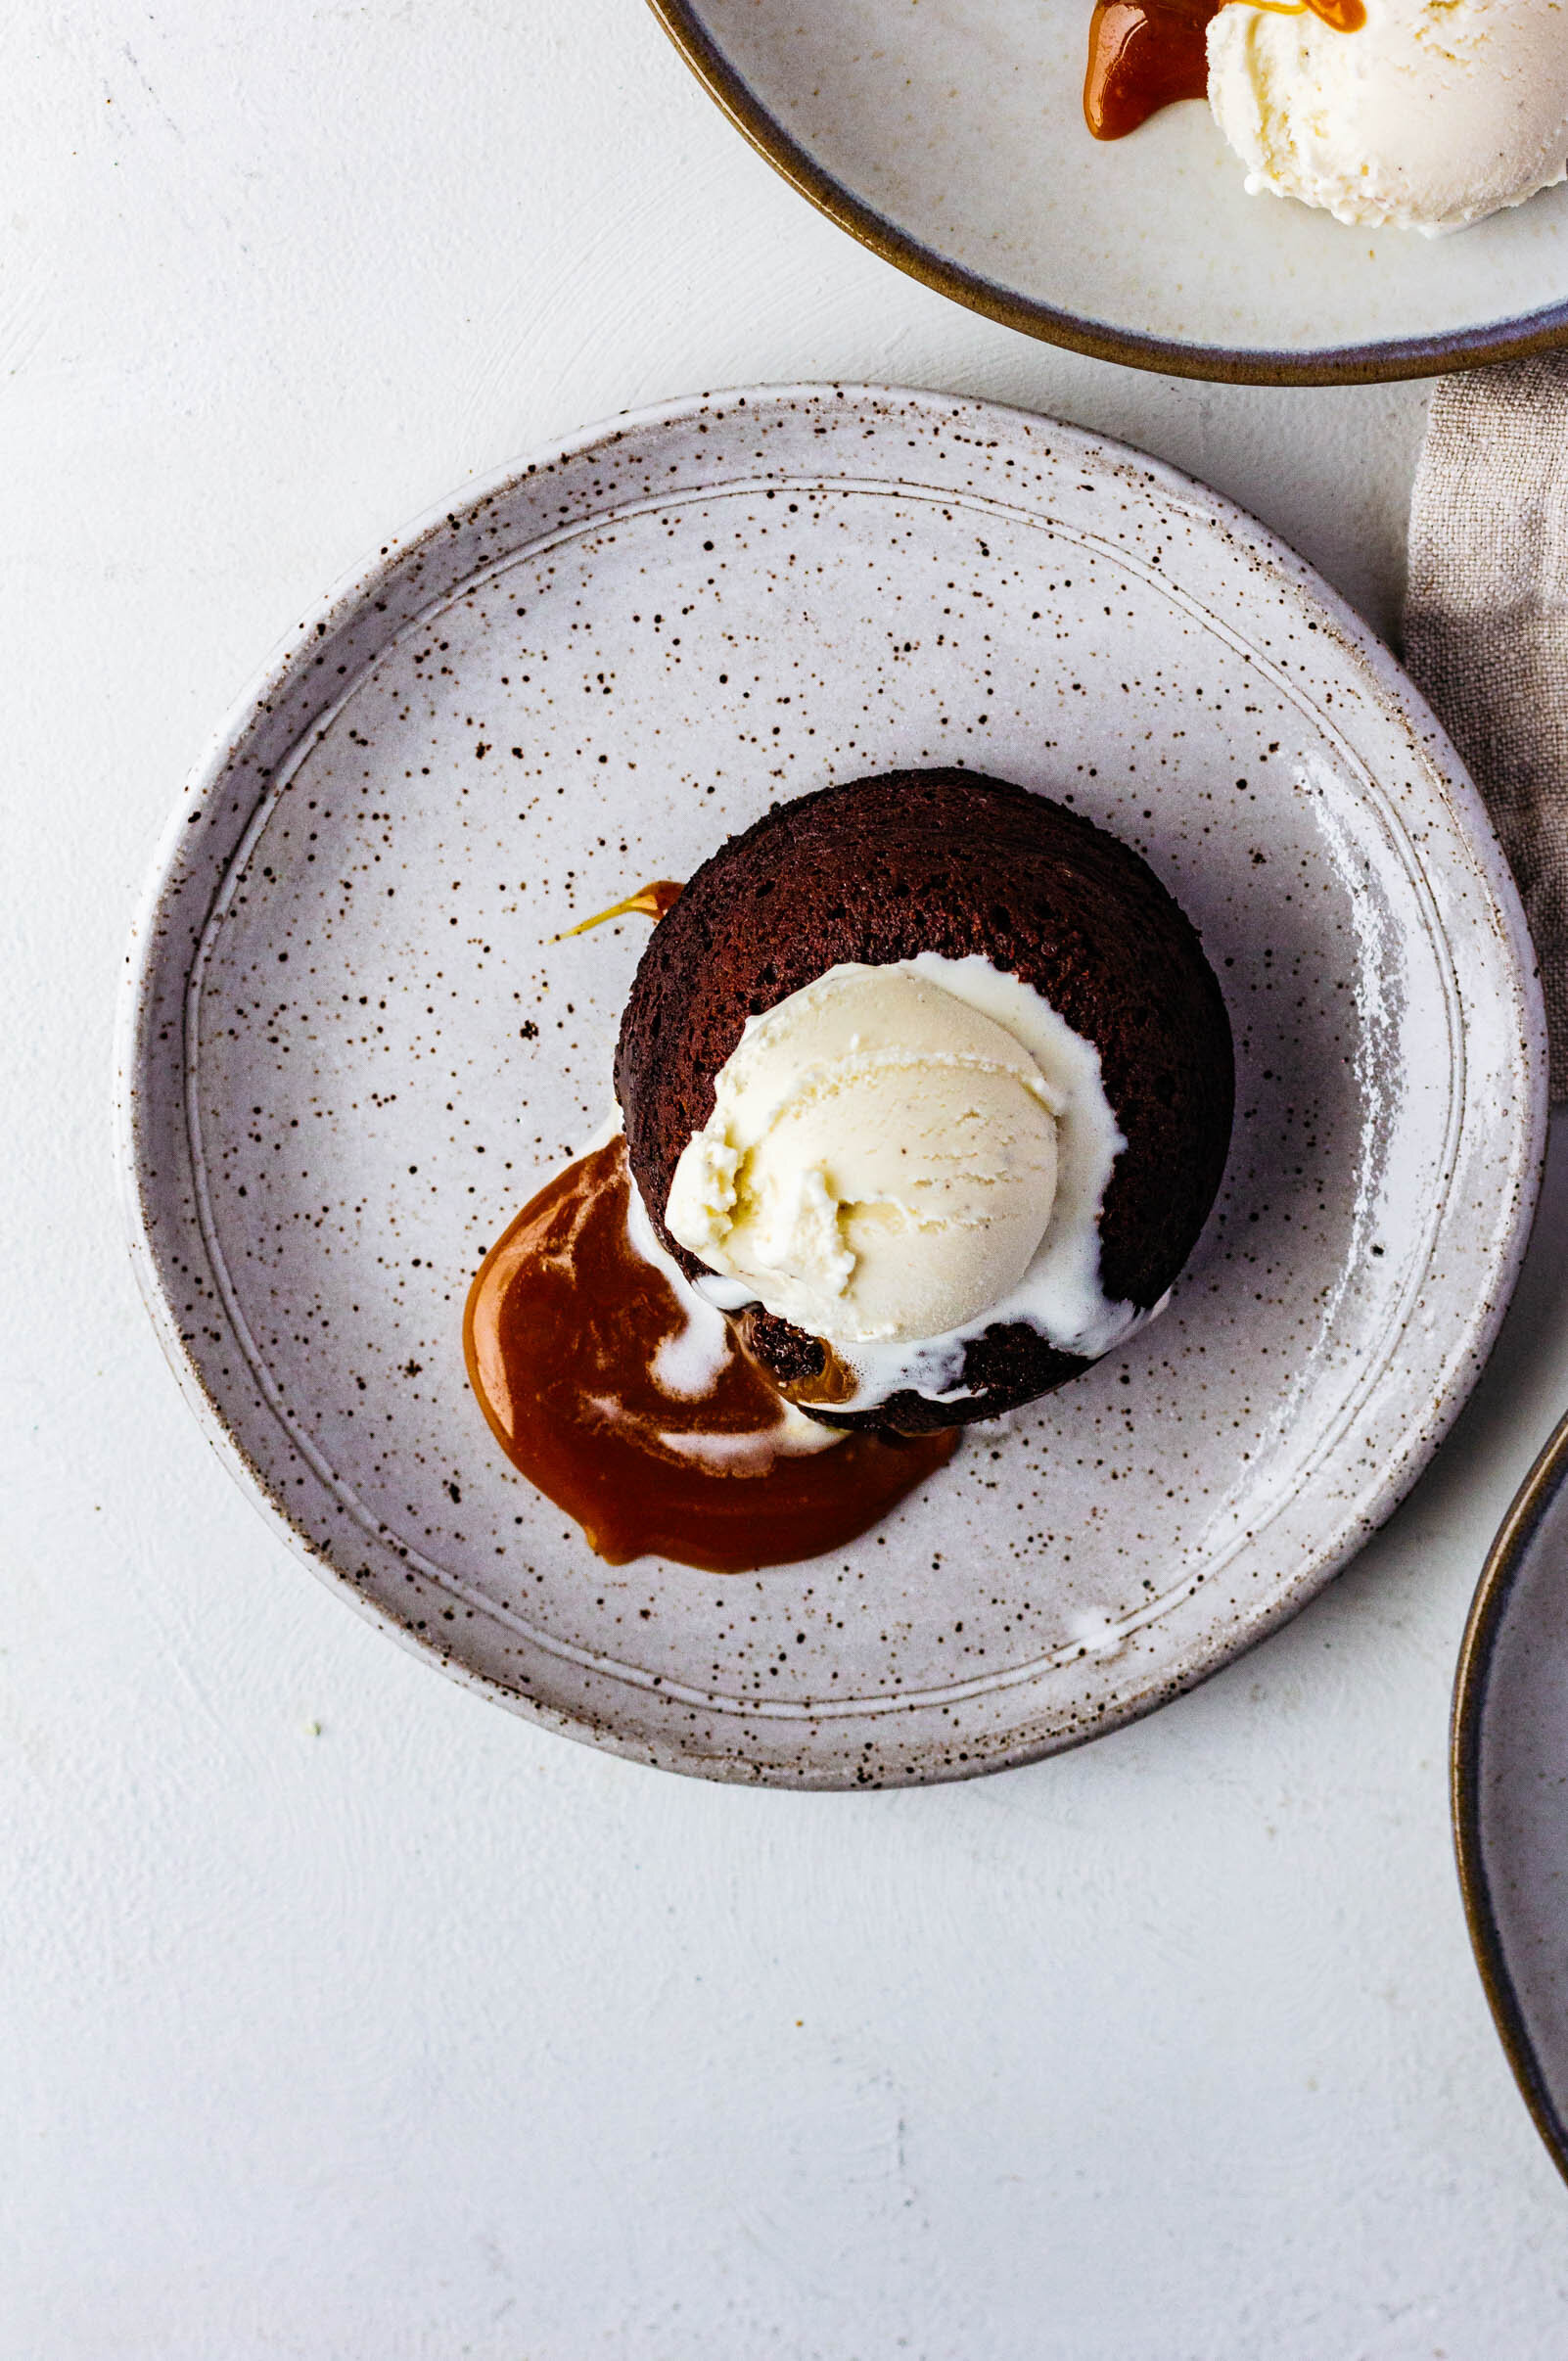
  7. Bake for 8-9 minutes and then let cool for 10 minutes in the pan. Invert and serve immediately with ice cream and more caramel sauce.
  8. Leftover lava cakes can be wrapped tightly in plastic wrap and frozen. To reheat, remove from the plastic and microwave from frozen for 30-45 seconds, until warmed through.
Did you make this recipe?
Tag @gatheredatmytable on instagram and hashtag it #gatheredatmytable

Caramelized Honey and Tangerine Frozen Yogurt

tangerinefroyo20.jpg

Happy Friday from me and all of my citrus! I’ve mentioned it a few times on my Instagram, but we have a lemon tree at our new house! What is cuter than a little backyard tree brimming with bright yellow lemons? Absolutely nothing, which is basically why we bought this house. That and my big kitchen island. Anyway, when we moved in about 3 weeks ago, a billion lemons were fruiting on the tree, but we weren’t sure how long they’d been there since the house had been vacant and the tree had been a bit neglected. The juice of the lemons is sweet and floral and wonderful, but the zest tastes like soap. So this week, we picked all of the best lemons from the branches and then pruned them all back so that come spring, we will have cute little lemon tree blossoms, hopefully followed by fresh fruit. I can’t wait!

That all being said, I currently have four bowls of lemons sitting on my counter and I’m working on trying to figure out what to do with all them before they get soft. It’s a very serious task. And on top of all of that, my cousin came to visit last week and brought me bags of tangerines and sour oranges so I’m currently swimming in citrus AND I LOVE IT!

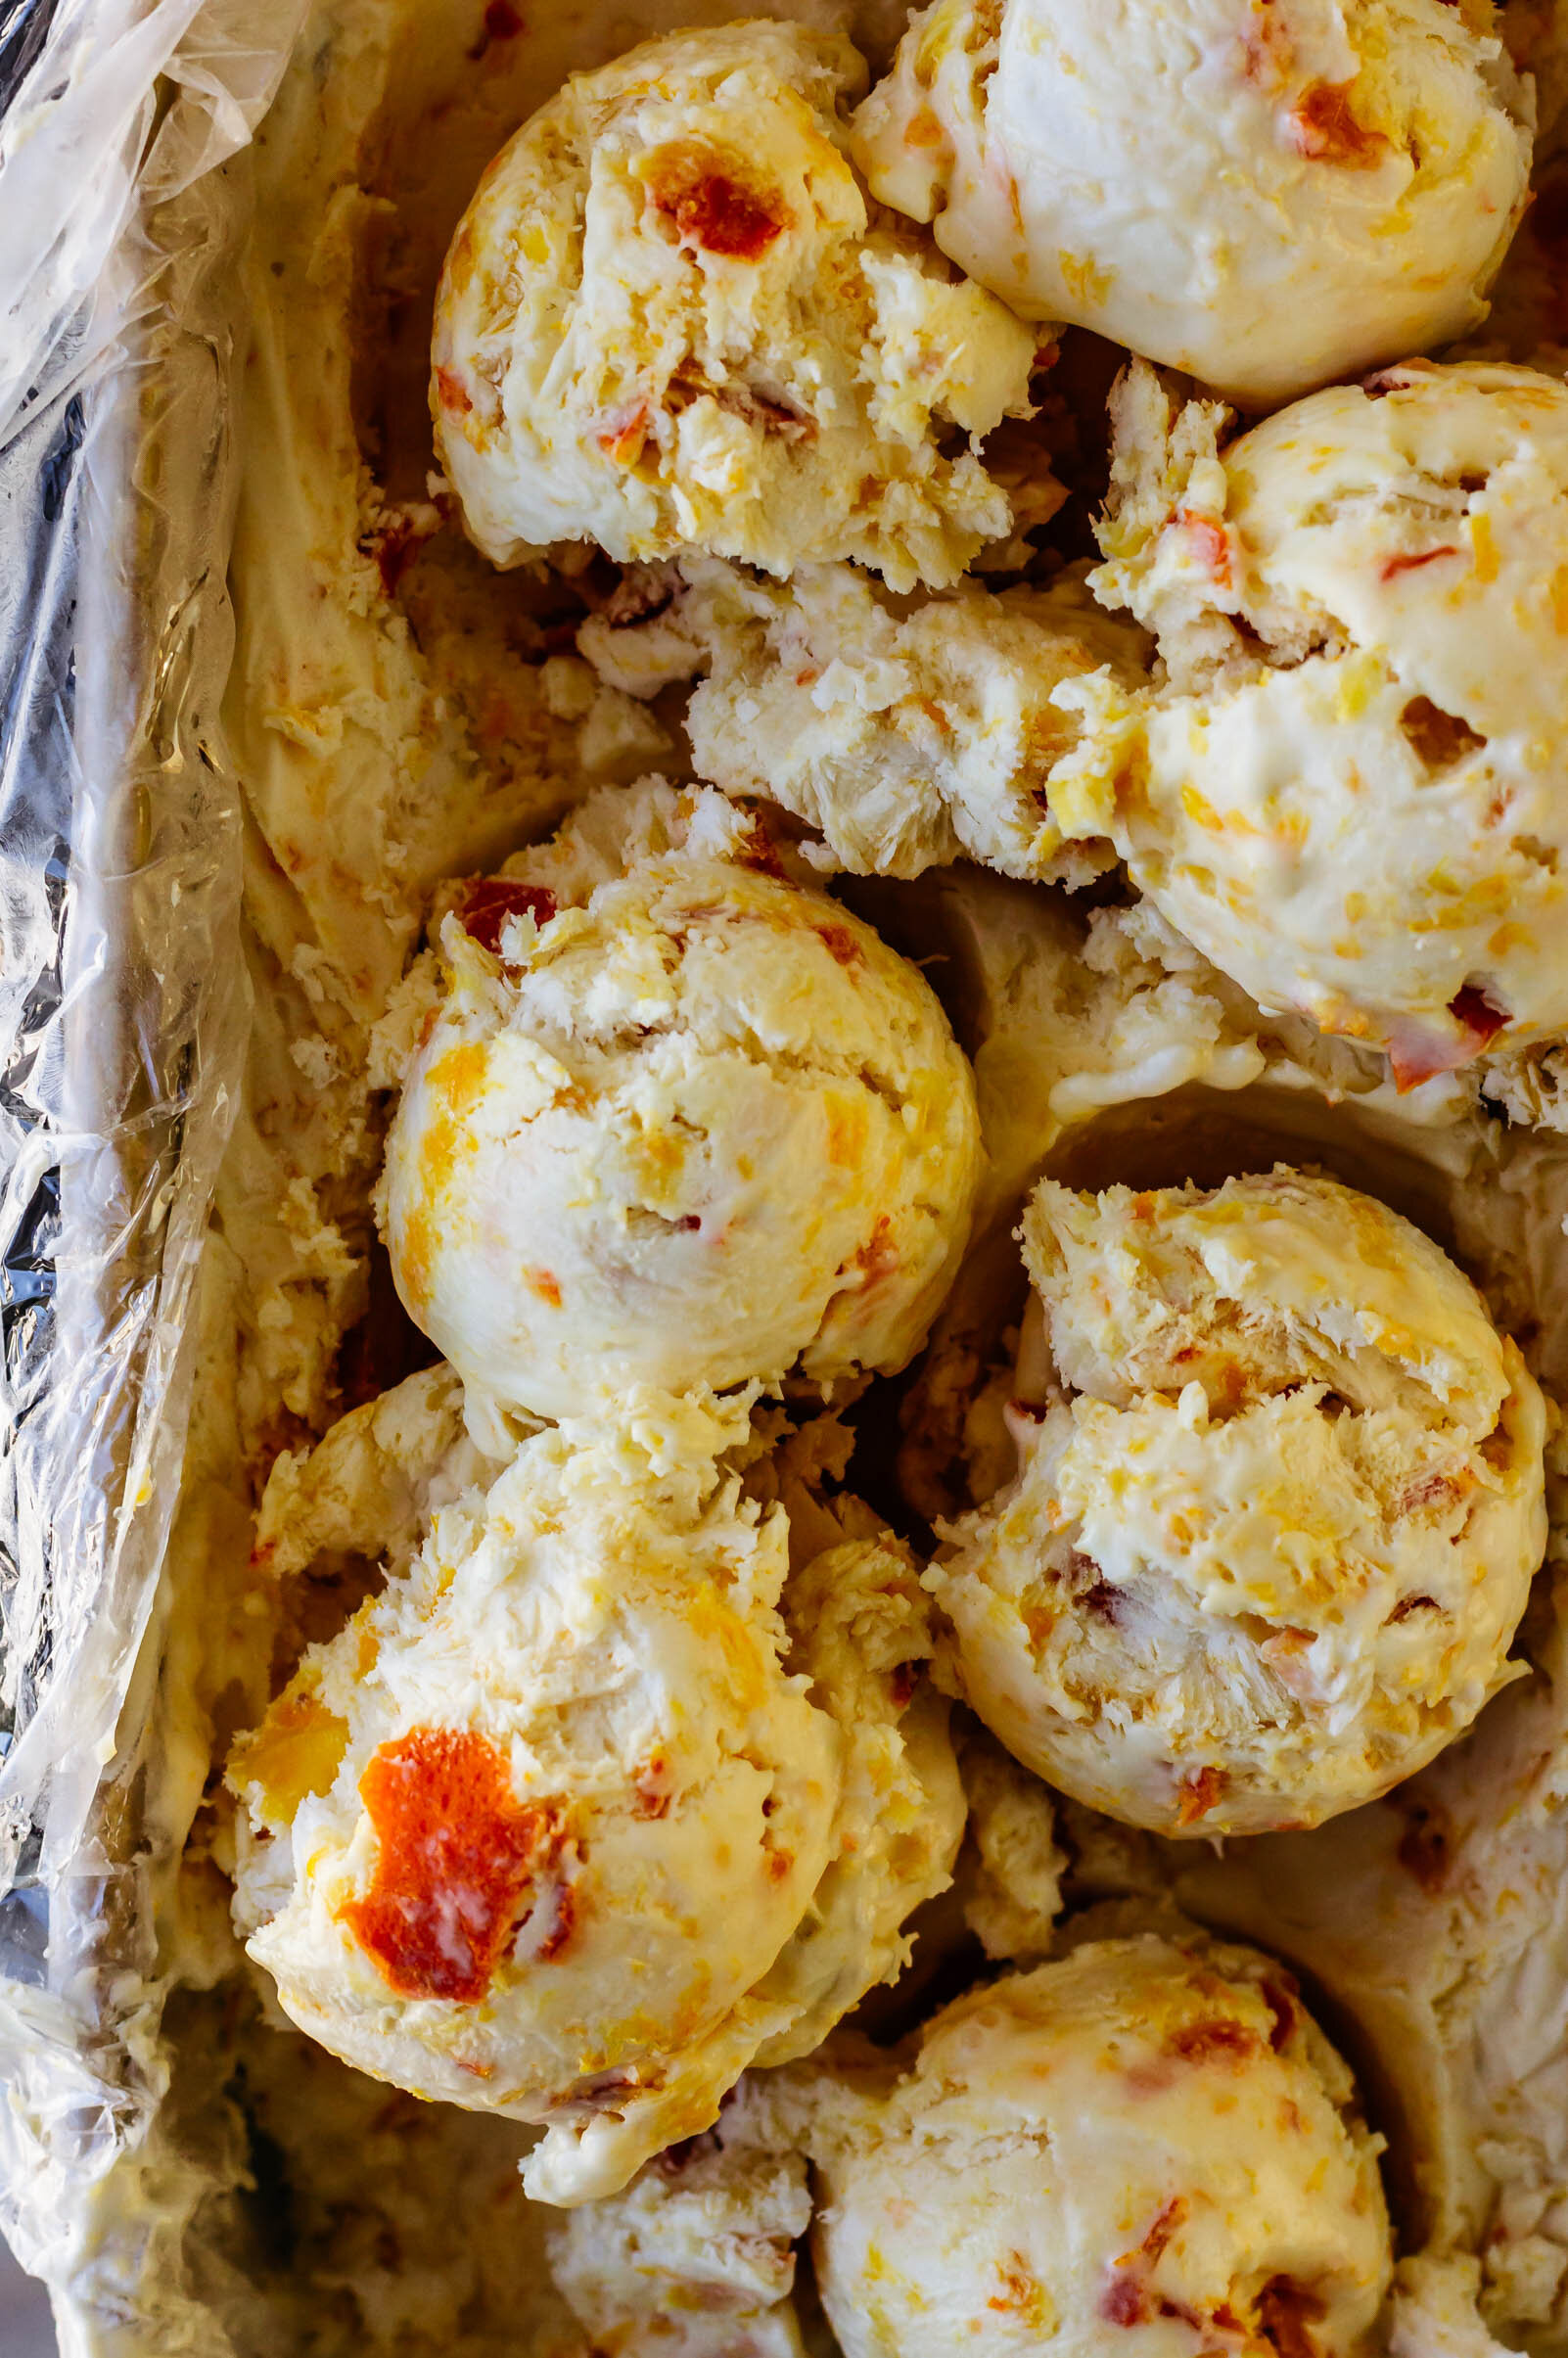
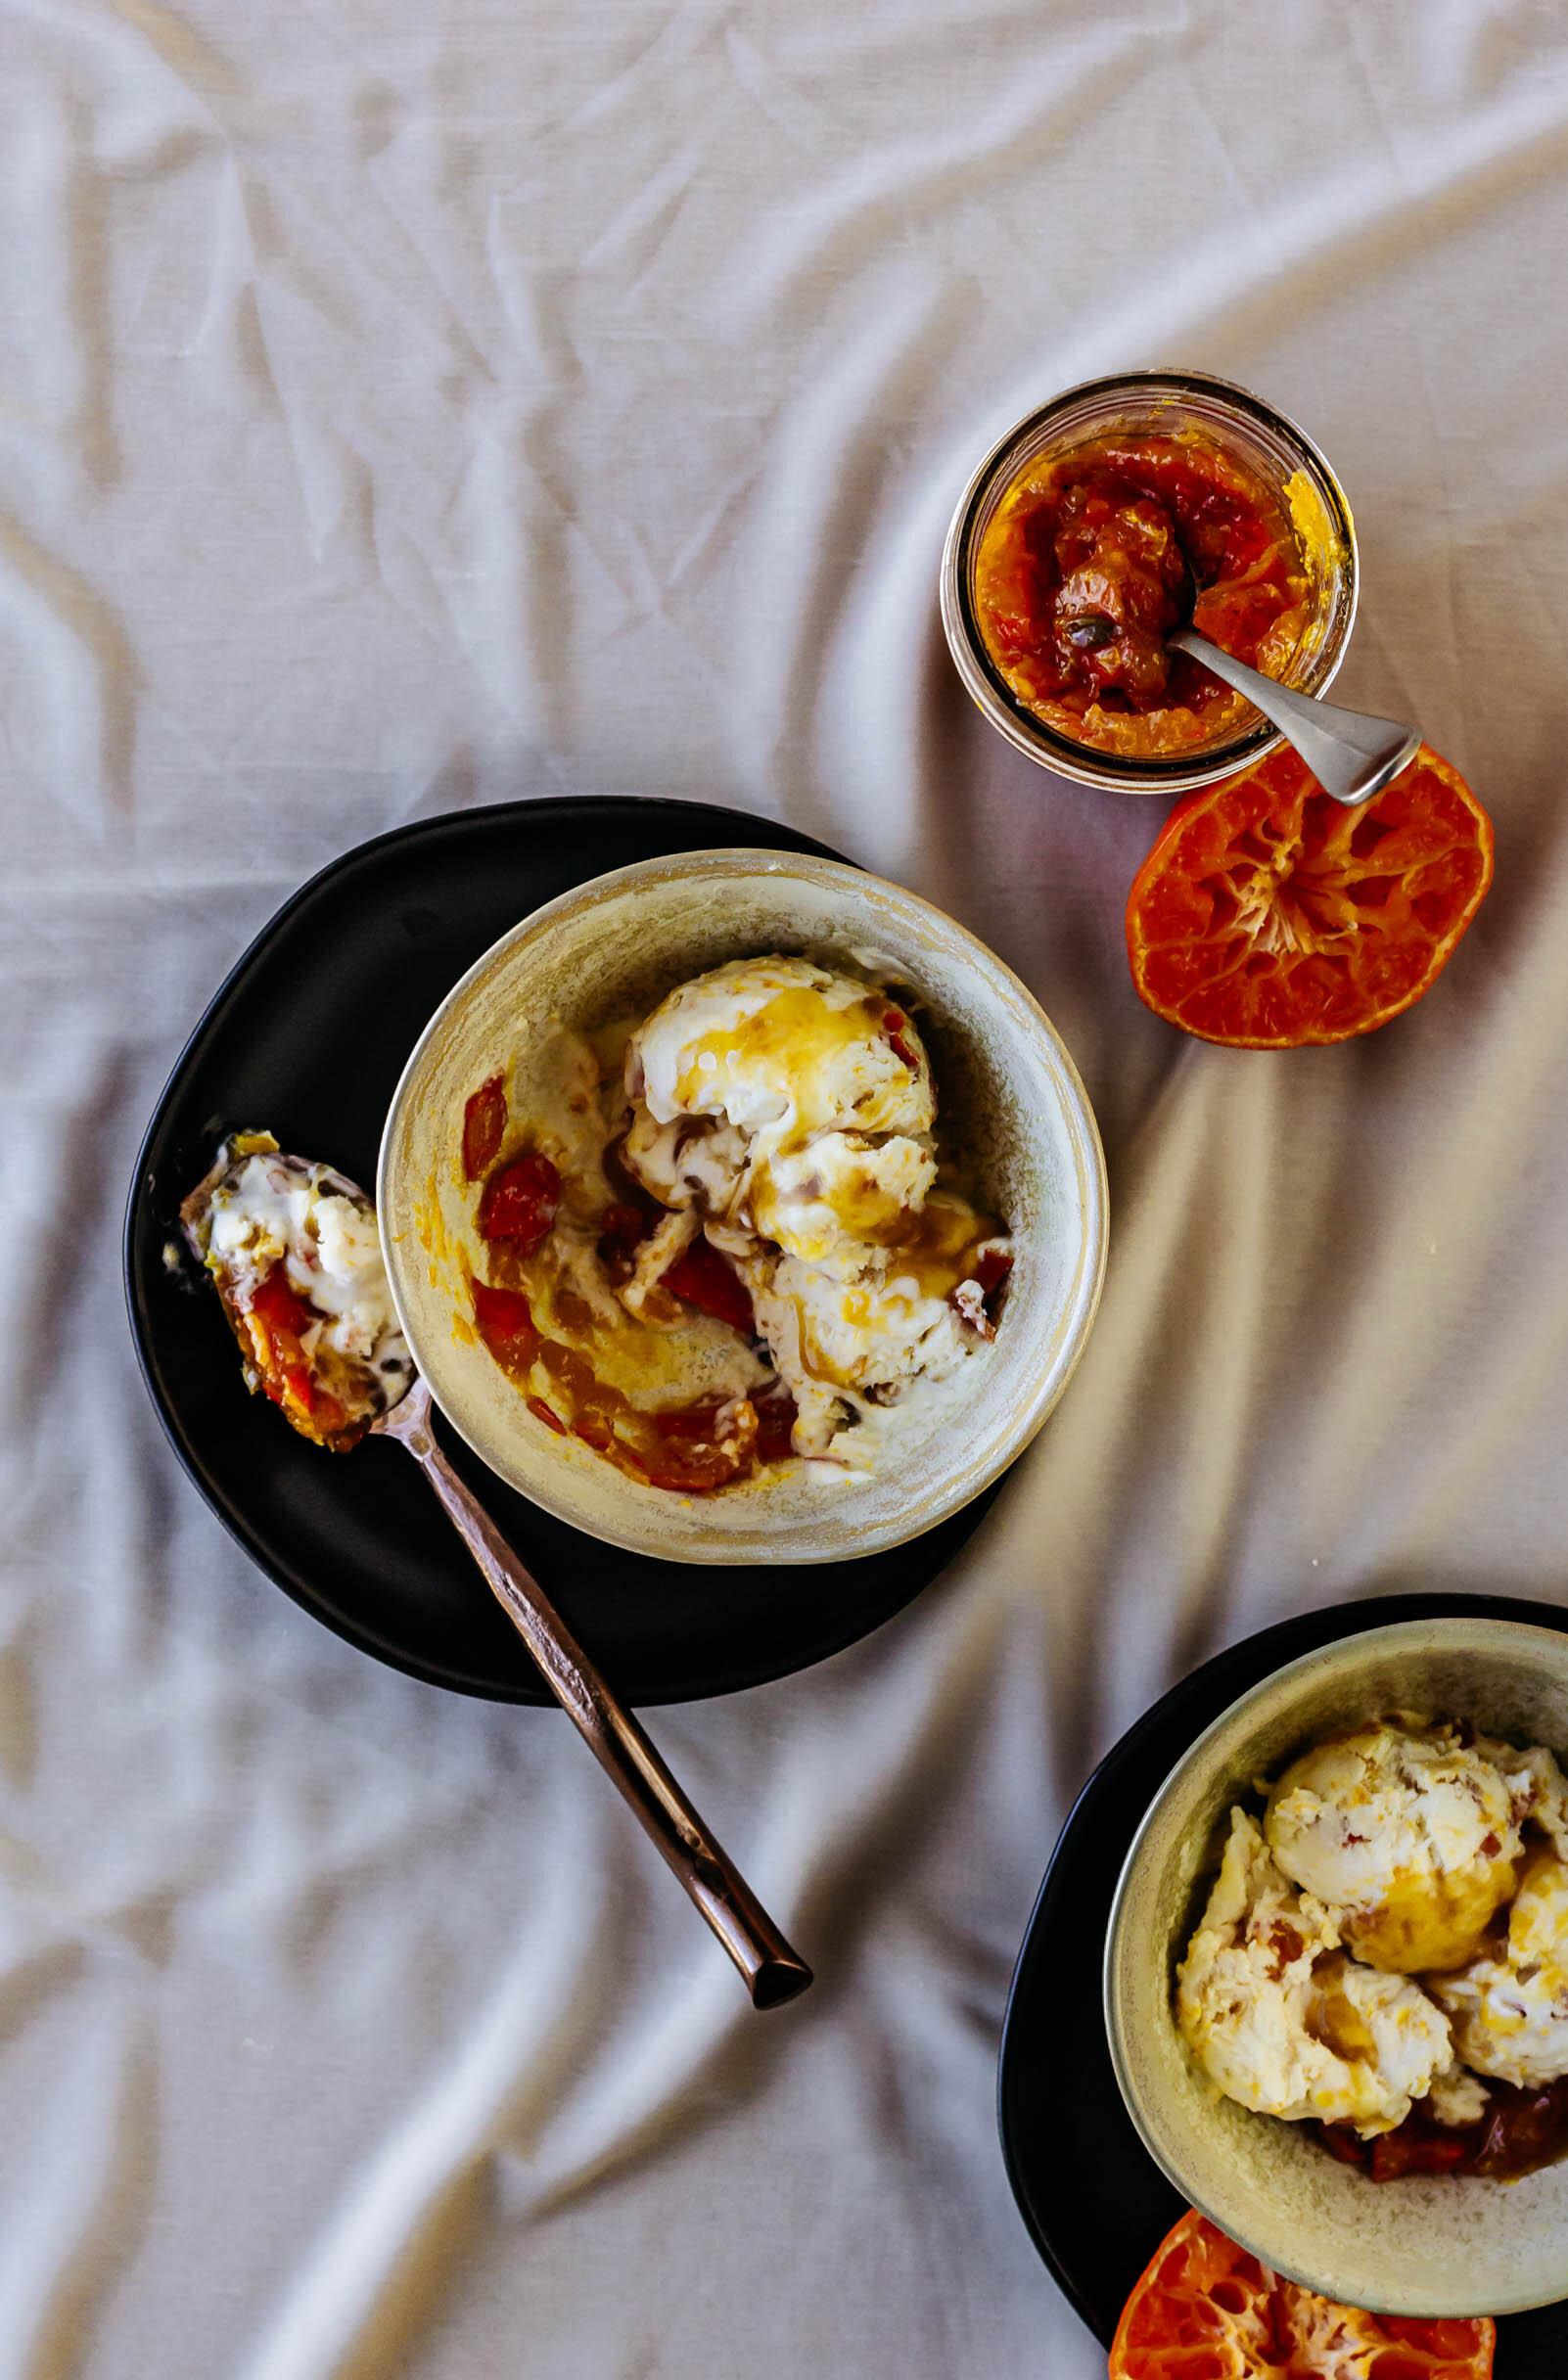
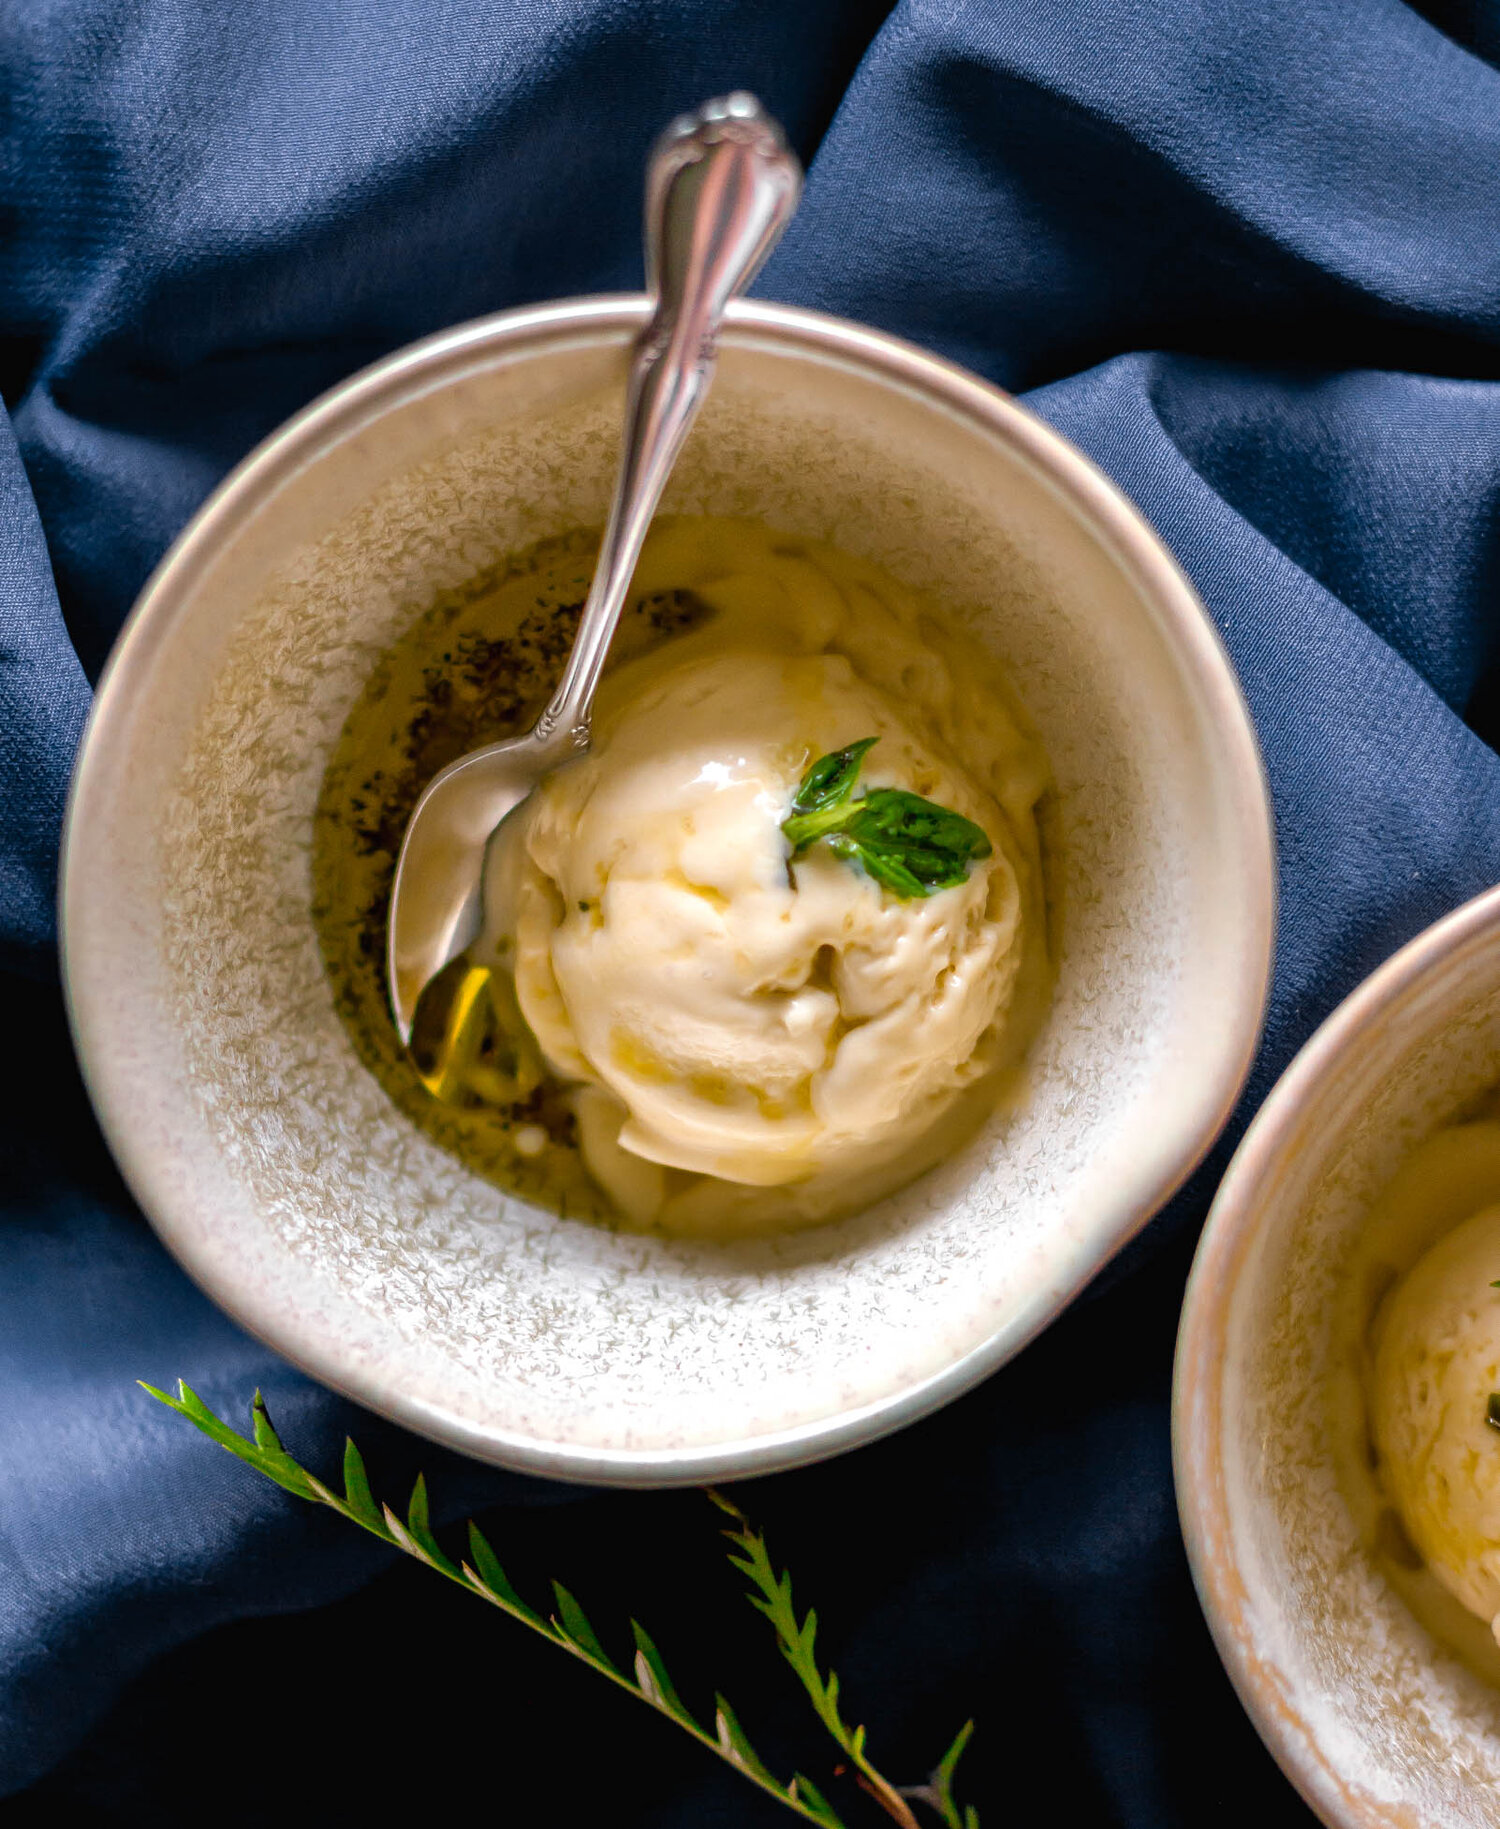
Last week we made grapefruit bundt cakes, this week we have tangerine fro-yo, and I’m working on a fun, boozy sour orange recipe. You’re going to be getting a whole bunch of citrus recipes whether you like it or not. ;) but I hope you like it! This tangerine frozen yogurt is so good and so simple. I took a bunch of my beautiful, vibrant tangerines and turned them into tangerine jam. (This recipe makes more tangerine jam than you need for the frozen yogurt, but I highly, highly, highly recommend baking some sourdough and slathering your warm bread with butter and tangerine jam.) The jam is then swirled into whipped heavy cream and greek yogurt and caramelized honey is folded in. The whole thing takes an overnight freeze and then we cut to you, sitting on a porch in the sun, eating frozen yogurt. What could be better?

In practical notes, you can 100% make this recipe with any citrus fruit, or honestly, any fruit you want. If you decide to use another non-citrus fruit, here are some very technical instructions- pop about 12 oz of fruit in a pot with some sugar (about 1/2 of the fruit weight) and a little lemon juice. Simmer until fruit is broken down and slightly thickened and then cool.

frozen yogurt, citrus, tangerines, honey, ice cream, oranges, winter, dessert, summer
ice cream, frozen yogurt
Yield: makes 1 quart of frozen yogurt
Author: Anna Ramiz
Caramelized Honey and Tangerine Frozen Yogurt

Caramelized Honey and Tangerine Frozen Yogurt

Prep time: 20 MinCook time: 1 H & 30 MInactive time: 12 HourTotal time: 13 H & 50 M
This frozen yogurt is made without an ice cream maker and is swirled with buttery caramelized honey and homemade tangerine jam.

Ingredients

for the tangerine jam
  • 2.5 lbs (about 10 oz) tangerines
  • 1 lb (454 g) granulated sugar
  • Juice of one lemon
for the frozen yogurt
  • 12 oz tangerine jam, recipe included
  • 1 cup (227 g) heavy cream
  • 1 1/2 cups (340 g) whole milk greek yogurt
  • 3/4 cup (255 g) honey
  • 1 tbsp unsalted butter
  • 1/4 tsp kosher salt

Instructions

to make the tangerine jam
  1. Wash the tangerines and place them (whole) into a large pot. Fill the pot with enough water to submerge the tangerines. Bring to a boil, then reduce heat to a simmer.
  2. Cook tangerines for 15-20 minutes, until the peels have softened. Drain and cool slightly.
  3. Quarter the tangerines and remove as many seeds as possible, then return the quartered tangerines to the pot. Add sugar and lemon juice and bring to a simmer over medium heat.
  4. Cook the jam for about 1 hour, stirring regularly, until the jam has thickened and the peels are very soft. Let cool.
  5. Transfer jam to a food processor and pulse until peels are broken down and the jam resembles orange marmalade in consistency. Divide between two jars, seal, and refrigerate until you are ready to use.
to make the frozen yogurt
  1. Line a 9x5” loaf pan with plastic wrap. Set aside.
  2. In a large skillet set over medium heat, cook the honey until bubbly, loosened, and very fragrant (about 5 minutes). Stir in the butter and salt, and then remove from heat to cool while you prepare the yogurt.
  3. In the bowl of a stand mixer fitted with the whisk attachment, whip heavy cream until soft peaks form. Add the yogurt and continue to whip until the mixture is homogenous and medium peaks form.
  4. Use a rubber spatula to gently fold the tangerine jam and 1/2 cup of the caramelized honey into the yogurt. Pour the mixture into the prepared pan, smooth the top with an offset spatula, and then press plastic wrap directly to the top of the yogurt. Wrap tightly and freeze for at least 8 hours, preferably overnight.
  5. When you are ready to serve, add a dollop of tangerine jam in the bottom of a bowl. Top with frozen yogurt and drizzle with remaining caramelized honey.

Notes:

  1. You can make this jam with oranges, mandarins, or other citrus fruits. Tangerine skins are very thin and soft so they cook down easily in this jam so keep that in mind when substituting other fruits. Thicker-skinned citrus may need to be peeled.
  2. You can substitute the whole-milk greek yogurt with whole milk regular yogurt or labneh. Just make sure it's full-fat or whole-milk or your frozen yogurt will be icy.
Did you make this recipe?
Tag @gatheredatmytable on instagram and hashtag it #gatheredatmytable