Peanut Butter Oat Breakfast Bars

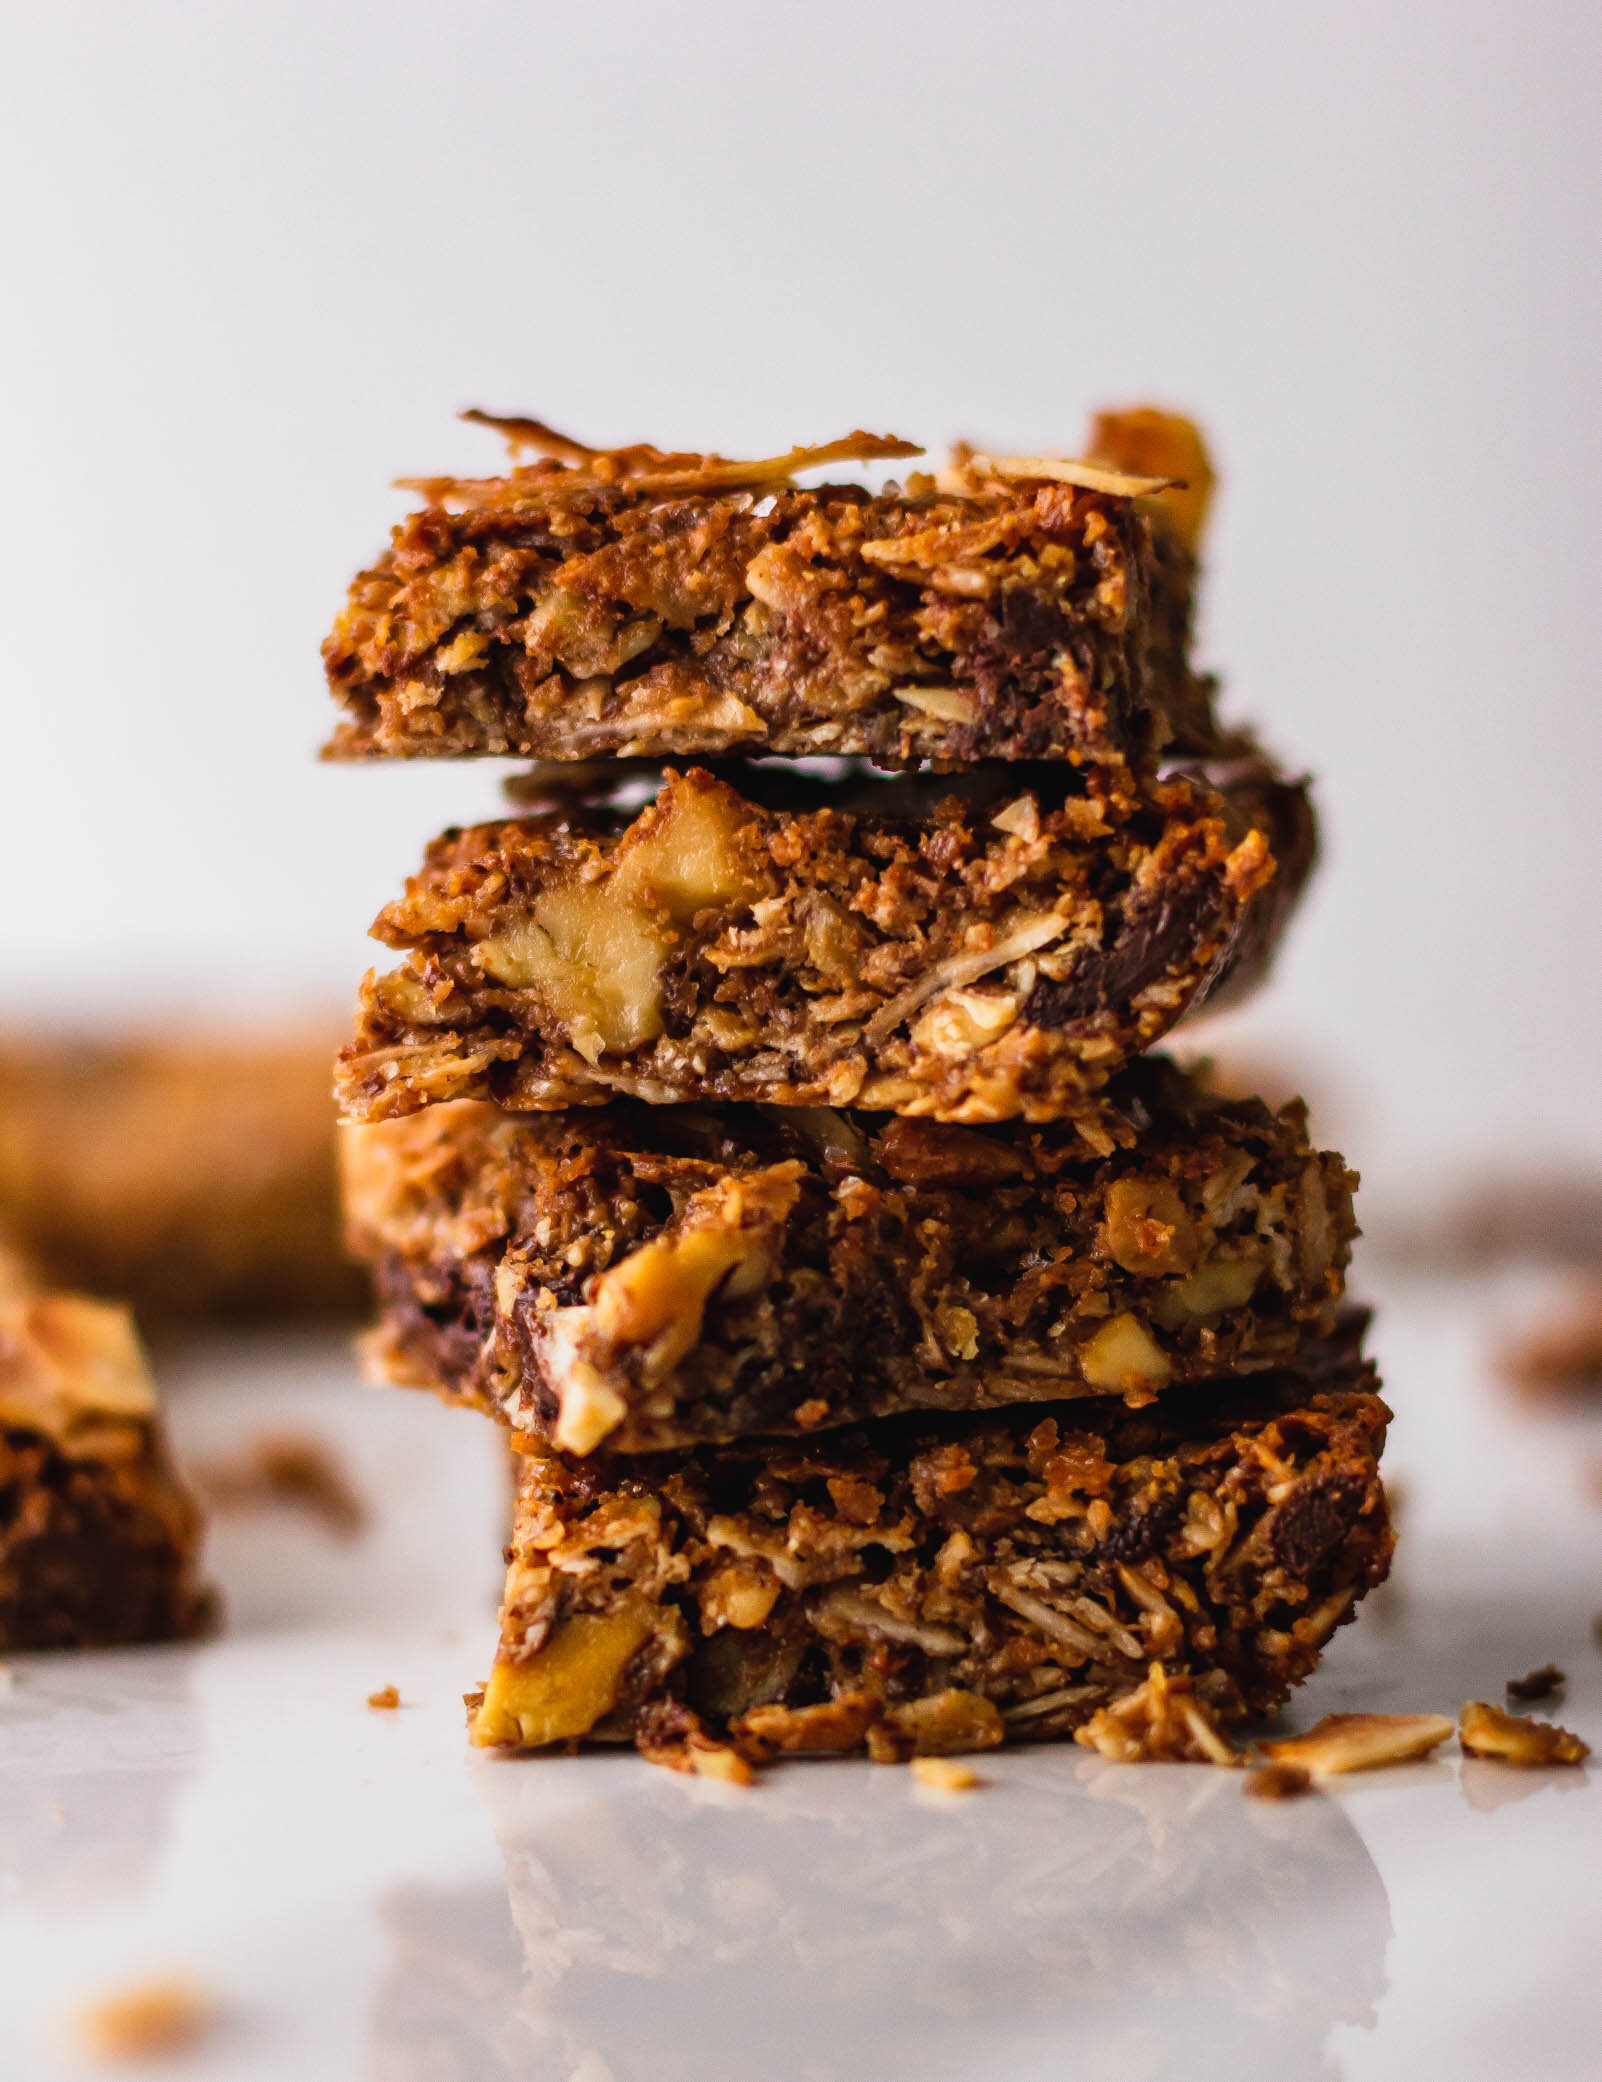
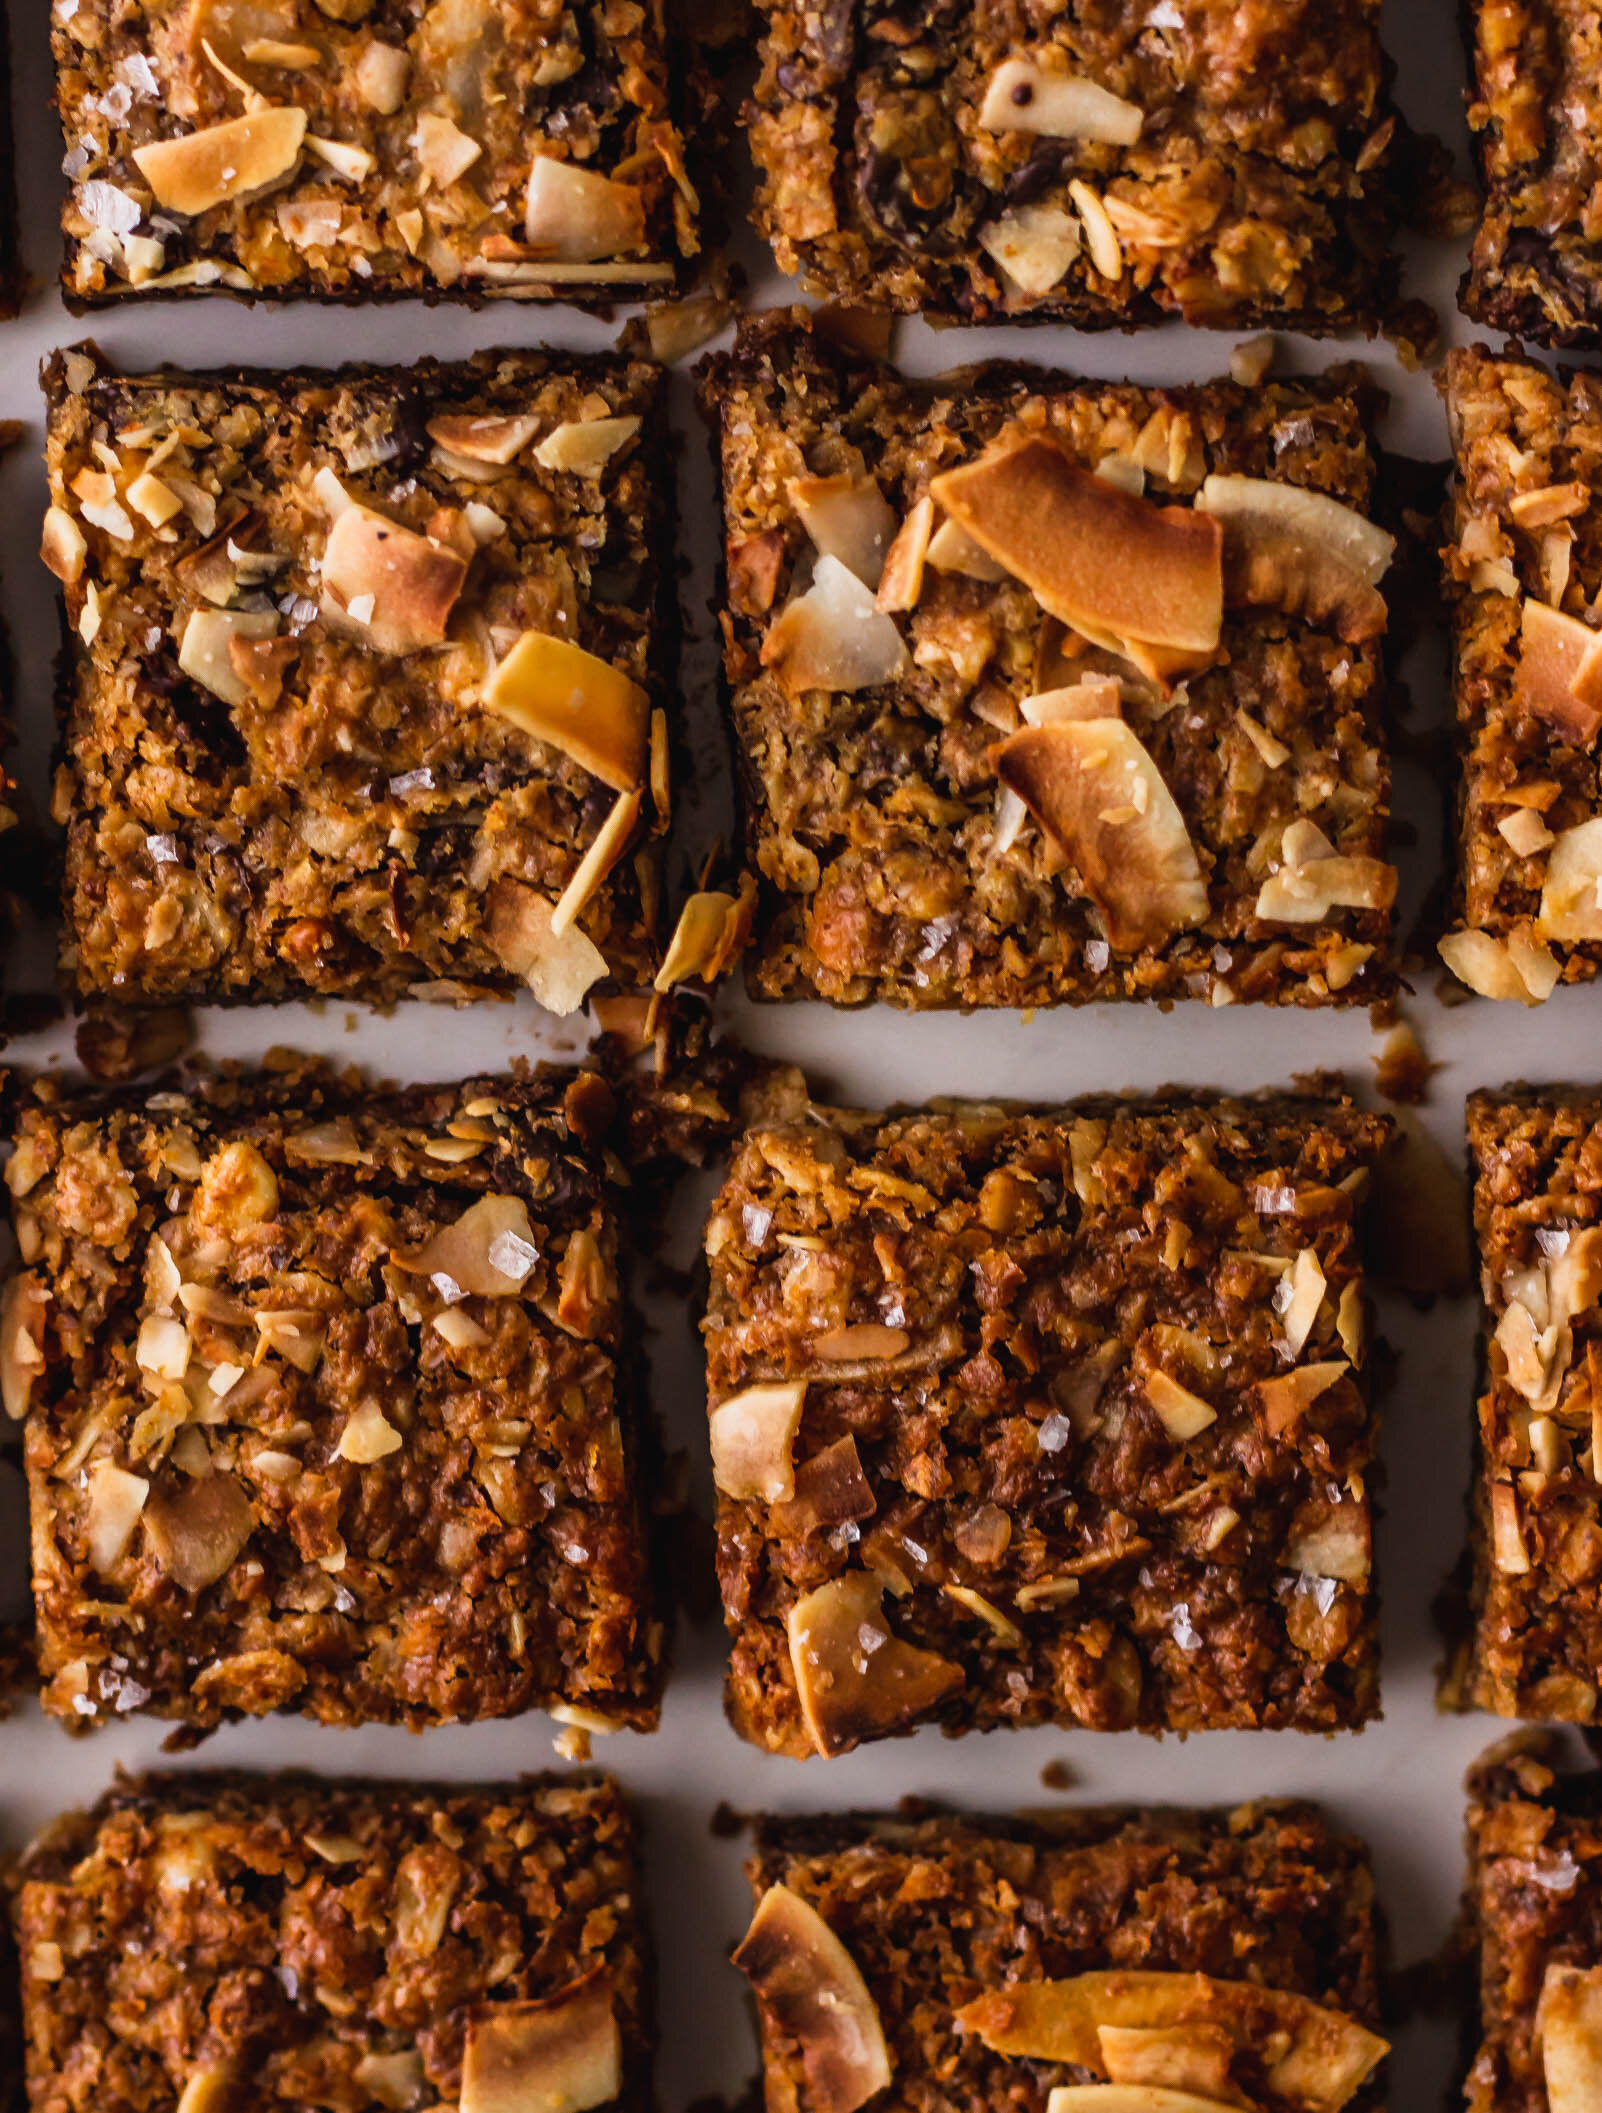
Gluten free, vegan peanut butter oat bars are great for breakfast or an afternoon snack. Filled with nuts, oats, and chocolate and topped with flaky salt, they are endlessly adaptable, healthy, and use ingredients you probably already have in your pantry.

closecorner2.jpg

I’m very picky when it comes to bakeries. A lot of American bakeries rely on sugar alone as flavor and, due to the volume of production, most treats are mediocre at best. That being said, there are a few bakeries who produce exceptional breads, pastries, and treats. They focus on quality over quantity and charge appropriately for their labor, allowing them to invest in skilled bakers and high-quality ingredients. Stopping by one of these rare bakery gems is an absolute delight. One of my very favorite bakeries is Wild Love Bakehouse in Knoxville, Tennessee. It’s a small cafe where natural light streams through the floor to ceiling windows, where you can watch the bakers knead and laminate dough through glass walls, where people gather at picnic tables watching kids run up and down the grassy lawn, where the coffee is always perfect and the croissants are always flaky. It’s a community spot through and through.

All summer, we would spend mornings before work or days off huddled around those picnic tables, drinking iced coffees and littering the table with croissant crumbs and Wild Love quickly became one of the friends I would miss upon my return to Florida. Everything that they make is great, from the chocolate croissants to the sausage biscuits, but it was their peanut butter oat bar that surprisingly stole the show. The peanut butter oat bar is the only gluten free baked good offered, so they sell out fast. They are thick squares, double the size of a brownie. Oats, nuts, and chocolate chips are bound together by peanut butter to create a cookie-like protein bar that will keep you full until lunch. And, of course, the tops are littered with a smattering of flaky salt, which you know if you’ve been around this blog for any amount of time is the fastest way to my heart.

singleslice4.jpg

making homemade granola bars

When I came back home to Florida and could no longer drive 3 minutes down the street for my peanut butter bar fix, I started working on my own. These can pass as breakfast or dessert, or both and will keep in the fridge for the whole week. If you are trying to stay away from refined sugars, try substituting coconut sugar for brown sugar. Feel free to make them your own, using whatever mix-ins you’d like, but make sure you don’t forget the salt! To make them vegan, just make sure to use vegan chocolate chips!

Yield: one 9x13" pan
Author: Anna Ramiz
Peanut Butter Oat Breakfast Bars

Peanut Butter Oat Breakfast Bars

Prep time: 15 MinCook time: 30 HourTotal time: 30 H & 15 M
Gluten free, vegan peanut butter oat bars are great for breakfast or an afternoon snack. Filled with nuts, oats, and chocolate and topped with flaky salt, they are endlessly adaptable, healthy, and use ingredients you probably already have in your pantry.

Ingredients

  • 1 3/4 cup rolled oats
  • 3/4 cup ground flaxseed
  • 1/2 tsp ground cinnamon
  • 1/2 tsp kosher salt
  • 1/3 cup light brown sugar*
  • 1/2 cup coconut oil, melted
  • 1/2 cup maple syrup
  • 1/3 cup almond butter
  • 1/3 cup peanut butter
  • 1 T vanilla extract
  • 1/2 cup walnuts, toasted
  • 1 cup dark chocolate pieces
  • 1/2 cup coconut chips, toasted

Instructions

  1. Preheat the oven to 350° F. Line a 9x13” baking dish with parchment leaving about an inch overhang and set aside.
  2. In the bowl of a food processor, combine 3/4 cups rolled oats and flaxseed. Pulse until oats are coarsely ground and resemble the consistency of bread crumbs. Transfer the mixture to a large bowl and add the remaining 1 cup whole rolled oats, cinnamon, and salt.
  3. Place chopped walnuts on a small baking sheet and toast for 5-7 minutes, until nutty and fragrant. In the last 2-3 minutes of toasting, add the coconut chips. Remove from the oven when everything is lightly browned and let cool while you mix the wet ingredients.
  4. In a medium bowl, combined melted coconut oil, maple syrup, brown sugar, vanilla extract, and nut butters. Whisk until smooth and homogenous.
  5. Pour combined wet ingredients into the dry ingredients and fold with a rubber spatula until well mixed and a crumbly batter has formed. Fold in the walnuts, toasted coconut, and chocolate.
  6. Pour the mixture into the prepared pan and use a rubber spatula or your hand to press down into an even layer. Bake for 25-30 minutes, rotating the pan halfway through the baking time, until golden brown. Remove from the oven, sprinkle with flaky salt, and let cool in the pan for at least an hour. (The longer you let them cool, the more likely they will hold together). If you want to speed this up, when the pan has cooled mostly, you can transfer it to the refrigerator.
  7. When you are ready to slice, grab the parchment paper sides and gently lift the bars out of the pan. Slice into even squares and share with a friend!

Notes:

If you are trying to stay away from refined sugars, try substituting coconut sugar for brown sugar.


To make these vegan, make sure to use vegan chocolate chips in place of regular chocolate chips.

Did you make this recipe?
Tag @gatheredatmytable on instagram and hashtag it #gatheredatmytable

Toasted Buckwheat and Chocolate Cookies with French Grey Salt

buckwheatchocolate6.jpg

A few months ago, I was wandering through World Market probably spending more money than I needed to on more linens and kitchen gadgets than I needed, when a giant bag of French grey salt caught my eye. I love new and fancy salts. A few years ago Martin even built me a little kitchen tray just for my salt collection and let me tell you, that tray is very full. I love how salt comes in different shapes and sizes and colors, each with it’s own characteristics and purpose when cooking. I also firmly believe that desserts especially need salt. Salt makes every other ingredient in a dessert shine, while cutting through sweetness and adding complexity. I just really love the stuff. And if you have been around this blog for any amount of time, you know that the most important part of any great cookie is the flaky salt sprinkled generously on top right as they come out of the oven. (If you don’t believe me, you can find proof here, here, and here.)

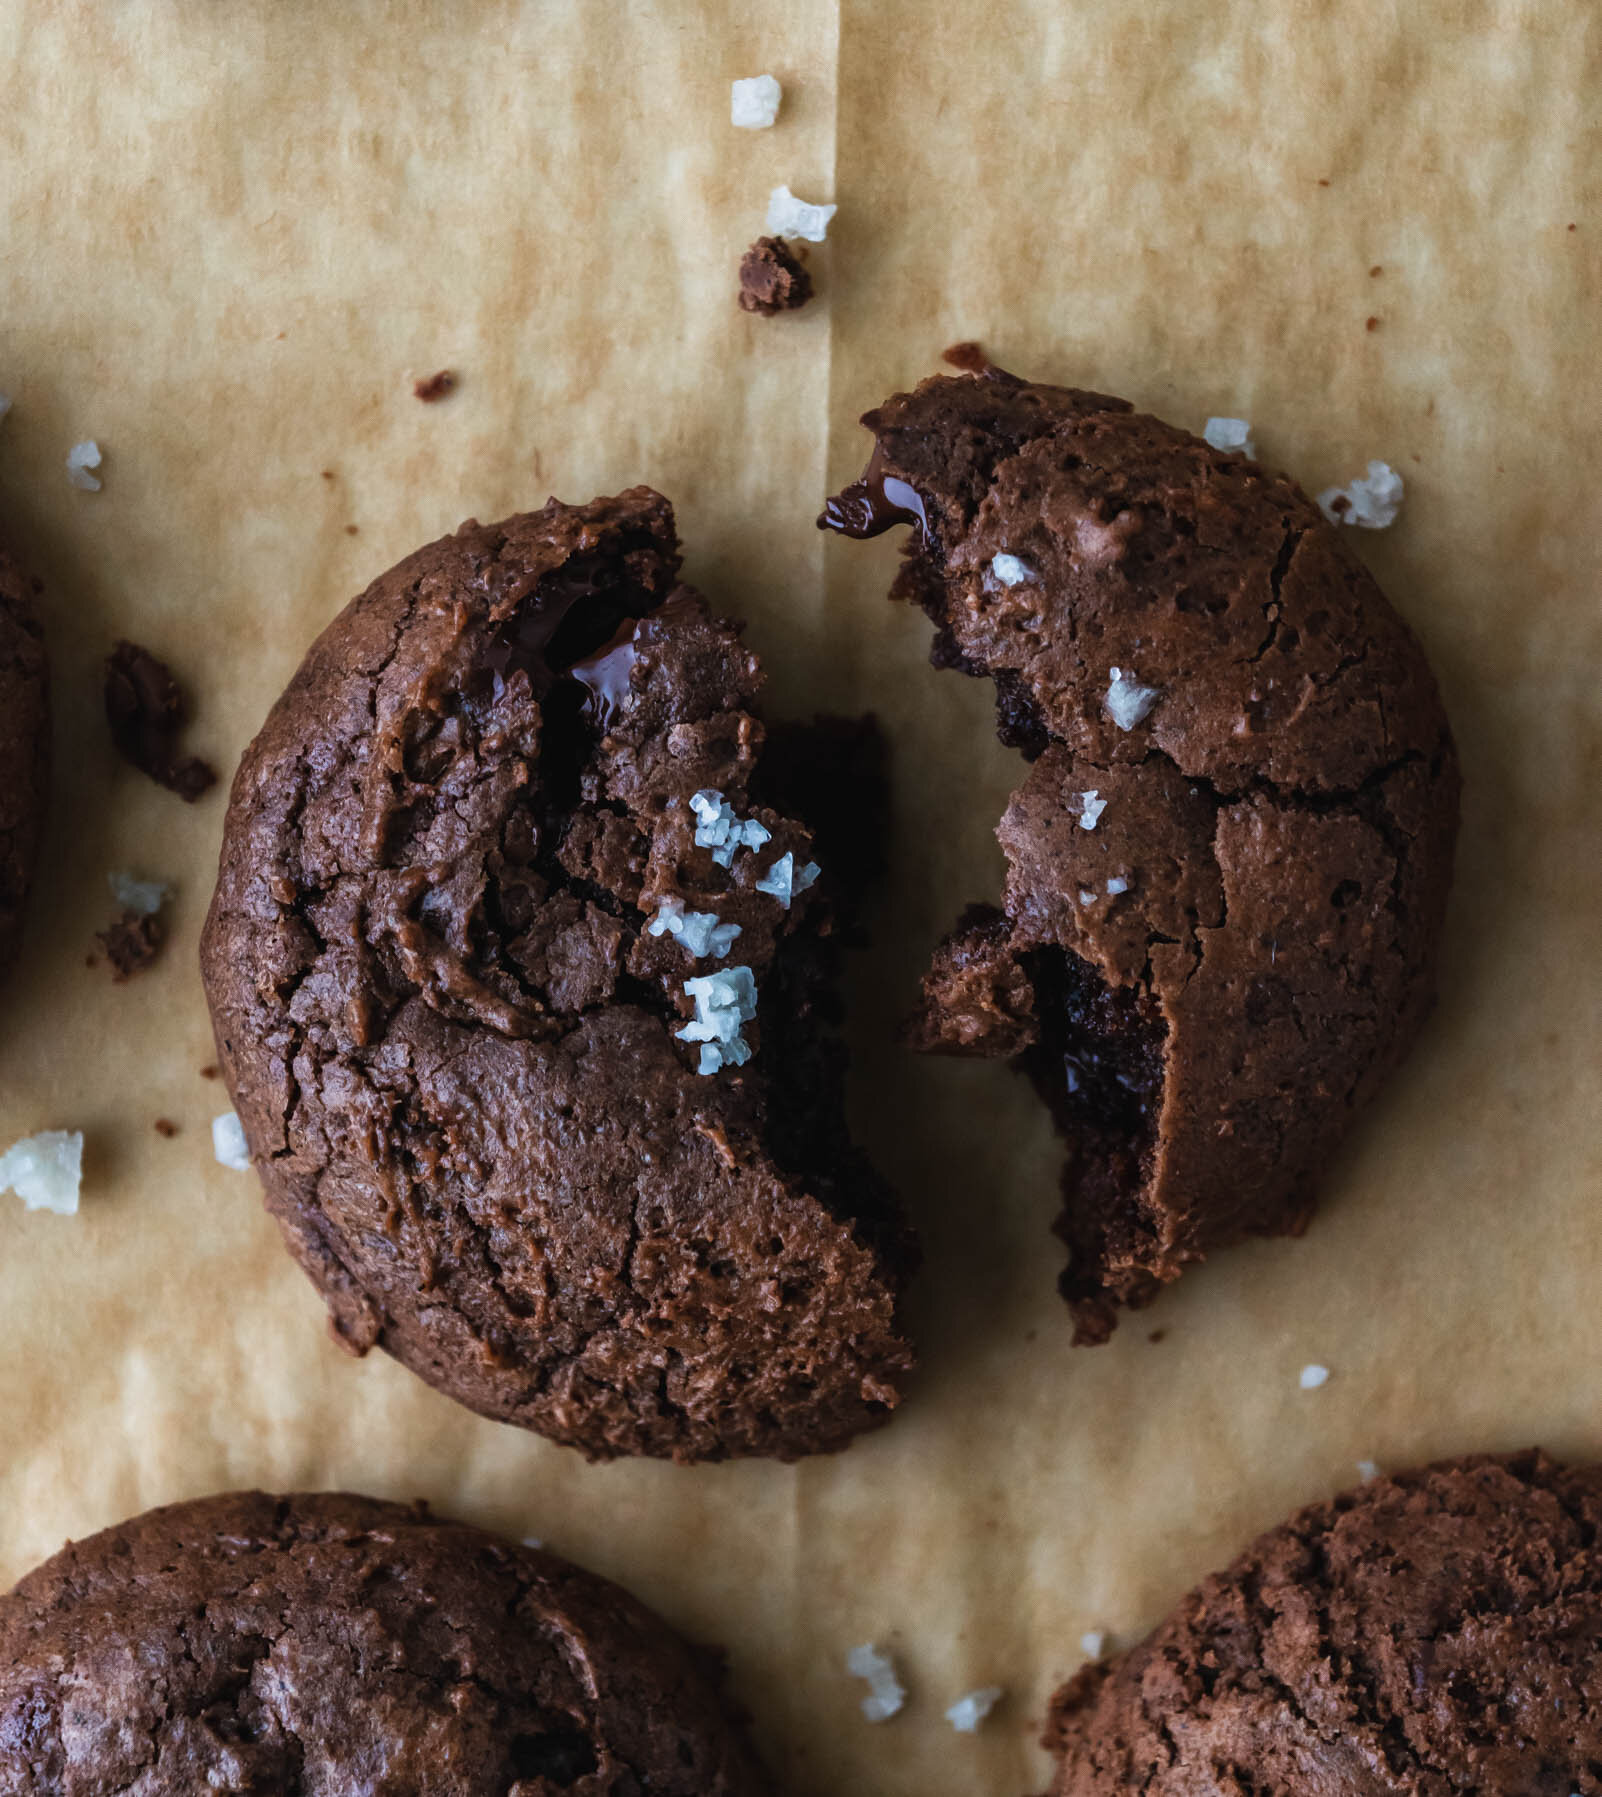
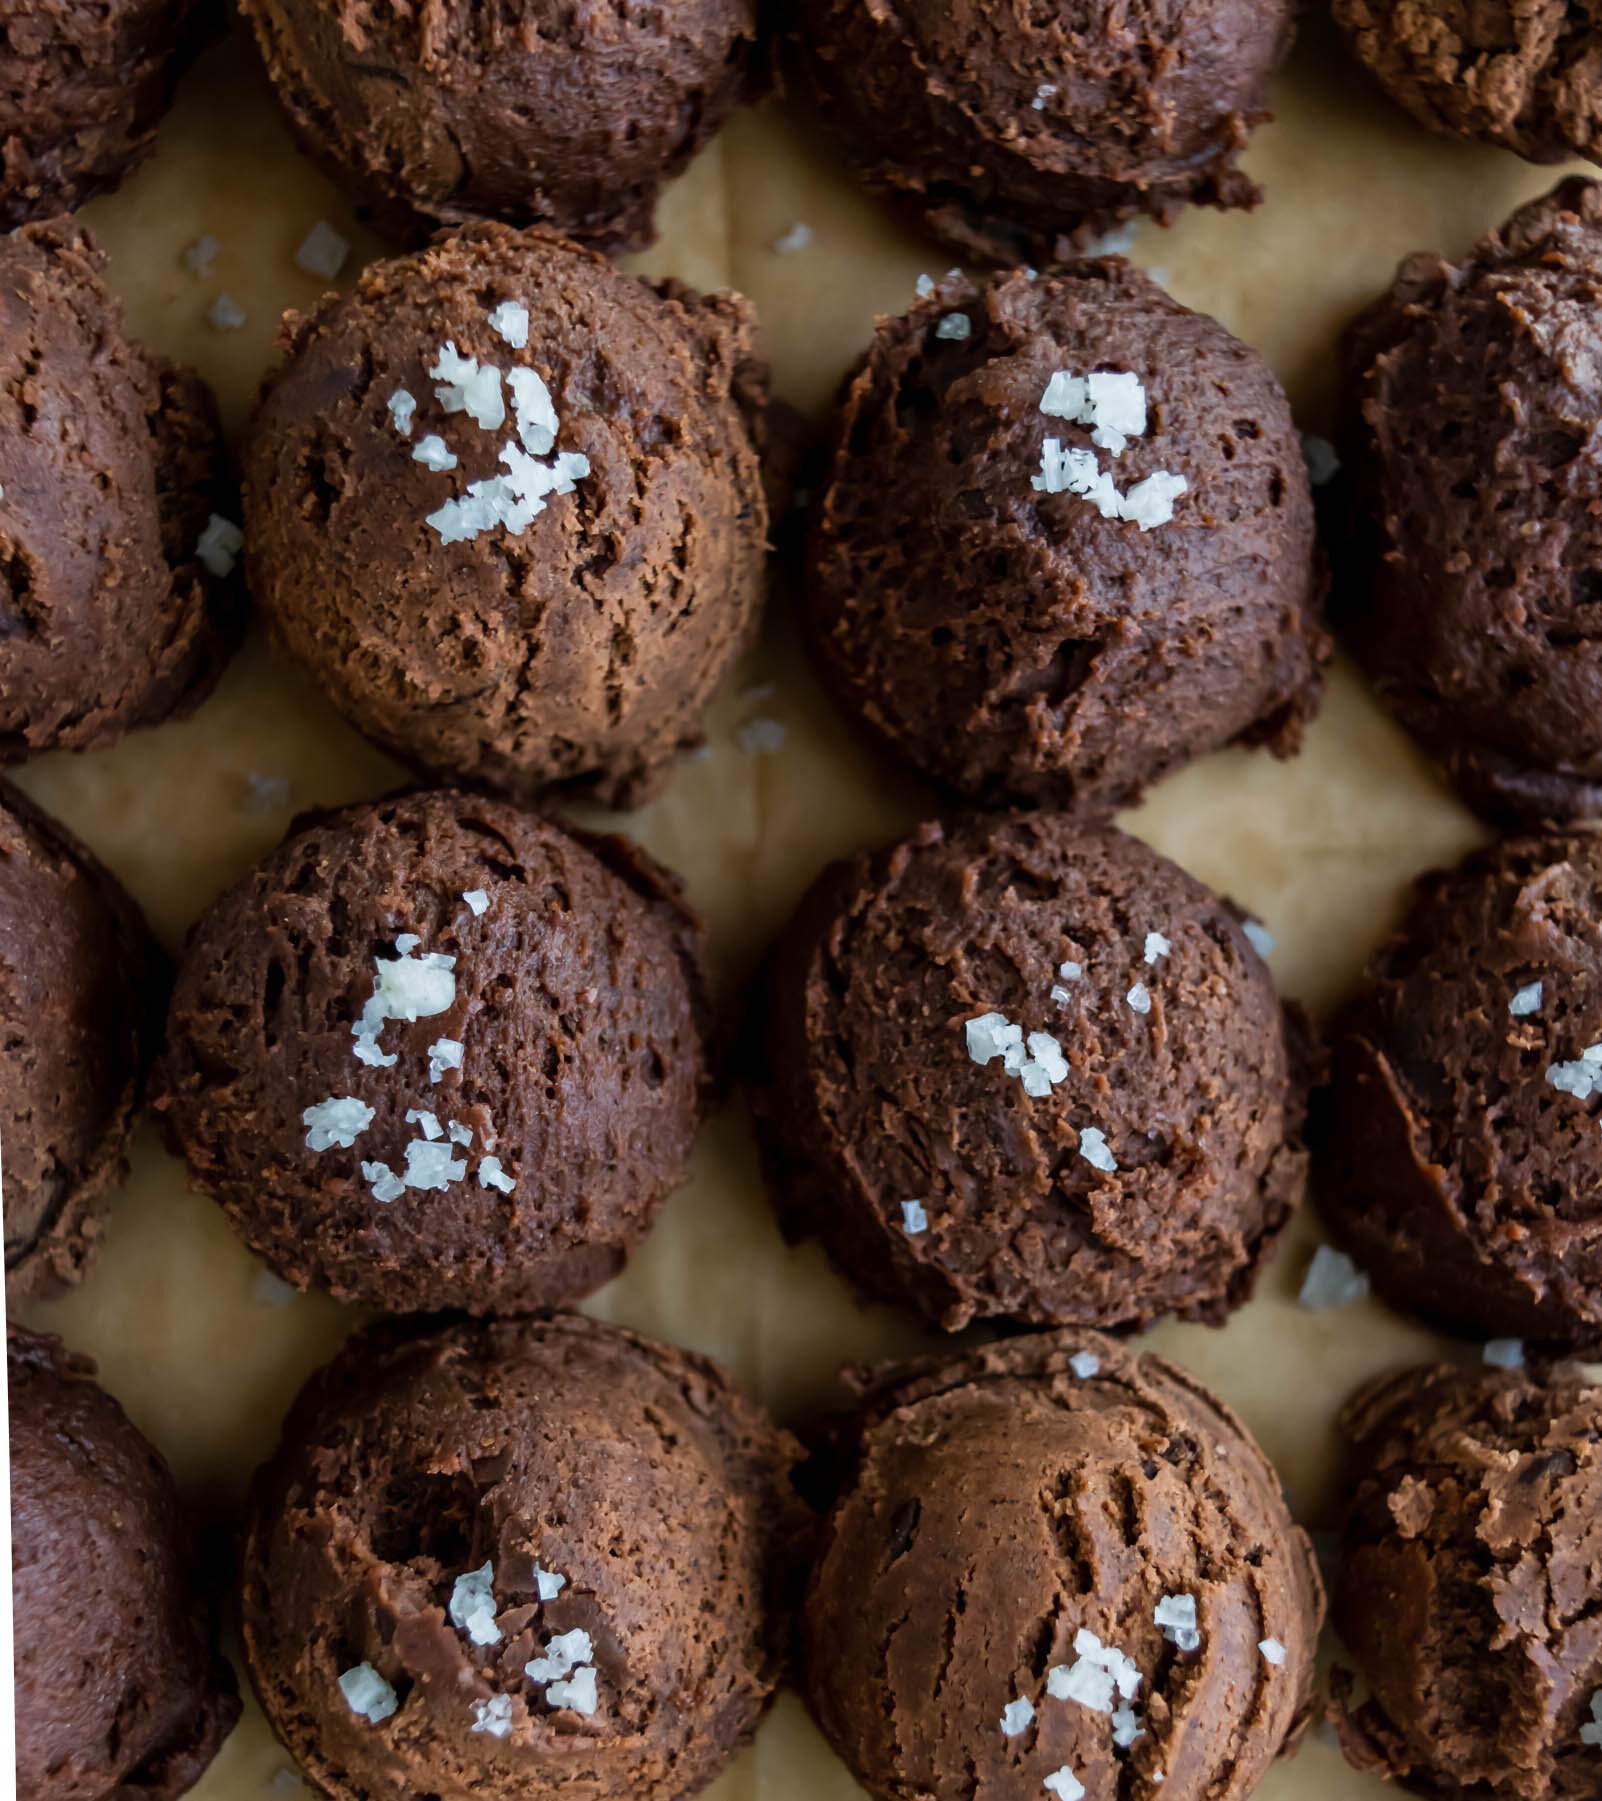
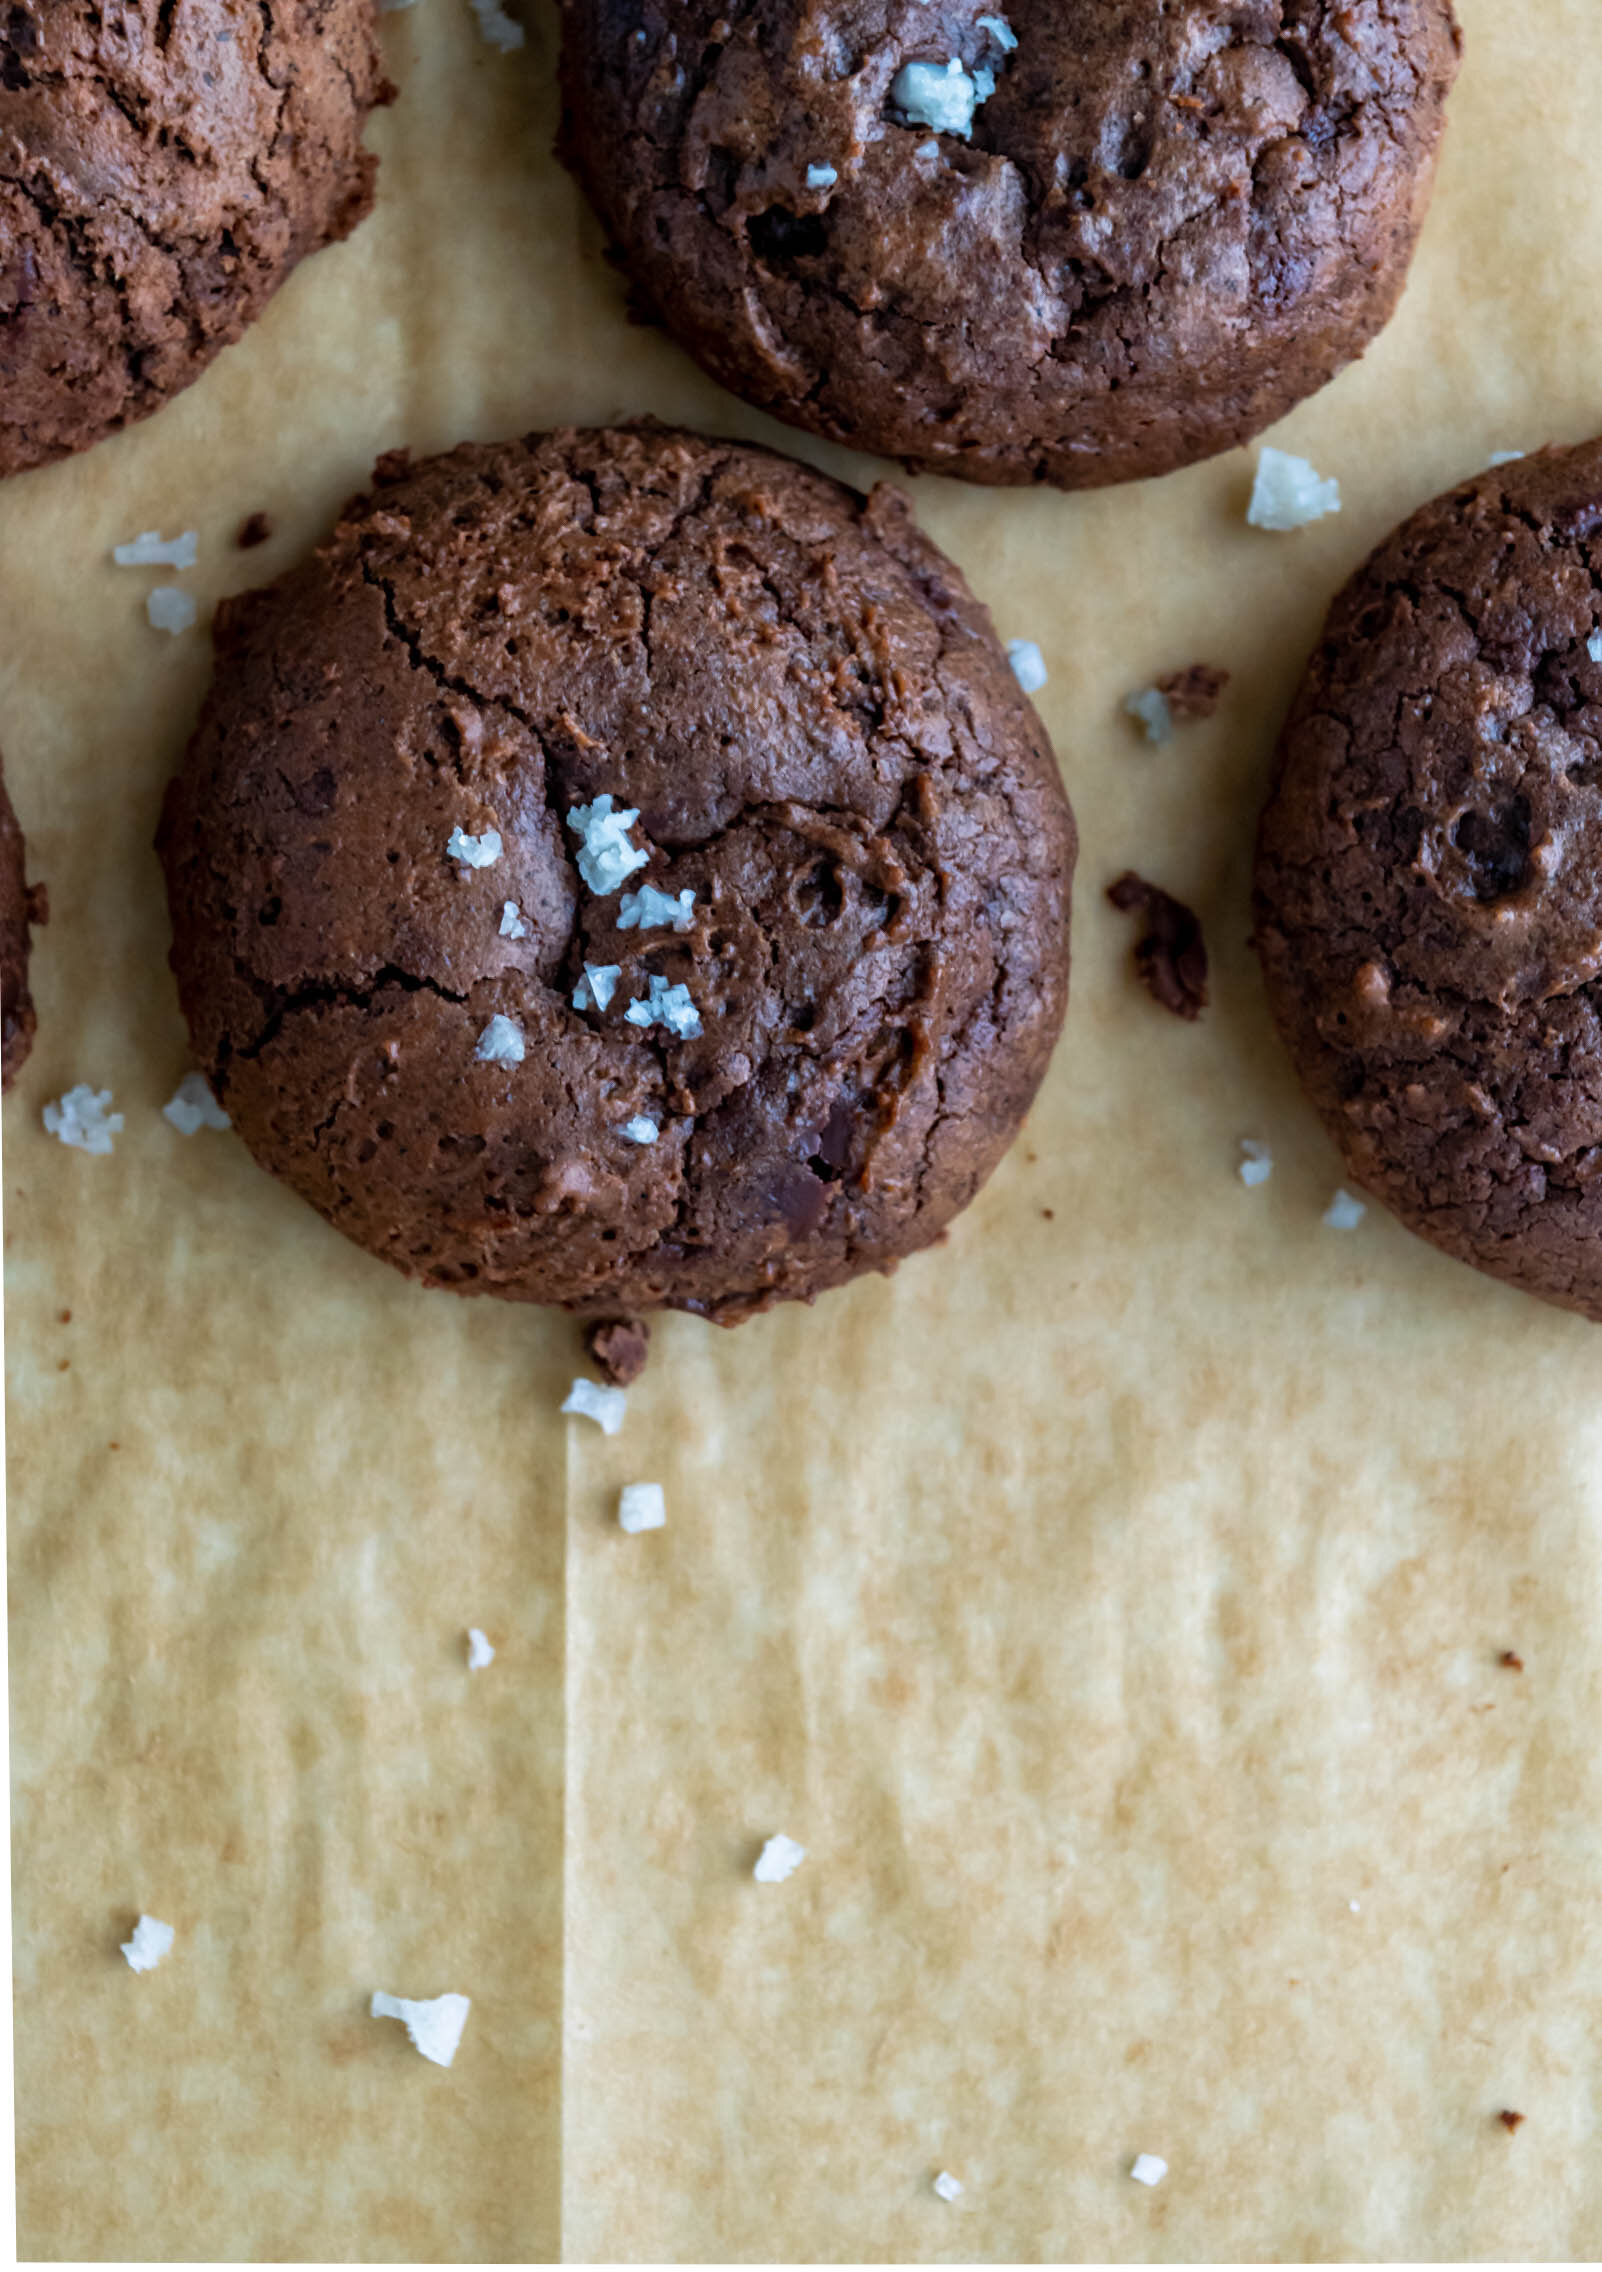
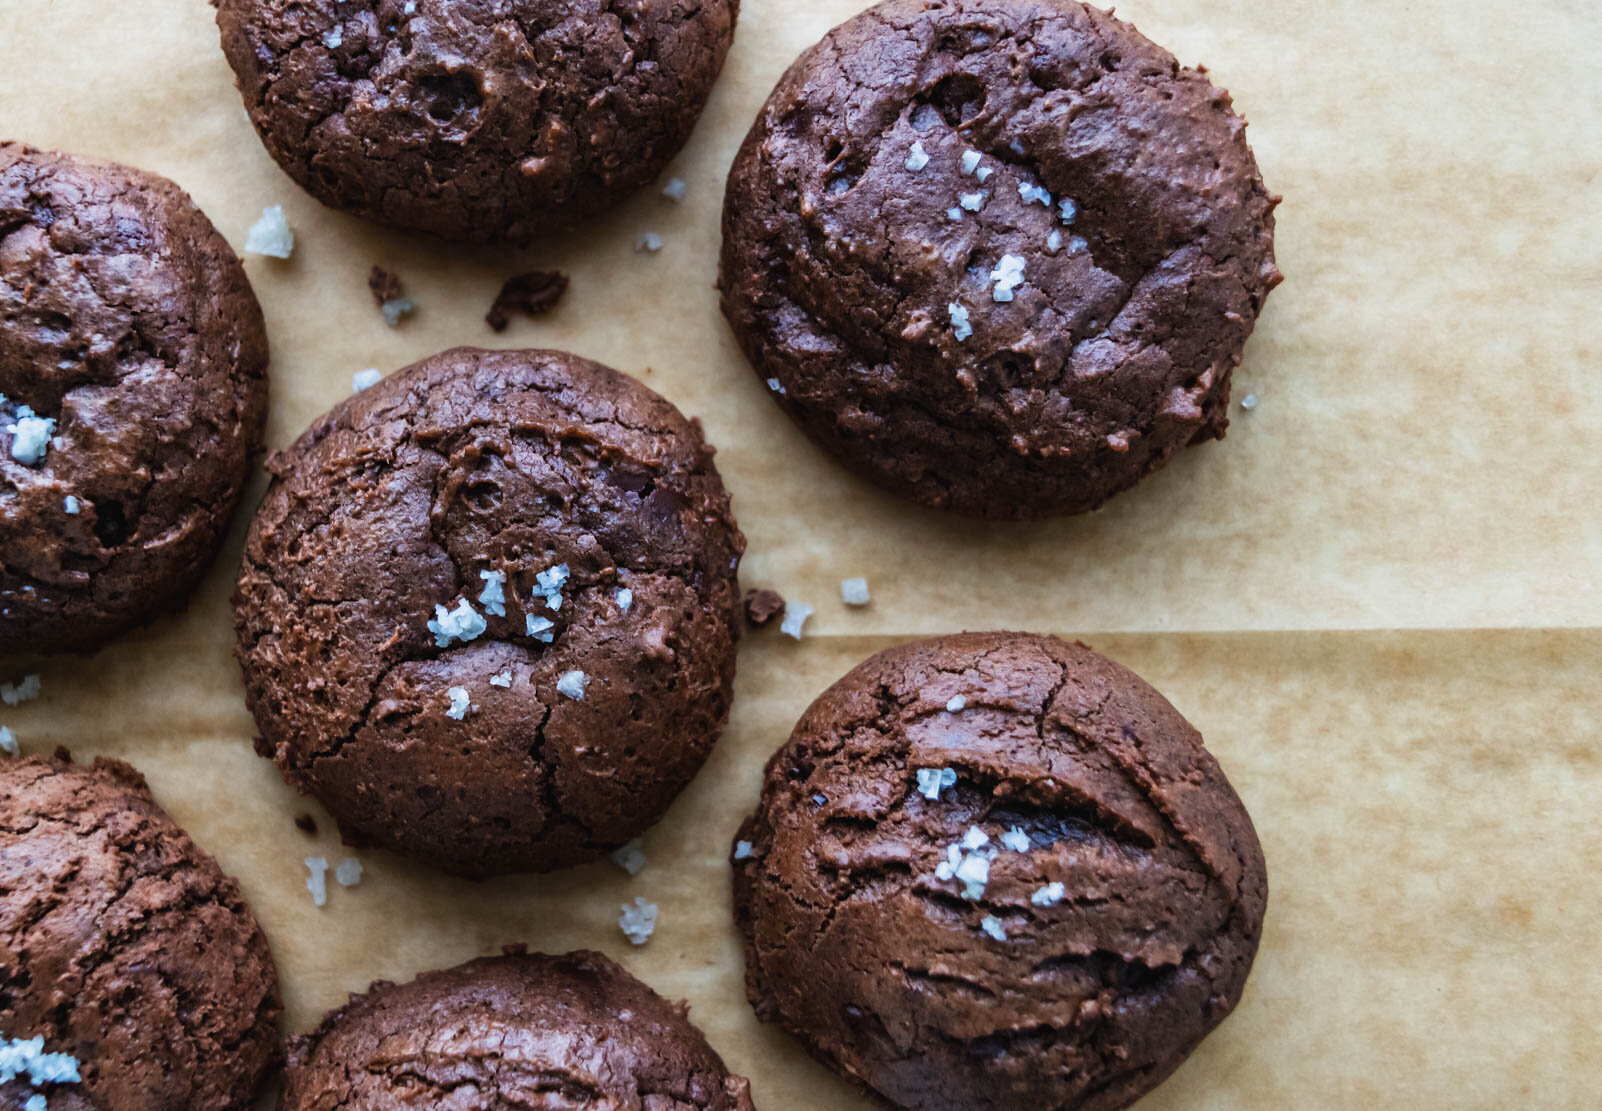
So this French grey salt peaked my interest. They are large, coarse grained crystals that clump together from moisture. The salt has an extra bit of salinity and briny-ness and tastes exactly like the ocean. In order for that sea water taste to really shine, I paired it with super nutty toasted buckwheat flour and bitter dark chocolate, and it is heaven. These cookies are thick and puffy, but with the texture of a fudgey brownie in the center. If you aren’t able to find French grey salt, you can always substitute a flaky salt like Maldon, but I encourage you to check out your local World Market (or buy it here on Amazon because Amazon always has everything) and experiment with something new. You can never have too many salts, and who knows? Collect enough and maybe your partner will build you a special shelf for them too!

buckwheatchocolate2.jpg

Toasted Buckwheat Chocolate Cookies with French Grey Salt

Yield: 40 medium/small sized cookies 

Ingredients: 

16 oz dark chocolate, chopped and divided 

1 stick (113 g; 4 oz) unsalted butter, cubed

1 cup (240 g; 8.4 oz) granulated sugar

1/2 cup (100 g; 3.4 oz ) light brown sugar

2 tsp vanilla extract

4 eggs

1 1/2 cups (218 g) all purpose flour

3/4 cup (115 g) buckwheat flour

2 tbsp (14 g) dark cocoa powder

1 tsp baking powder

1/4 tsp salt

French grey salt, for finishing 

Procedure: 

  1. Preheat oven to 350° F. Spread buckwheat flour in an even layer on a small sheet pan. Toast for 5-8 minutes, until fragrant. Set aside to cool.

  2. In a medium-sized heatproof bowl set over a double boiler, combine 11 oz of the chocolate with the butter. Heat, over medium high heat, until smooth and completely melted. Set aside to cool slightly. 

  3. In the bowl of a stand mixer fitted with the whisk attachment, combine sugar, brown sugar, eggs, and vanilla. Whip on medium-high speed until the mixture is light in color and slightly thickened. (You should be able to pull the whisk out of the bowl and the mixture should leave a ribbon-like mark in the mixture.)

  4. In a small bowl, whisk together flour, buckwheat flour, cocoa powder, salt, and baking powder.

  5. With the mixer on low speed, stream in melted chocolate mixture. Increase speed to medium and mix until just combined (about 30 seconds).

  6. Switch from the whisk attachment to the paddle attachment and gradually add the dry ingredients, with the mixer still on low speed. Add the remaining 5 oz chopped chocolate and mix for another 30 seconds. Be sure to scrape down the sides of the bowl frequently and mix until just combined and no flour streaks remain. You want to be careful not to overmix, but ensure that everything is well-combined and homogenized.

  7. Cover the bowl with plastic wrap and refrigerate for 30-45 minutes. 

  8. Once the dough has set up slightly, use a medium cookie scoop (about 1-1/2 tablespoons), to scoop cookies onto a parchment-lined baking sheet. Cover the tray with plastic wrap, and return to the refrigerator. Chill for another 30 minutes to an hour, or overnight.

  9. When you’re ready to bake, preheat the oven to 350° F and line another baking sheet with parchment paper. Place chilled cookie dough onto the tray, leaving about 2” of space between. Sprinkle each cookie dough ball with a pinch of French grey salt. 

  10. Bake for 8-10 minutes for smaller cookies, 10-12 minutes for larger cookies. Let cookies cool at least 5 minutes on the pan before transferring to a cooling rack. 

Print Friendly and PDF

As an Amazon Associate I earn from qualifying purchases.

Fig Butter and Blue Cheese Rugelach

baked3.jpg

This post contains affiliate links.

The first few weeks of January are always filled with what I like to call “baking with scraps”. This consists of me, looking at all of the hodgepodge left in my refrigerator from the holidays and figuring out how I can repurpose it into something else so that it doesn’t go to waste. This year’s baking with scraps featured savory scones that used up a little bit of buttermilk on it’s last leg, half a block of cheddar cheese left by Christmas Eve macaroni, and lots of dill beginning to yellow at the tips. Cookies almost always make an appearance, as it seems they were made for stuffing with miscellaneous goodies. And we stumbled on this little rugelach. I was looking for a way to use up a jar of fig butter and a block of blue cheese in a way that didn’t involve creating another charcuterie board (I think we can all agree that we need a little reprieve from food on boards), and I thought of rugelach. Are they a cookie or a tart? I don’t know, but their flaky little crusts are perfect for stuffing with refrigerator scraps and they are also very cute. All-around winners in my book.

The rugelach dough recipe is from Sweet by Yotam Ottelenghi and Helen Goh and I have waxed poetic about this book’s greatness many times before. (Like here) The dough is easy to throw together and it turns out perfectly every time I make them. I’ve included some other variations at the bottom of the recipe in case your fridge doesn’t have fig butter and blue cheese hanging out in it, so feel free to make them your own! That’s the best part about #bakingwithscraps season!

Also, I made these on my Instagram story last week, so if you want a visual of the whole rolling/filling/shaping process, I’ve saved it to my highlights and you can head over there to check it out.


Fig Butter and Blue Cheese Rugelach

Yield: 24 small rugelach

Ingredients:

for the rugelach dough (recipe from Sweet)

1 1/4 cups (160 g) all purpose flour

pinch of salt

1/4 tsp baking powder

zest of one lemon

1/2 cup +1 T (125 g) unsalted butter, cold and cubed

4 1/2 oz (125 g) cream cheese, cold and cubed

plated2.jpg

for the filling:

4-5 tablespoons fig butter (or other thick, paste-like jam)

small block (about 2 oz) blue cheese

egg, for egg wash

demerara sugar, for sprinkling (optional)

Procedure:

to make the rugelach dough:

  1. Combine flour, salt, baking powder, and lemon zest in the base of a food processor. Pulse a few times to combine. Add the butter cubes and continue to pulse for about 30 seconds, until the butter has broken up and the mixture has a coarse texture, similar to breadcrumbs. Add the cream cheese and process just until the dough begins to clump into a ball around the blade.

  2. Turn the dough onto a lightly-floured work surface and push together with your hands. Knead a couple times, just to bring it together and then gently shape into a ball. (Be careful not to overwork your dough here to ensure flaky, pie-like texture in your final product.)

  3. Divide the dough in two and wrap each round loosely in a piece of plastic. Use your hand to press into a disc and chill for at least an hour.

assembly:

  1. Working with one disc at a time on a lightly-floured work surface, roll the dough into a circle, approximately 9” in diameter and about 1/8” thick. Use a cake pan or another large, circular item to trim the edges.

  2. Use an offset spatula to spread half of the fig butter in a thin, even layer across the dough, reaching all the way to the edges. Sprinkle half of the blue cheese on top. Then, using a sharp knife or a pastry wheel, slice the dough like you would a pizza—into 12 even triangles.

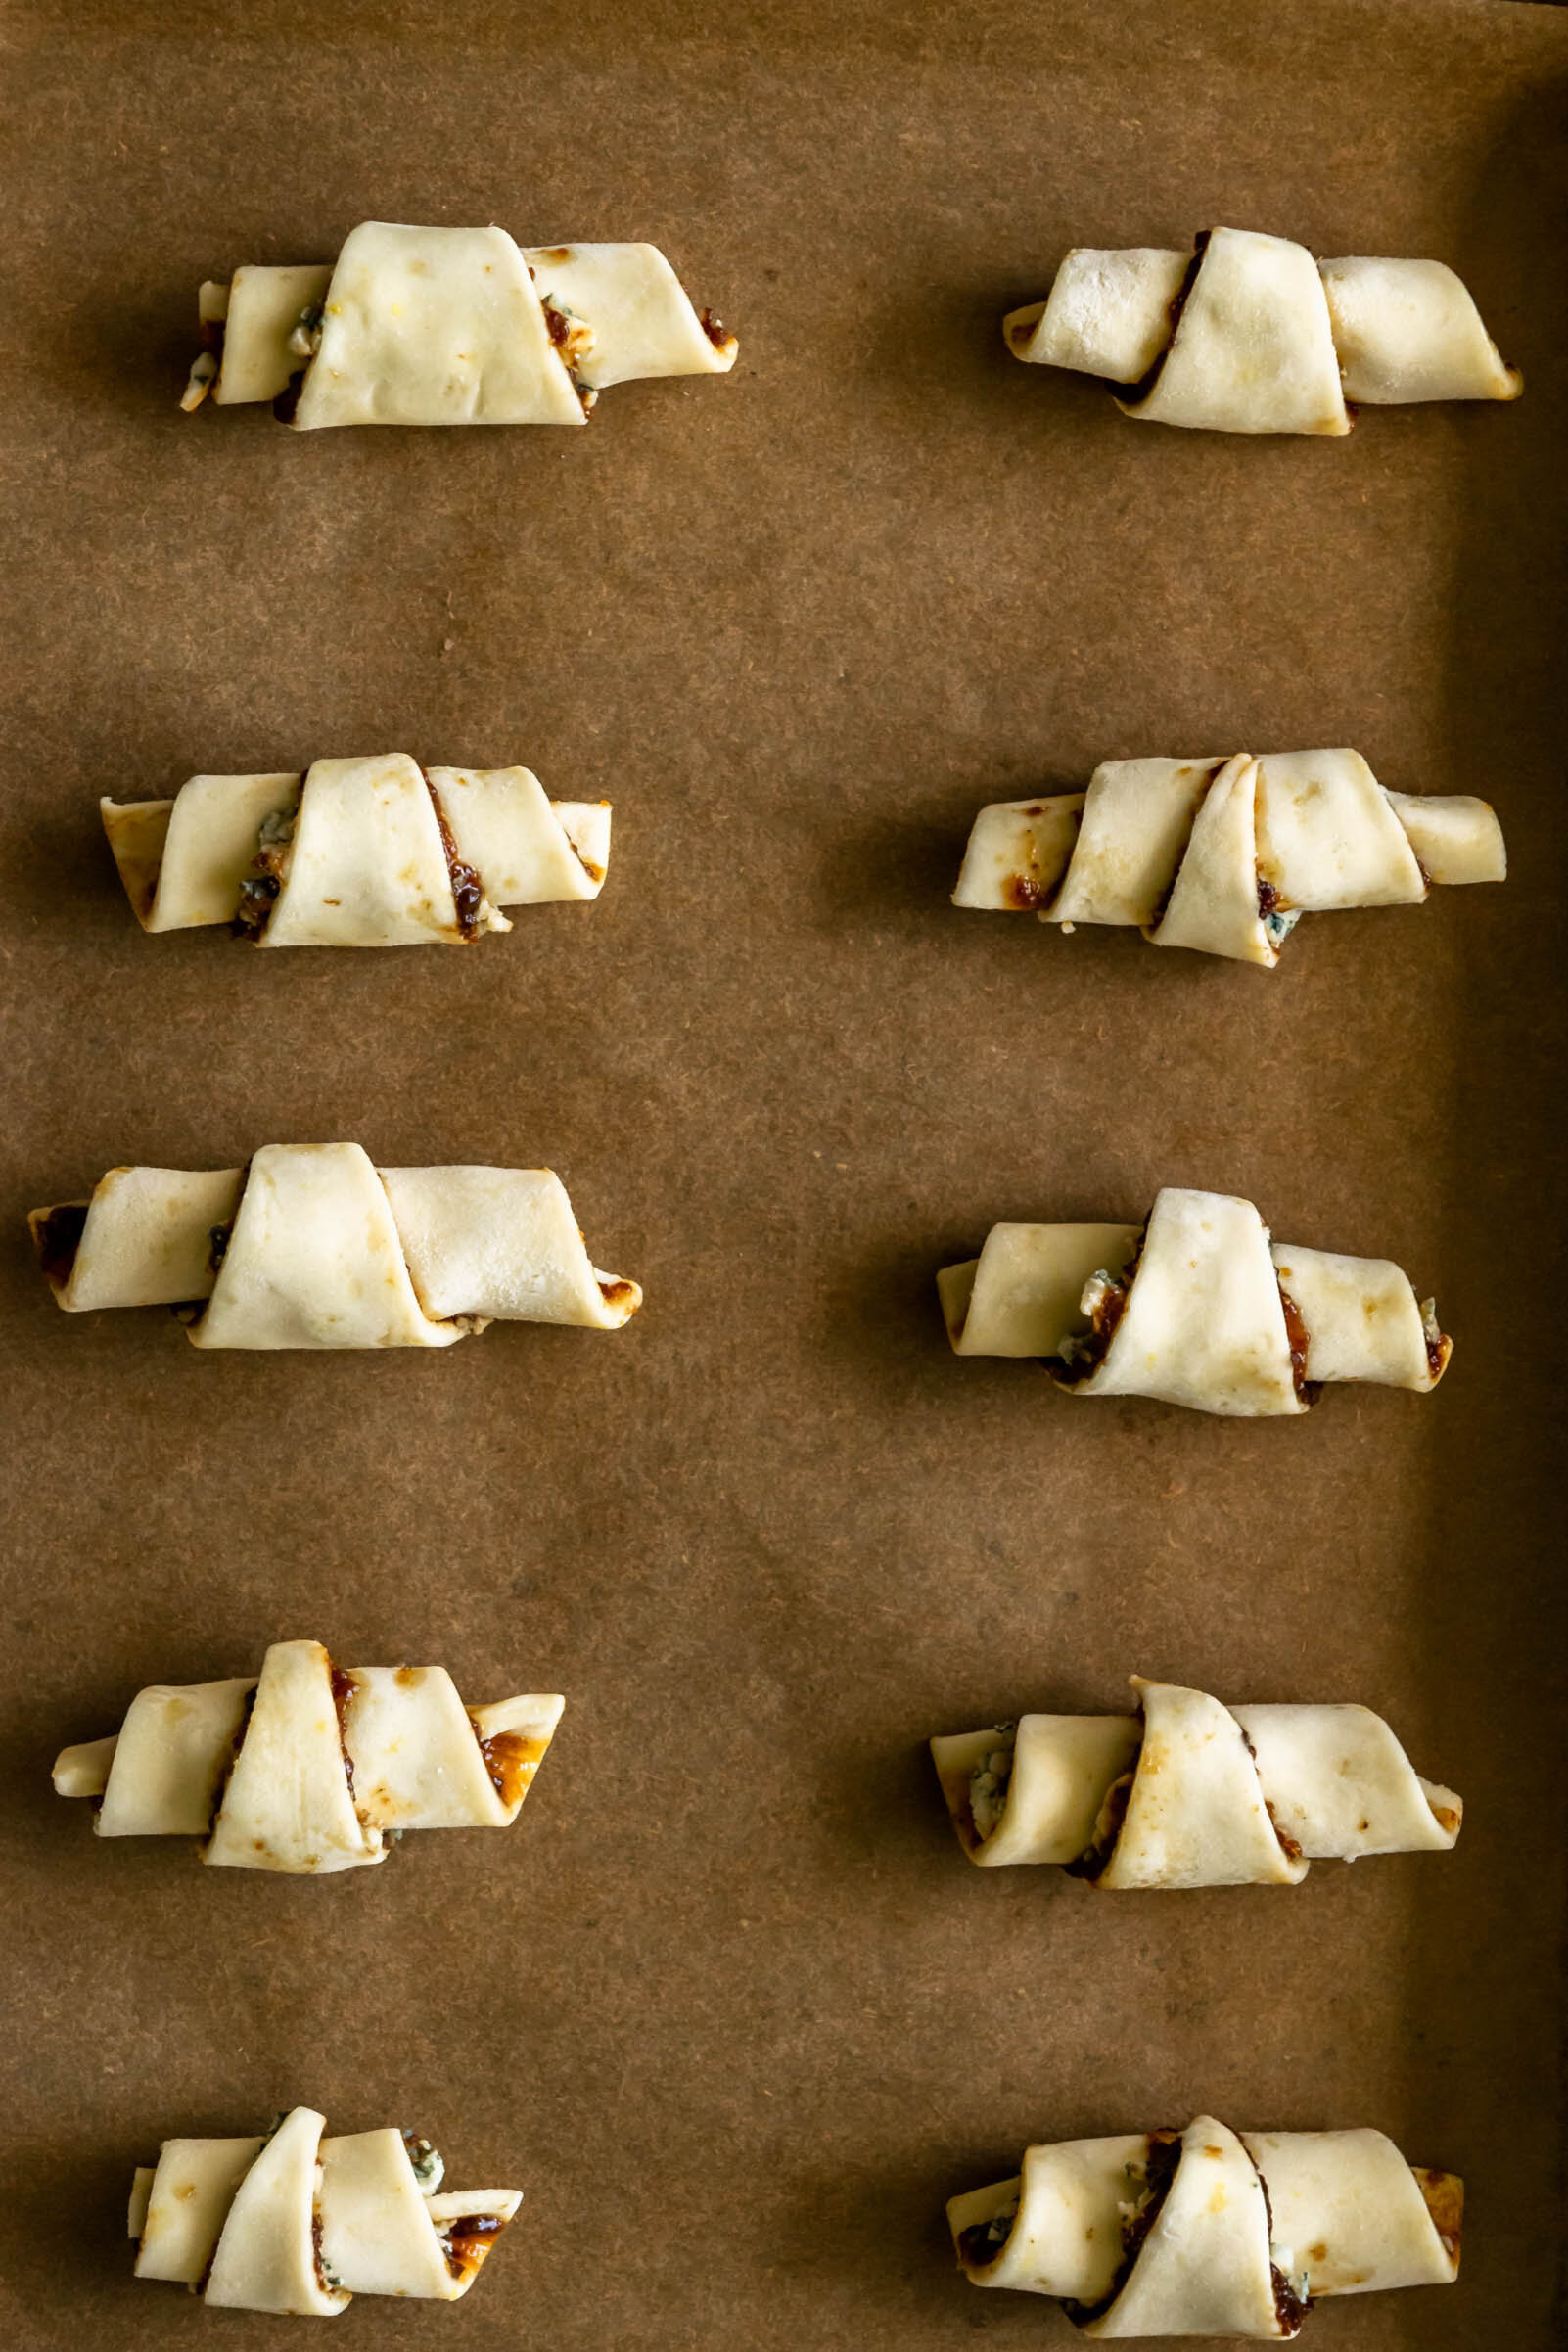
  3. Starting from the wider outside edge, roll each triangle tightly and transfer to a parchment lined baking sheet.

  4. Repeat steps 1-3 with the remaining disc of dough and then transfer rolled rugelach to the refrigerate for at least 30 minutes before baking. Alternately, you can freeze the dough at this point for later use. To freeze, place your cookie sheet of dough in the freezer until rugelach are frozen solid (about two hours) and then transfer to a reusable bag.

to bake:

  1. When you are ready to bake, preheat your oven to 400° F.

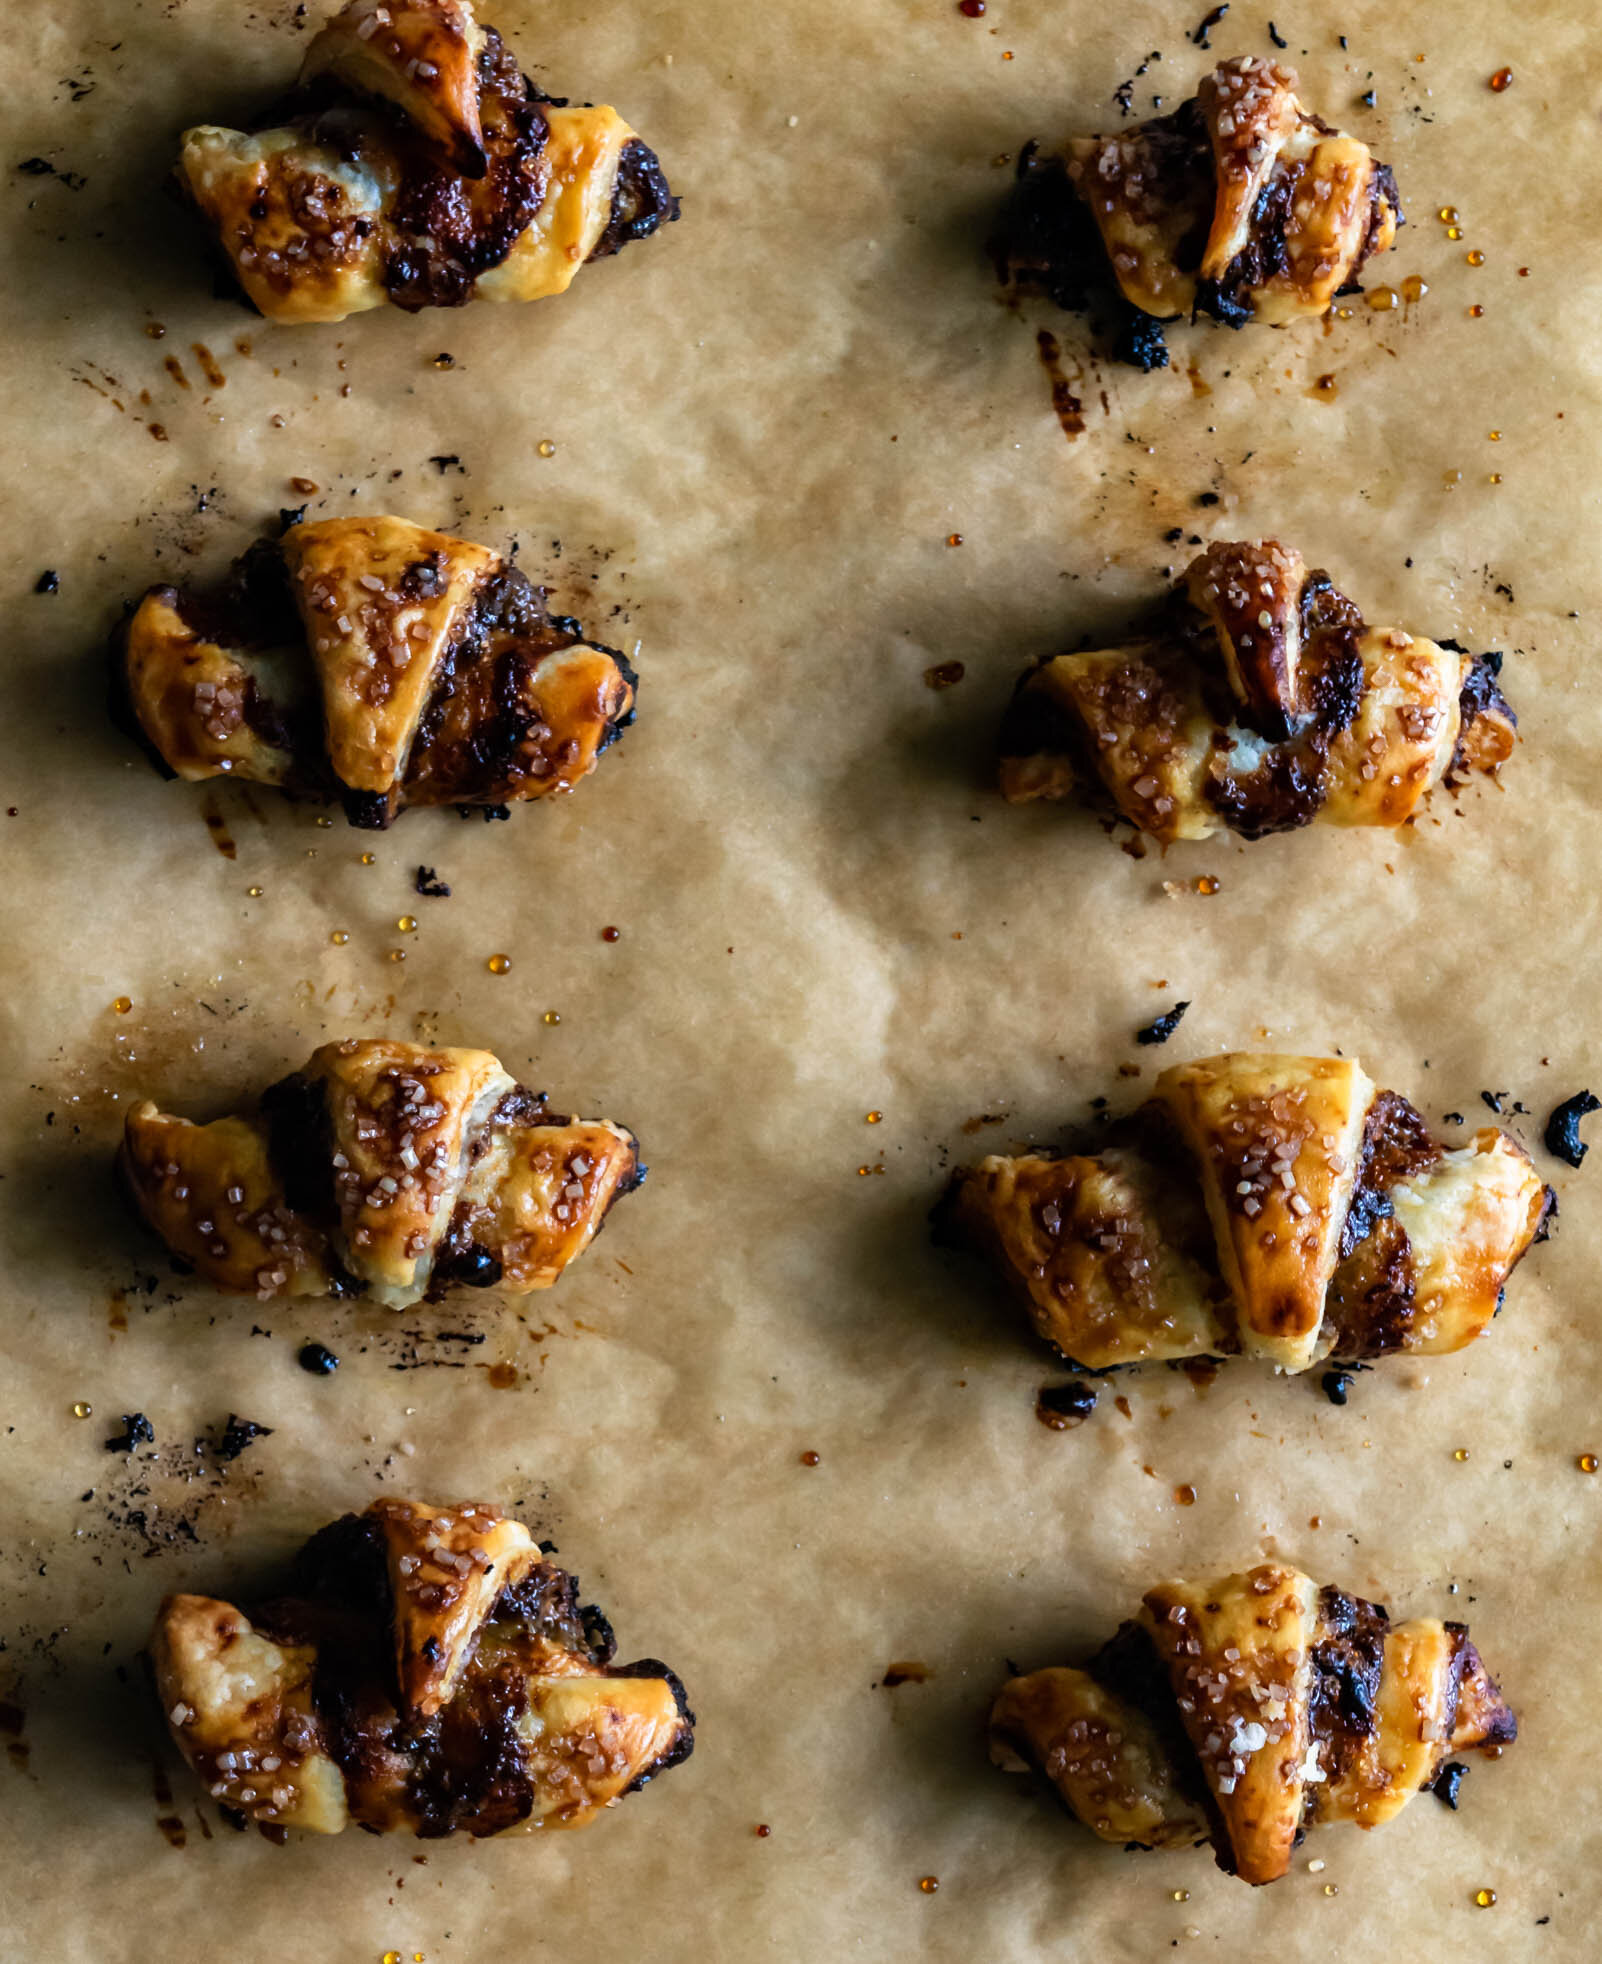
  2. Combine egg and a splash of water or milk in a small beat and whisk until smooth. Brush each rugelach with egg wash and sprinkle with Demerara sugar.

  3. Bake for 18-22 minutes, rotating halfway through, until rugelach are golden brown. Remove from oven and let cool on the baking sheet for at least 5 minutes and then transfer to a wire rack.

*Variations:

-I created these as a way to use up holiday charcuterie board leftovers so I used what I had on hand, but they are endlessly adaptable.

-If you want to go the fruit and cheese route: use any fruit jam you like (raspberry, blackberry, strawberry) in place of the fig butter, just make sure that you choose a jam that is thicker and more paste-like in consistency. Thin jams will spread too much and leak completely from the rugelach during baking (trust me, this has happened to me before and it’s a mess). Additionally, you can use any cheese you have on hand, but just be sure to think about it’s consistency. A cheese that is too melty will ooze out the sides and a cheese that is too firm won’t melt at all.

-The South Floridian in me thinks that guava paste and cream cheese would be an excellent choice, but I haven’t tried it yet, so if you do, let me know how it goes.

-The original recipe from Sweet uses quinces paste and toasted walnuts mixed with a little brown sugar and lemon juice. I think any nut/brown sugar combination would be delicious and would probably taste like baby cinnamon rolls.

-I’ve also made these with chopped up chocolate and they are simple and excellent. Let me know if you think of any other variations!