Soft Ginger Cookies
/Christmas is almost here! If you are anything like me, you are in full Christmas mode- the gifts are wrapped, the halls are decked, and your house smells like sugar and spice and everything nice. We are doing Christmas with both sides of the family this year so that means that we will be hitting the ground running once guests arrive this evening. I have spent the last few days rushing around trying to get everything together and my house clean before everyone gets here and it has been quite the whirlwind! Lucky for you, one of the things that I have been working on so diligently are these soft ginger cookies. They are warm and cozy and firmly in the Christmas cookie category even though they don’t contain royal icing and sprinkles.
When developing this recipe, one of the issues I kept running into was cookie spread-age (I don’t think that is the technical term, but…) so I wanted to address that a little in today’s post. It is the absolute worst when you go through all of the trouble of making and scooping cute little cookie balls (or even worse, rolling and cutting out shapes) only to have your cookies morph into one large, crispy cookie sheet as soon as you stick them in the oven. Here are a few precautions and things you can take note of in order to help prevent this catastrophe!
-Ingredients: First things first, check your recipe ahead of time and know the purpose of each ingredient. White sugar, low protein flours (like cake and pastry), and a large amount of fat will all contribute to cookie spreading. This definitely doesn’t mean don’t use these things, just be mindful of the quantities and ratios and adjust your expectations accordingly. Baking soda will also cause spread and browning in cookies. Baking soda is needed to counteract acidic ingredients, like the molasses in these cookies, and it is much stronger than baking powder. In this recipe, I found that a blend of the two worked best to give my cookies balance and still keep them a little fluffy.
-Procedure: Using the creaming method for cookies, like we do in this recipe, is slightly different than using it for cakes. When you are creaming butter and sugar, you are creating space and trapping air bubbles in between your fat and the sugar crystals. Air bubbles then help to create leavening and give the carbon dioxide produced from the baking soda and powder a place to go, creating a light and fluffy crumb. This is great in cakes, but not so great in keeping cookies from spreading. When creaming the butter and sugar for cookies, you aren’t going for “light and fluffy”, but more of a “thoroughly combined” mixture. The final steps you can take to help safeguard against cookie spreading is 1) chill your dough- this allows the fat to re-solidify, so it doesn’t melt as quickly in the oven; 2) do not spray your cookie sheet- use parchment or a silpat, but don’t add any more grease that those cookies can slip around in; and 3) bake your cookies at a higher temperature for a shorter amount of time-if your oven temperature is too low, it may allow too much time for cookies to spread.
David Lebovitz also has a really great article (with lots of links!) for some more tips and tricks on preventing cookie spreading here.
Happy Holidays and happy baking! This week, may your homes be filled with laughter, your glasses filled with Champagne, and may your cookies keep their shapes! Merry Christmas!
Soft Ginger Cookies
Yield: approximately 30 cookies
Ingredients:
2 sticks butter, slightly softened
1 cup brown sugar
2 eggs, room temperature
1/4 cup molasses
3 1/4 cup flour
1 1/2 tsp baking soda
1 tsp baking powder
6 tsp ground ginger
3/4 tsp cardamom
3/4 tsp ground cloves
3/4 tsp salt
1/2 tsp vanilla extract
Procedure:
In a medium bowl, measure flour using the spoon and scoop method. Add baking powder, baking soda, salt, ginger, cardamom, and cloves. Whisk together and set aside.
In the bowl of a stand mixer fitted with the paddle attachment, add butter and sugar and beat until just combined (*see above for details).
Scrape down the sides of the bowl and add eggs one at a time, mixing until combined before adding the next. Mix in molasses and vanilla extract, making sure to scrape down the sides of the bowl.
With the mixer on low speed, gradually add dry ingredients, mixing until everything is combined and no flour streaks remain. Cover with plastic wrap and chill for least 1 hour and up to 24 hours.
When ready to bake: preheat oven to 350 degrees and line a cookie sheet with parchment paper. Use a small cookie scoop to arrange cookie balls on baking sheet, leaving about 2 inches of space between each cookie. Bake for 10-11 minutes, or until the edges of the cookies are just beginning to brown and the tops of the cookies are no longer wet. Let cookies cool on pan for at least 5 minutes and then transfer to a cooling rack to cool completely. (Make sure to let the baking sheet cool before adding more cookie dough to prevent spreading in the oven.)
Decorating Ideas:
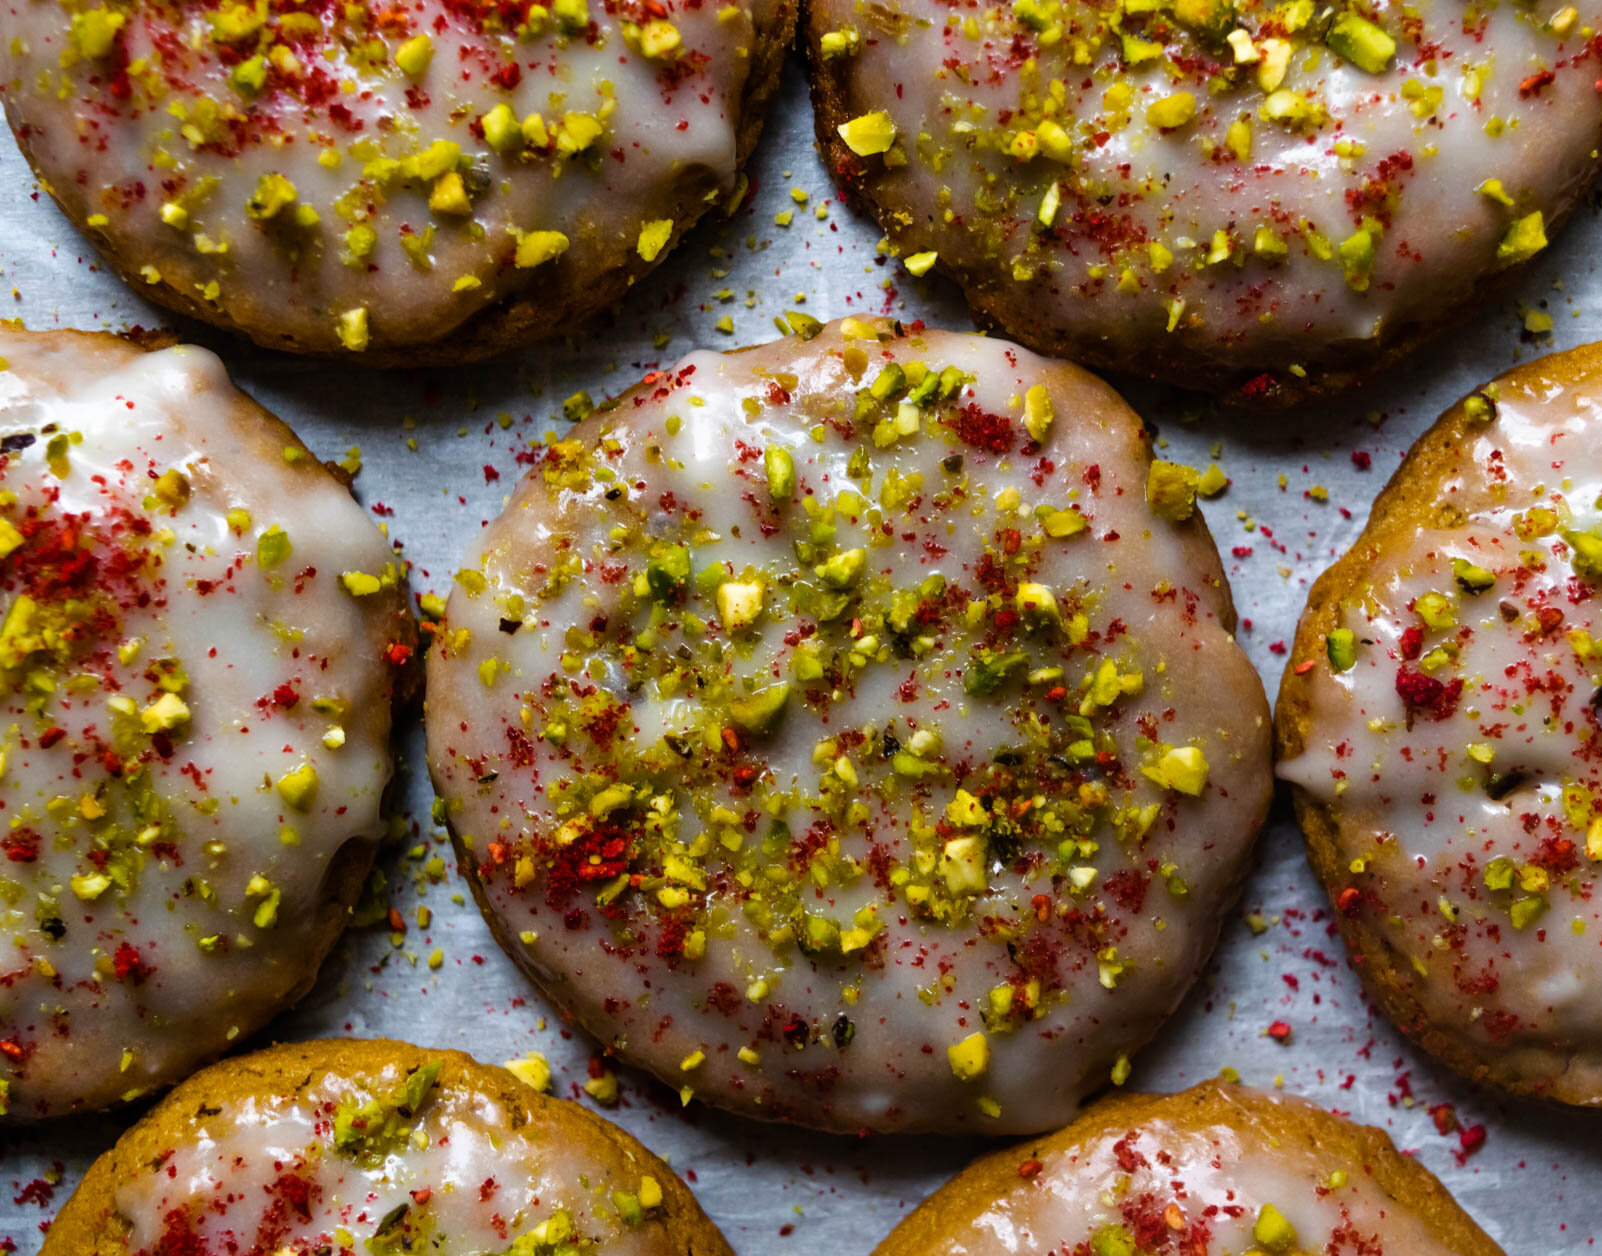
*I glazed these with a cream cheese icing and topped them with crushed pistachios and freeze dried raspberries (ground into powder using a food processor) to give them a Christmas-y feel. To make the cream cheese icing, I melted half a block of cream cheese in a microwave safe bowl. I then added 1/4-1/2 cup of powdered sugar, and whisked until smooth. I added 1-2 tablespoons of heavy cream until the icing reached my desired consistency. Dunk the tops of the cookies in the glaze and then sprinkle with pistachios and raspberry.
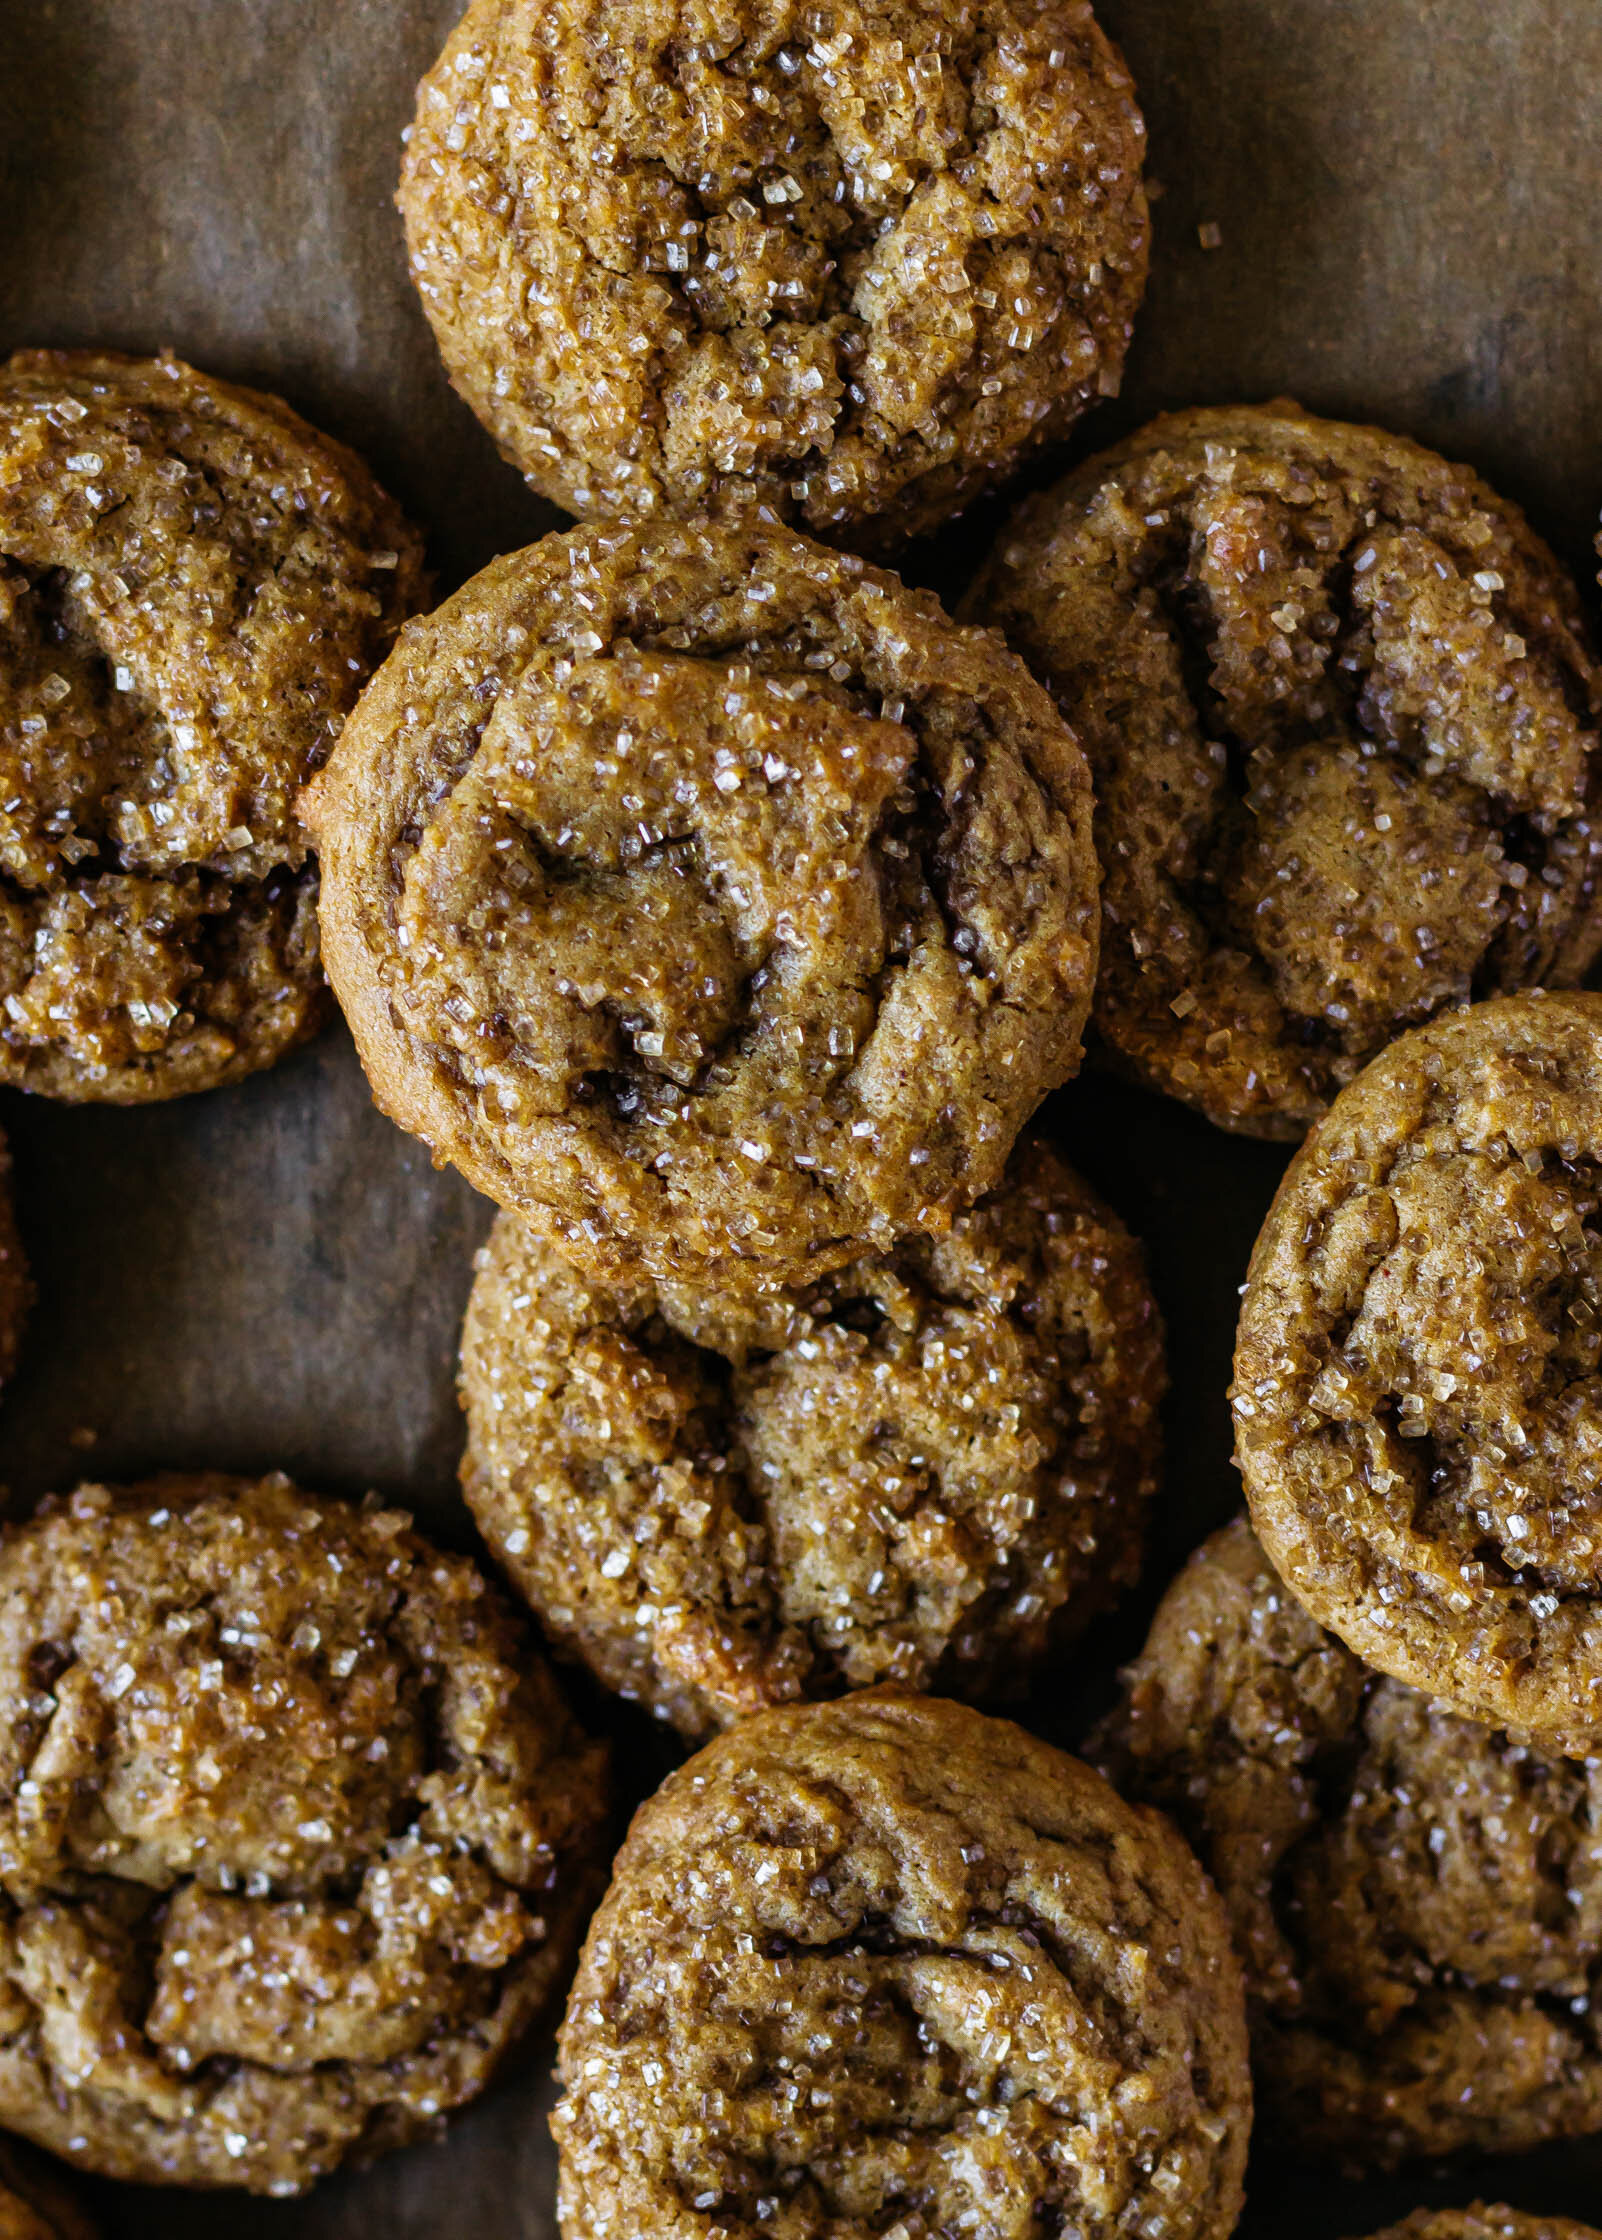
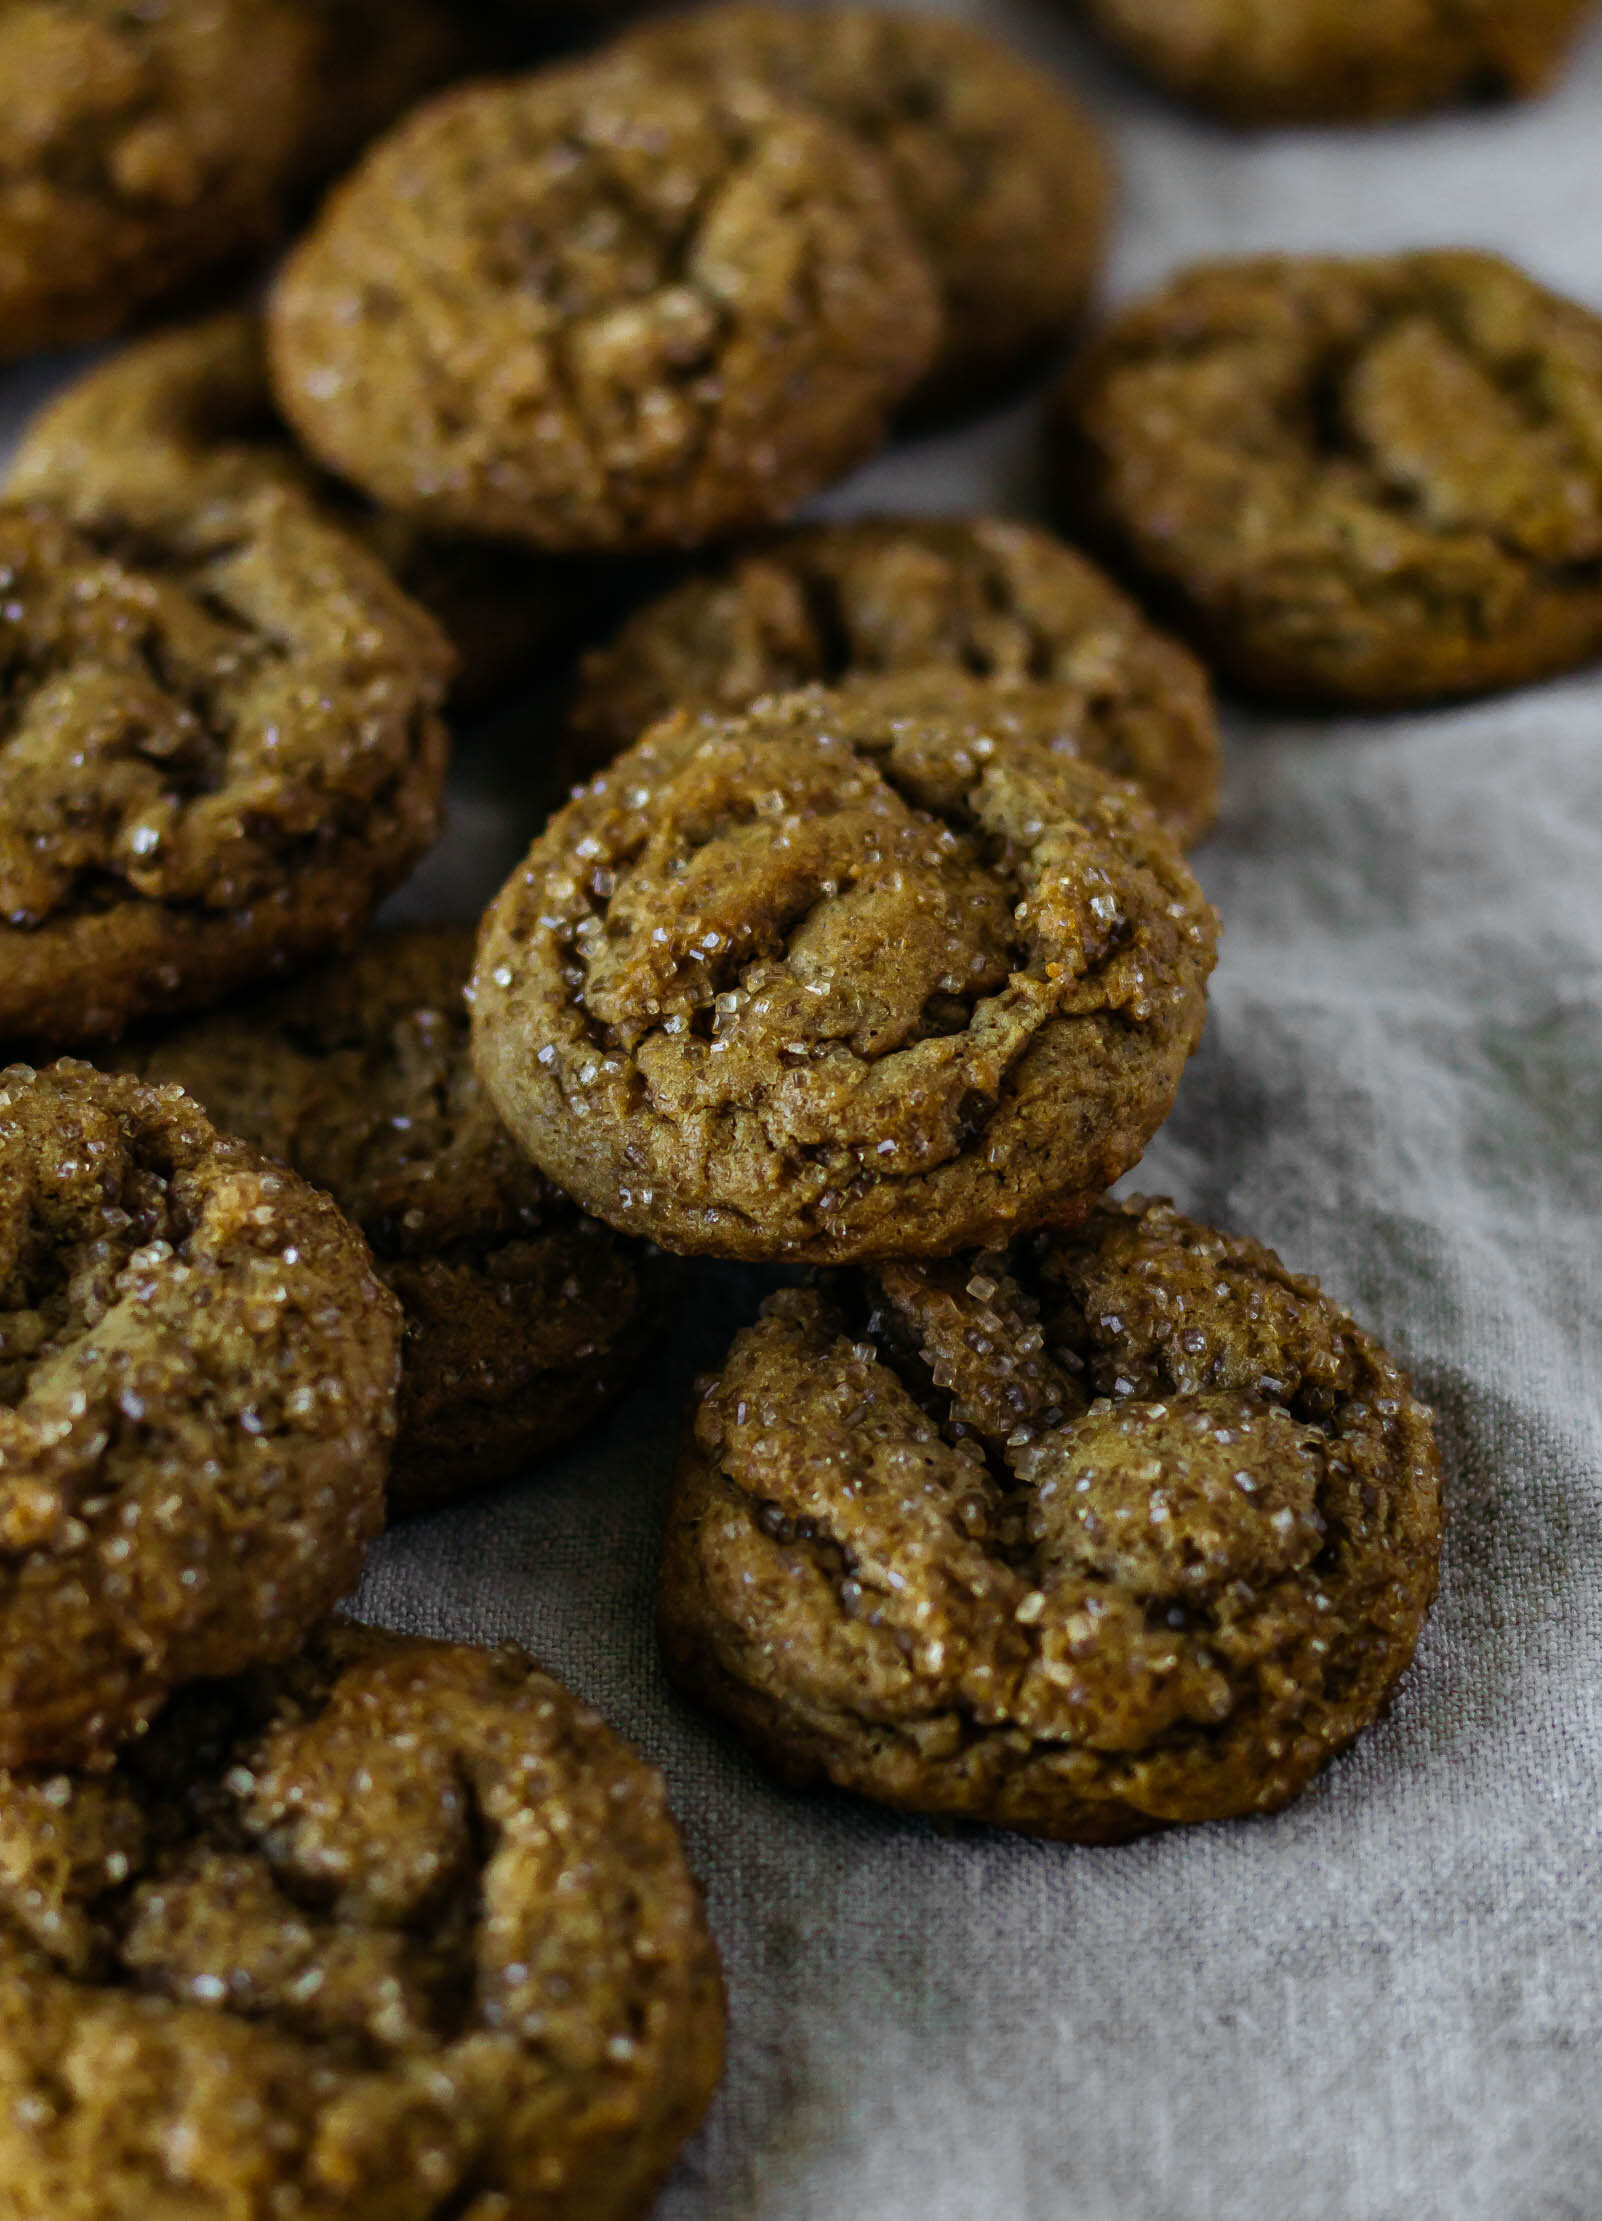
*To create a sugared ginger cookie more reminiscent of a ginger snap, roll the cookie balls in Demerara or turbinado sugar (or another coarsely ground sugar) before baking.
*To create a clean, classic look, melt some white chocolate and drizzle it over the cookies or dip the cookies so that they are covered with white chocolate half moons.


