Coffee Cinnamon Buns

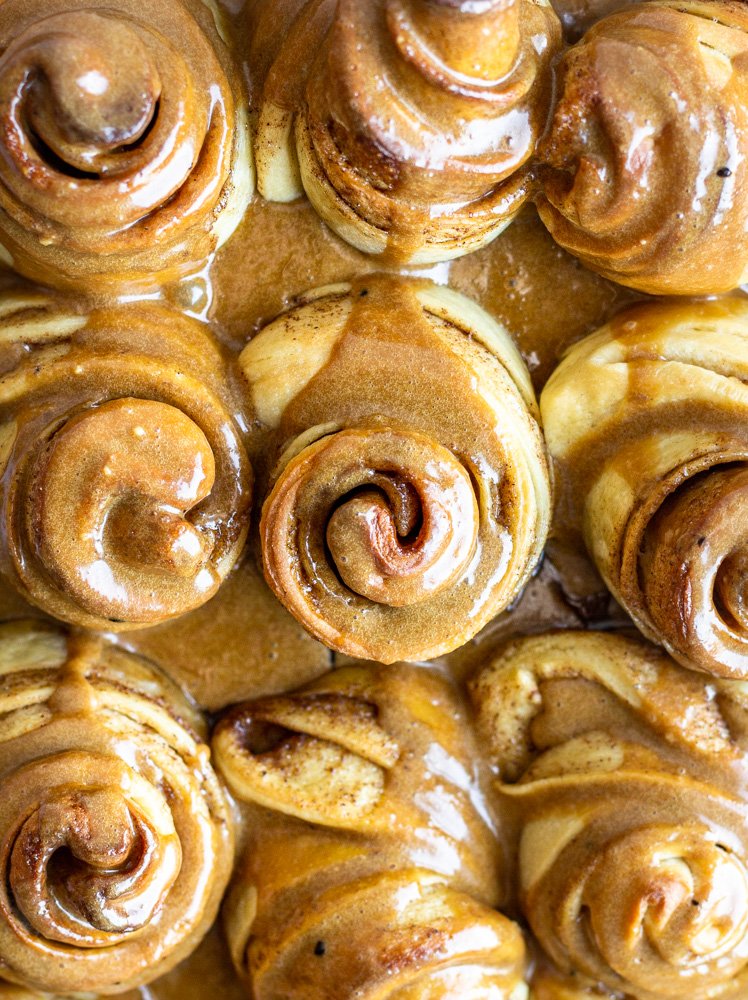
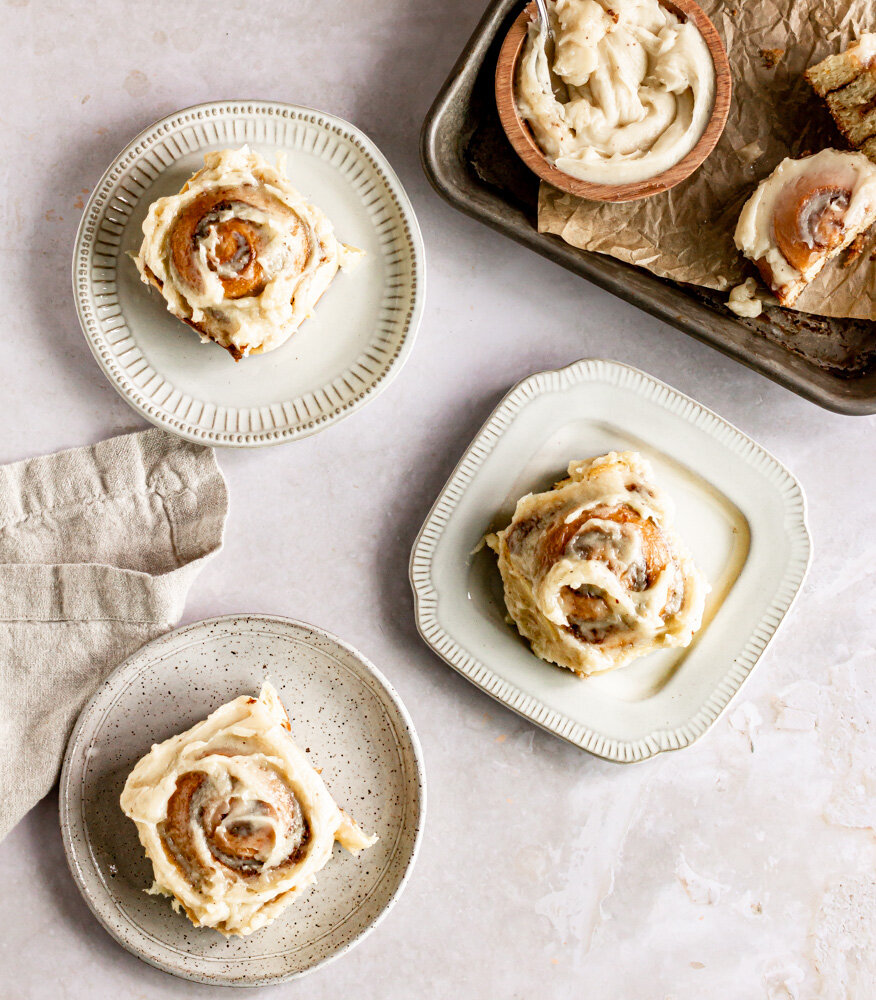
Soft, pillowy sweet dough filled with cinnamon sugar and topped with a coffee glaze.

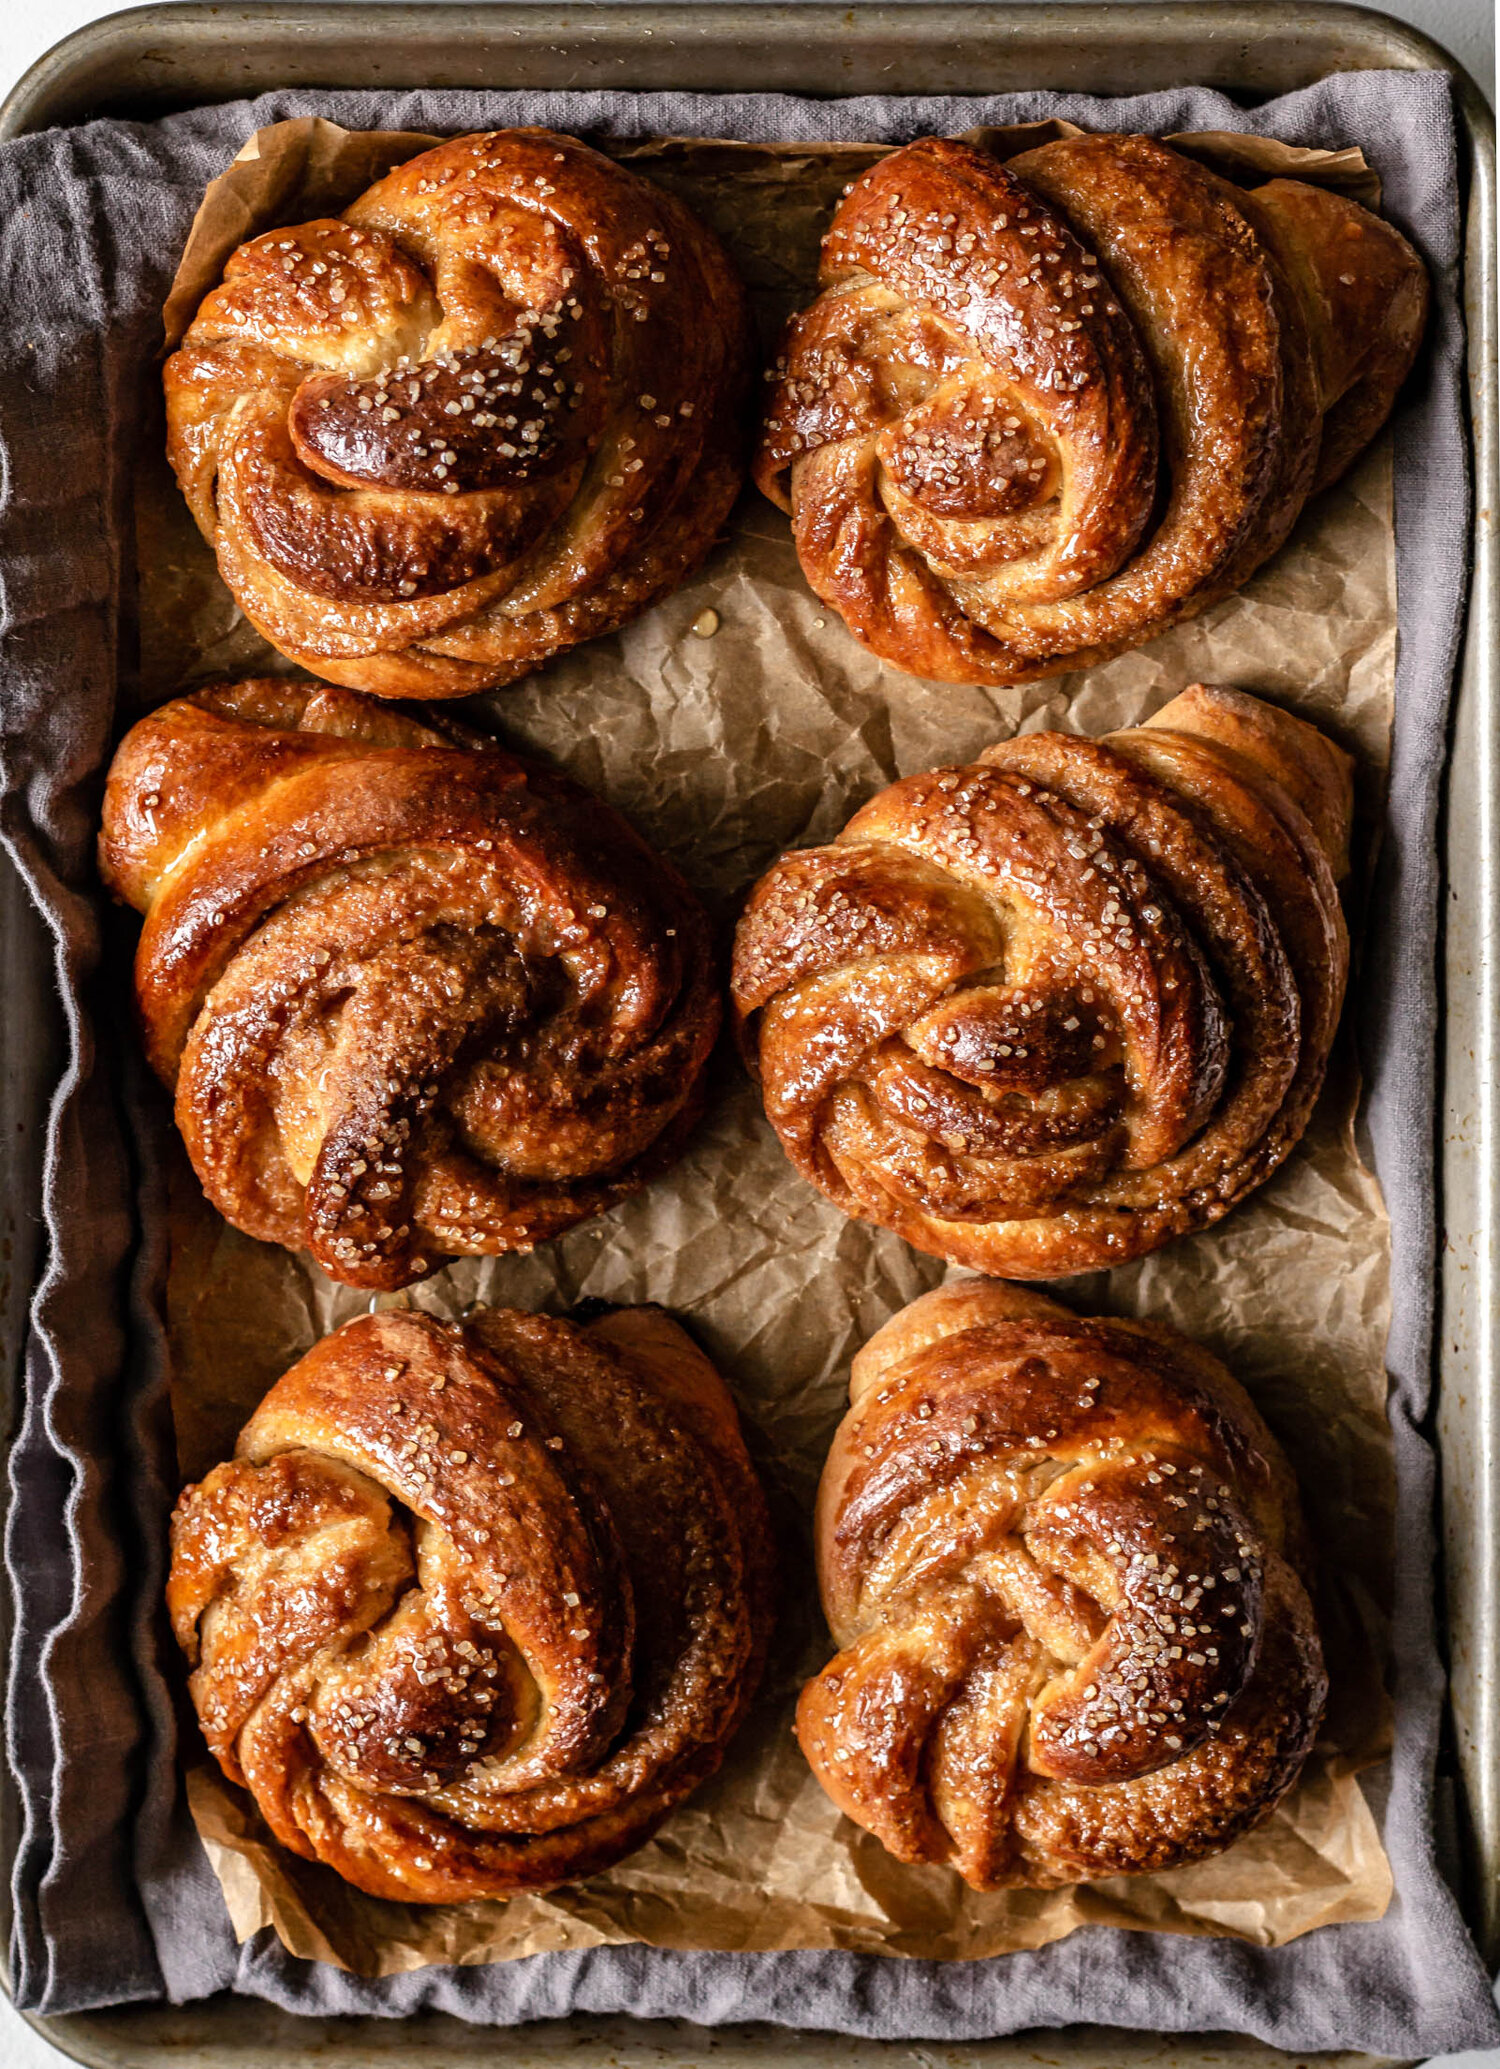
I felt like the biggest baking nerd creating this recipe last week. This was a completely unplanned recipe, born out of a serious cinnamon roll craving. I couldn’t get the idea of pillowy, soft sweet dough, filled with cinnamon sugar and twisted into delicate knots out of my head and so I found myself, sitting in front of my computer last week creating a sweet dough spreadsheet. I have a bunch of sweet dough recipes—you can check out my Browned Butter Spelt Cinnamon Buns, Tahini Orange Cinnamon Rolls, and Einkorn Pecan Sticky Buns if you don’t believe me—but they all vary slightly and I wanted to create the perfect sweet dough ratios. I compiled all of my sweet dough recipes into one very organized document, converted everything to baker’s percentages, and then decided what ratios I wanted to use for this recipe. Lo and behold, the perfect sweet dough was born.

The final dough has a fairly high enrichment percentage (milk, butter, and eggs) which makes it moist and soft, perfect for spinning and swirling and rolling into these coffee cinnamon buns.

the dough

This dough is a simple, enriched sweet dough with a high ratio of milk, eggs, and butter. It’s made brioche-style and we start by proofing the yeast in the warm milk. Then the eggs, flour, sugar, and salt, are added and mixed to form a thick dough. With the mixer running on a lower speed, softened butter is incorporated a little at a time, before the mixer speed increases and the dough kneads for a decent amount of time—until it’s smooth and elastic, with a strong network of gluten strands.

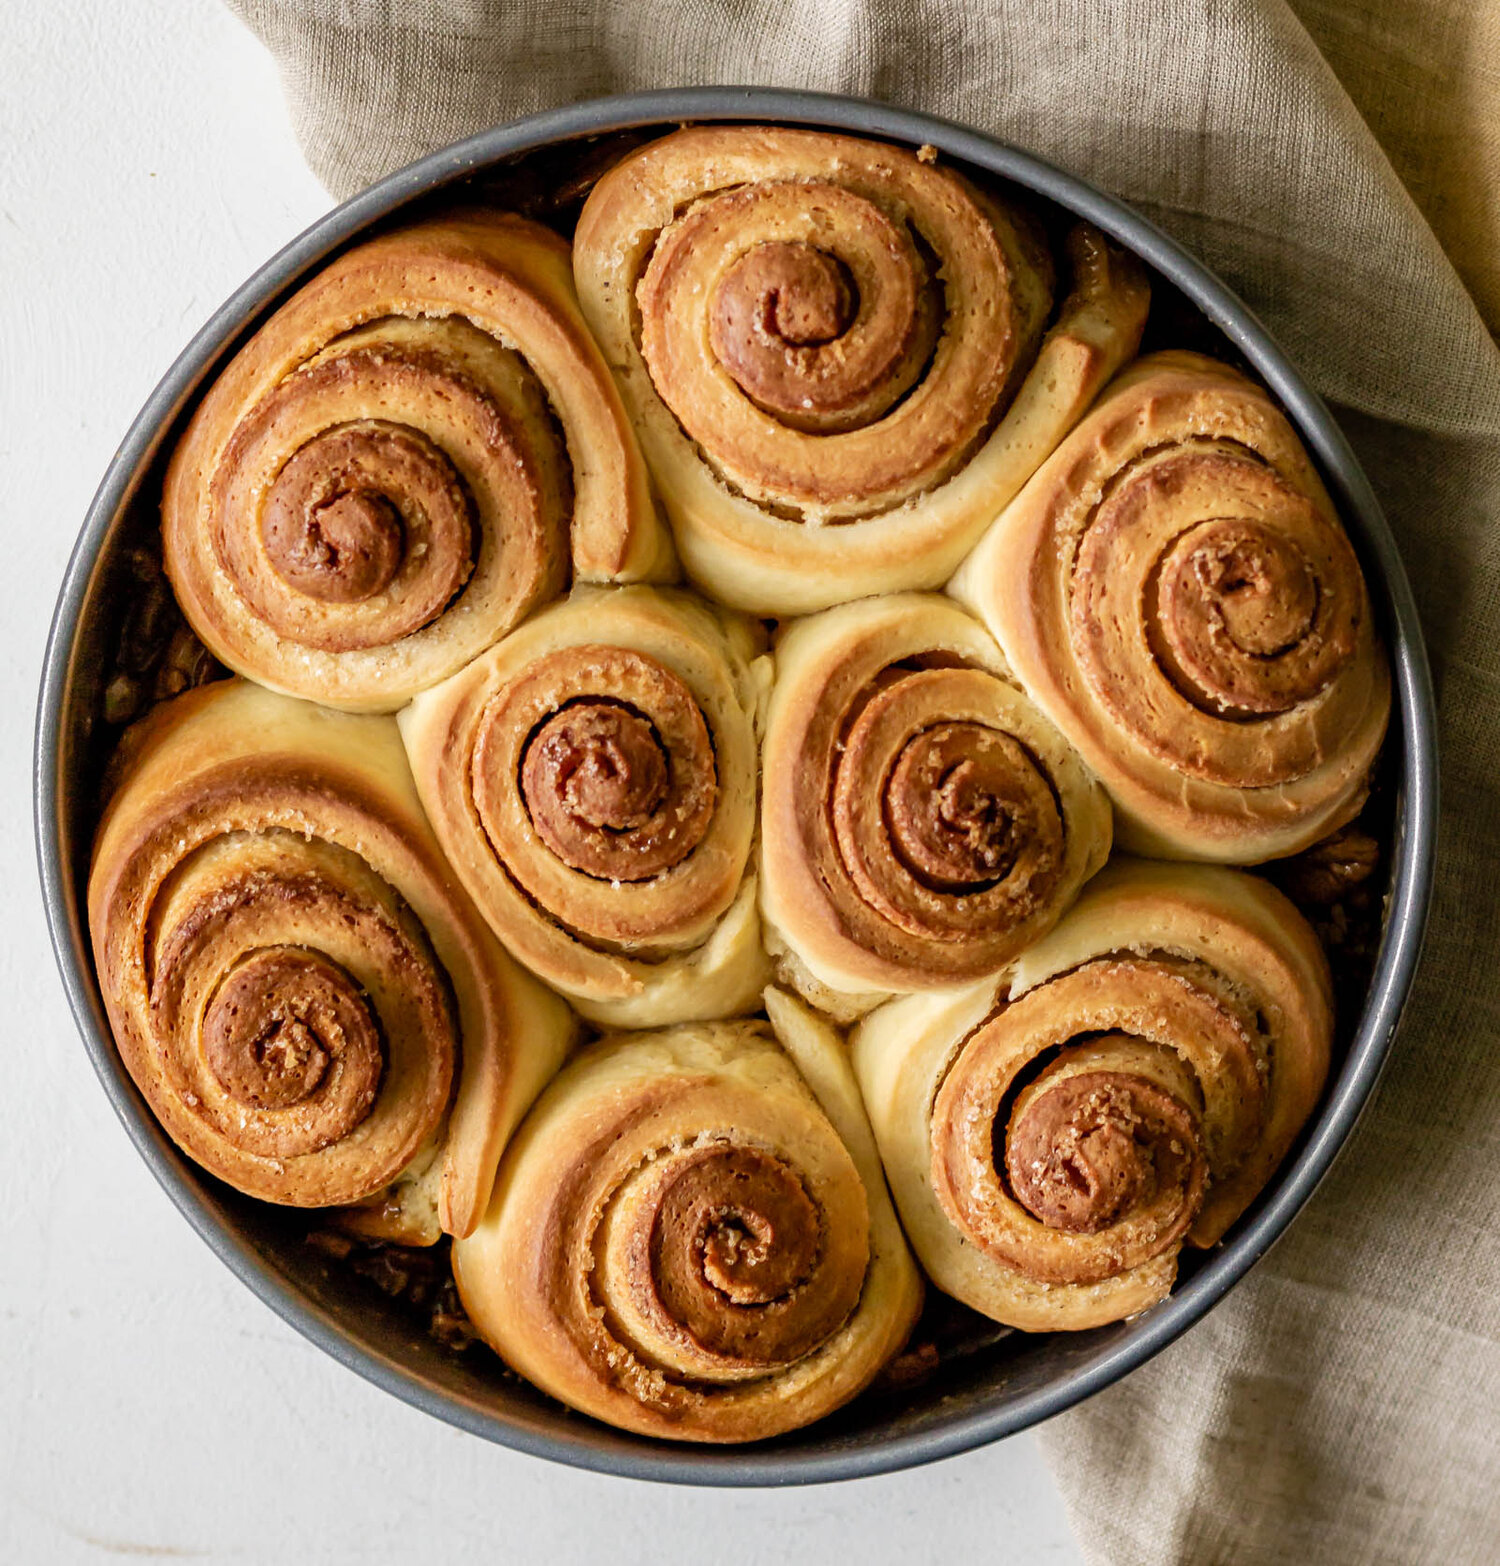
The dough rests at room temperature until doubled in size and then there are two options for shaping and the second proof. Option #1: Punch the dough down and transfer it to the refrigerator for an overnight cold proof. In the morning, let the dough warm up slightly, roll it, fill it, and shape it, and then let the buns proof for another 30 minutes or so before baking. Option #2: After the first proof, go ahead and roll, fill, and shape the dough and then transfer the cinnamon buns to the refrigerator for their overnight proof. Give them about an hour at room temperature before baking. You can adapt this recipe to fit your schedule.

the filling and frosting

Because I wanted the dough to be the star, we leaned into simplicity for this recipe. A very classic cinnamon, sugar, and butter filling is smeared over the dough before shaping and I topped them with a strong coffee glaze making them really perfect for lazy weekend mornings.

Coffee Cinnamon Buns
Yield 12
Author Anna Ramiz
Prep time
30 Min
Cook time
20 Min
Inactive time
13 Hour
Total time
13 H & 50 M

Coffee Cinnamon Buns

( 0 reviews )
Soft, pillowy sweet dough filled with cinnamon sugar and topped with a coffee glaze.

Ingredients

for the sweet dough
  • 140 g (1/2 cup +3 tbsp) buttermilk, warmed
  • 10 g (2 3/4 tsp) active dry yeast
  • 1 egg
  • 1 egg yolk
  • 50 g (1/4 cup) granulated sugar
  • 345 g (2 3/4 cup) all purpose flour
  • 3 g (1 tsp) kosher salt
  • 100 g (7 tbsp) unsalted butter, softened
for the filling
  • 56 g (4 tbsp) unsalted butter, softened
  • 100 g (1/2 cup) brown sugar
  • 2 tsp ground cinnamon
  • 1 tsp ground cardamom
  • 1/4 of a nutmeg pod, grated
  • 1/2 tsp kosher salt
for the glaze
  • 70 g (1/3 cup) heavy cream
  • 1 tbsp instant coffee
  • 120 g (about 1 cup) powdered sugar

Instructions

  1. Combine warmed buttermilk and yeast in the bowl of a stand mixer fitted with the dough hook attachment and let sit for about 5 minutes, until foamy.
  2. While the yeast is proofing, combine sugar, flour, and salt in a medium bowl.
  3. When the yeast is foamy, add the egg and egg yolk and whisk to incorporate. Add the dry ingredients and begin kneading on medium speed for 1-2 minutes, until all of the flour has been incorporated and a dough begins to form.
  4. With the mixer running, add the butter a tablespoon or so at a time. When all of the butter has been added, increase the mixer speed to medium high and knead for 5-6 minutes, until the dough is smooth and elastic.
  5. Scrape down the sides of the bowl, cover, and let proof at room temperature for an hour to an hour and a half, until the dough has doubled in size.
  6. Punch the dough down and transfer to the refrigerator for about 30 minutes, just to make the dough a little easier to work with. **see notes for alternate proofing instructions**
  7. While the dough is chilling, combine butter, brown sugar, cinnamon, cardamom, nutmeg and salt and stir to form a smooth paste.
  8. Turn the dough out onto a lightly floured work surface and rolled into a 12x18” rectangle.
  9. Smear the cinnamon butter mixture over the center and right two-thirds of the dough.
  10. Fold the left third of the dough into the center and then fold the right third over the dough into the center as well (like folding a letter, but horizontally).
  11. Turn the rectangle 90° and roll out a little, just to stretch it about an inch vertically.
  12. Cut the dough into 12 strips. Roll each strip up like a snail and tuck the end under the center of the bun.
  13. Place on a parchment lined baking sheet and cover with plastic wrap. Place in the refrigerator overnight, or about 12 hours.
  14. When you’re ready to bake, preheat to the oven to 375° F and take the cinnamon buns out of the refrigerator. Remove the plastic wrap and cover loosely with a towel. Let rest for about an hour, until they come to room temperature.
  15. Bake for 18-20 minutes, until deeply golden.
  16. While the buns are baking, make the coffee glaze. Combine heavy cream and instant coffee in a small saucepan and bring to a simmer to dissolve the coffee. Transfer to a measuring cup and whisk in the powdered sugar until smooth.
  17. Pour the glaze over the warm cinnamon buns and serve immediately.

Notes

**For alternative proofing instructions, see the blog post above!

Did you make this recipe?
Tag @gatheredatmytable on instagram and hashtag it # gatheredatmytable

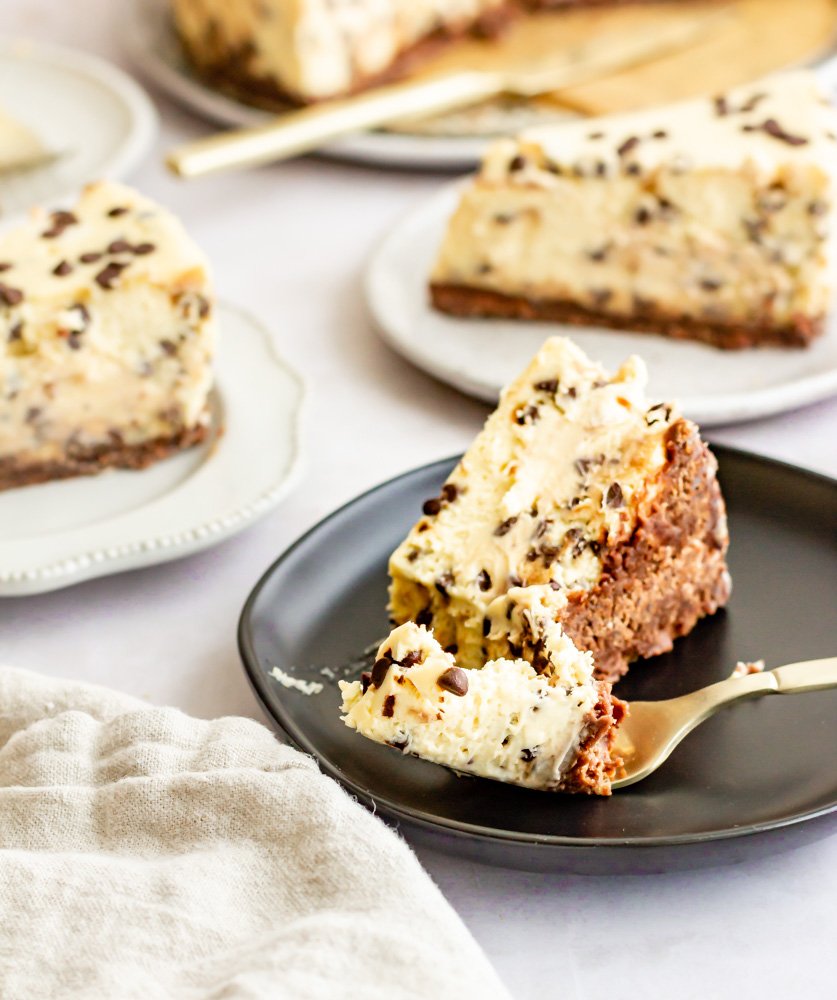
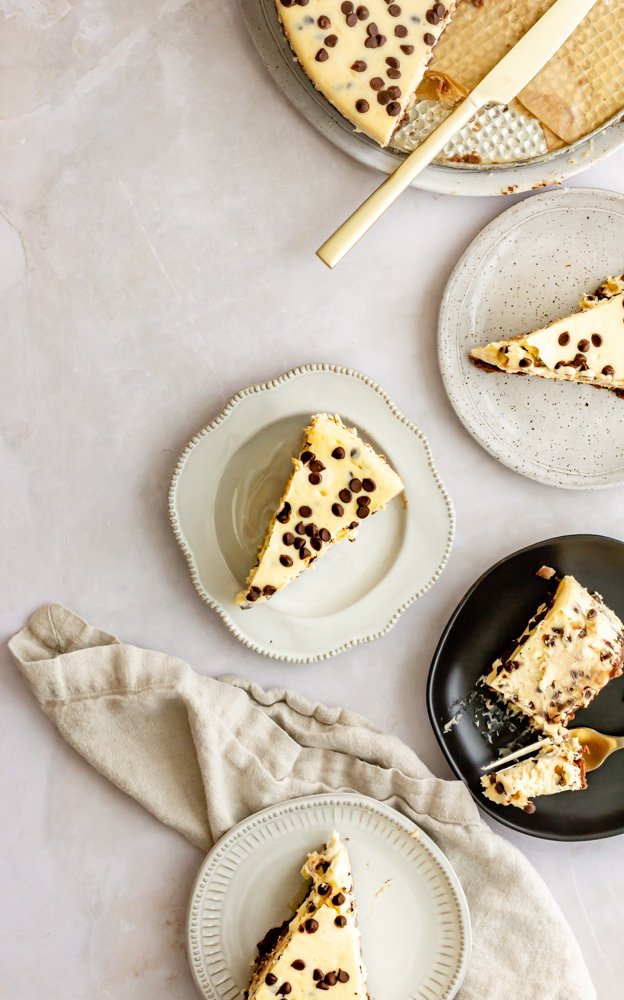
Chocolate Chip Cheesecake

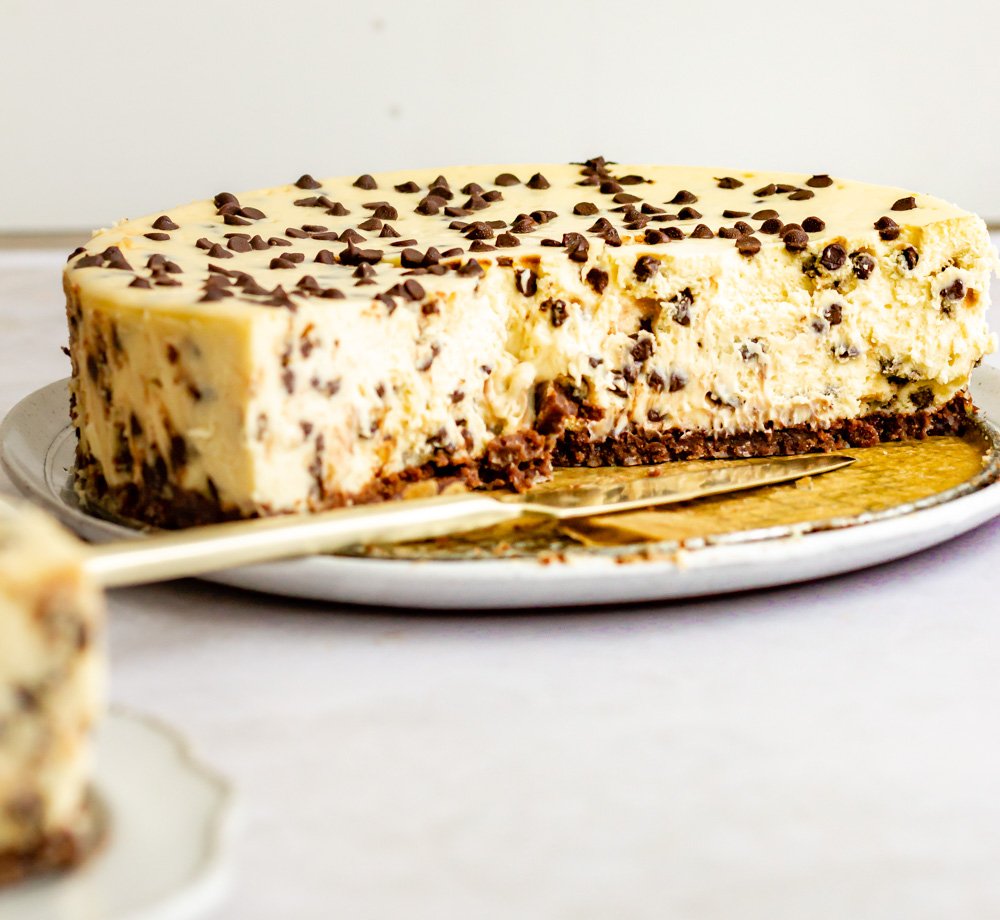
A thick and creamy New York style cheesecake with a buttery chocolate cookie crust and studded with miniature chocolate chips.

I lived in Durham, NC until I was 8 and let me tell you, I think the highlight of my first 8 years of life might have been Elmo’s Diner. Elmo’s is a quirky little diner off of 9th Street, just down the road from the Duke University Campus. It was quaint and cozy and we went for just about every occasion. Brunch with my aunts and uncles? We were at Elmo’s. Dinner with my grandparents, obviously Elmo’s. I even had a birthday party there I loved it so much. And rightfully so, because according to my memory, everything at Elmo’s was perfect and delicious. (Also, you could color pictures of ducks and they’d hang them on the wall, which made me feel a bit like a celebrity.)

Elmo’s had a lot going for it. They had little cups of the best tomato basil soup my 8 year old self had ever had. They had really great cheeseburgers, omelettes, pancakes—you know, all the best diner food. But the chocolate chip cheesecake was the star. My cousin Joey and I were a little bit obsessed with Elmo’s chocolate chip cheesecake. We shared a slice every time we went and even now, 20 years later, we still catch ourselves dreaming of the Elmo’s chocolate chip cheesecake.

Looking back, I don’t know that it was anything fancy. I remember it was tall and thick, definitely a NY style cheesecake, with a graham cracker crust and miniature chocolate chips suspended inside. There were no fancy garnishes or sauces, and it was definitely a diner-style cheesecake. But as a kid, it was perfect. Even now, I can close my eyes and picture myself back in that diner, all of my family shoved around a big table. The adults are drinking coffee and chatting and Joey and I are down at the end of the table, mixing all the remaining dips and sauces and seasonings in the bottom of a sticky plastic cup (you know, like 8 year olds in the 90s did), waiting for our perfect slice of chocolate chip cheesecake. It’s cool how food imprints itself in your memories that way.

a really great chocolate chip cheesecake

Let’s talk cheesecake. There is a whole world of cheesecakes out there—ricotta, basque, Japanese, the kind you get at cheesecake factory…the list goes on. Because cheesecake can be pretty heavy, my go-to recipe is usually a creamy, cheesecake base lightened up by incorporating whipped egg whites. Not so, for this recipe. From my memory, the Elmo’s cheesecake was tall and dense, so that’s what we’re doing here. This is not a cheesecake for the faint of heart.

Traditionally, New York style cheesecakes are thick and hefty, incorporating lots of cream cheese and then usually sour cream and/or heavy cream to help smooth things out a bit. For this recipe, we’re using a full 2 pounds of cream cheese plus sour cream AND heavy cream for an extra smooth, tangy bite.

If you notice, the recipe incorporates a bit of flour to help bind everything together and stiffen the cheesecake slightly. Because we’re using the flour for it’s starch and not it’s gluten, you should be able to easily substitute a gluten-free flour blend in it’s place. (I have not tested this, but the science says it should work fine). You can also use cornstarch or just leave the flour out for a still very delicious, yet slightly less hefty slice of cheesecake.

For the crust, all of my fancy ideas went straight out the window. This is a classic. I went with Annie’s chocolate Teddy Grahams, which were an excellent choice, but you can choose any cookie your heart desires. A traditional graham cracker crust would be great, as would Oreos. Get wild with it.

Chocolate Chip Cheesecake
Yield 8-10, one 9" cake
Author Anna Ramiz
Prep time
20 Min
Cook time
1 H & 15 M
Inactive time
6 Hour
Total time
7 H & 35 M

Chocolate Chip Cheesecake

( 0 reviews )
A thick and creamy New York style cheesecake with a buttery chocolate cookie crust and studded with miniature chocolate chips.

Ingredients

for the crust
  • 7.5 ounces Chocolate Teddy Grahams, or other cookie
  • 3 tbsp sugar
  • 1/4 tsp cinnamon
  • 1/4 tsp kosher salt
  • 1/3 cup melted butter
for the cheesecake
  • 2 lbs cream cheese, softened
  • 1 cup (200 g) granulated sugar
  • 1/4 cup (56 g) sour cream, at room temperature
  • 1/4 cup (56 g) heavy cream, at room temperature
  • 1 tsp vanilla extract
  • 1/2 tsp kosher salt
  • 4 eggs
  • 1/4 cup flour, divided
  • 8 oz miniature chocolate chips

Instructions

to make the crust
  1. Preheat the oven to 325° F and line the bottom of a 9" springform pan with a circle of parchment paper.
  2. Place cookies in the bowl of a food processor fitted with the blade attachment. Pulse for about 30 seconds, until finely ground. Transfer them to a bowl.
  3. Add the sugar, cinnamon, salt, and melted butter, and stir until everything is moistened.
  4. Pour the cookie crumb mixture into the prepared pan and use your hands to firmly press it into an even layer in the bottom of the pan. Bake for 15-20 minutes, until browned and set. Let cool completely while you make the filling.
to make the cheesecake
  1. Lower the oven temperature to 300° F.
  2. Place cream cheese in the bowl of a stand mixer fitted with the paddle attachment. Beat on medium speed for about a minute, until smooth and fluffy.
  3. Add the granulated sugar and mix again until evenly dispersed.
  4. Scrape down the sides of the bowl and add the sour cream, heavy cream, vanilla and salt and beat on medium speed until very smooth.
  5. With the mixer on low speed, at the eggs one at a time, mixing thoroughly after each addition. Scrape down the sides of the bowl again.
  6. Place 1 tbsp of the flour in a medium bowl with all but 2 tbsp of the chocolate chips. Toss to coat.
  7. Add the remainder of the flour to the cheesecake filling and beat one last time, until well-combined and very smooth. Scrape down the sides of the bowl and fold a few times with a rubber spatula to ensure even distribution.
  8. Add the flour-coated chocolate chips to the batter and fold to mix in. Pour the batter into the cooled crust and sprinkle the remaining 2 tbsp of chocolate chips over the top.
  9. Bake, without opening the door to the oven for 1 hour to 1 hour and 15 minutes, until the cheesecake is set and there is only a slight wobble on the top. Turn the oven off and let the cheesecake cool in the oven for 30 minutes. Remove and let cool on the counter for another 30 minutes.
  10. Wrap the cheesecake tightly in plastic wrap and transfer to the refrigerator. Chill for at least 6 hours and up to overnight.
  11. When you’re ready to serve, remove the cheesecake from the springform pan and slice using a sharp knife.
Did you make this recipe?
Tag @gatheredatmytable on instagram and hashtag it # gatheredatmytable

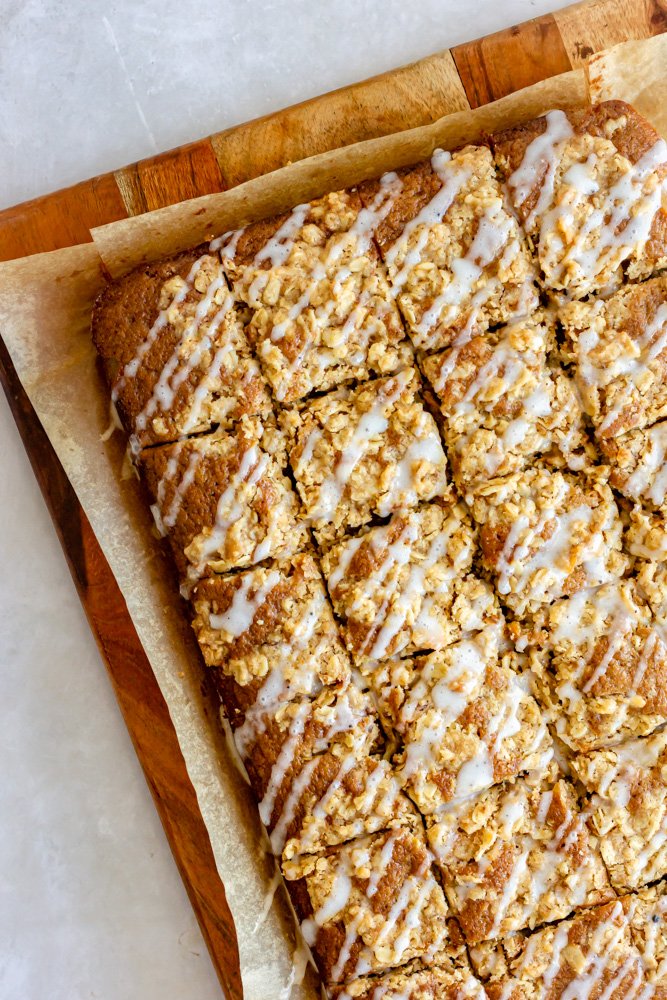
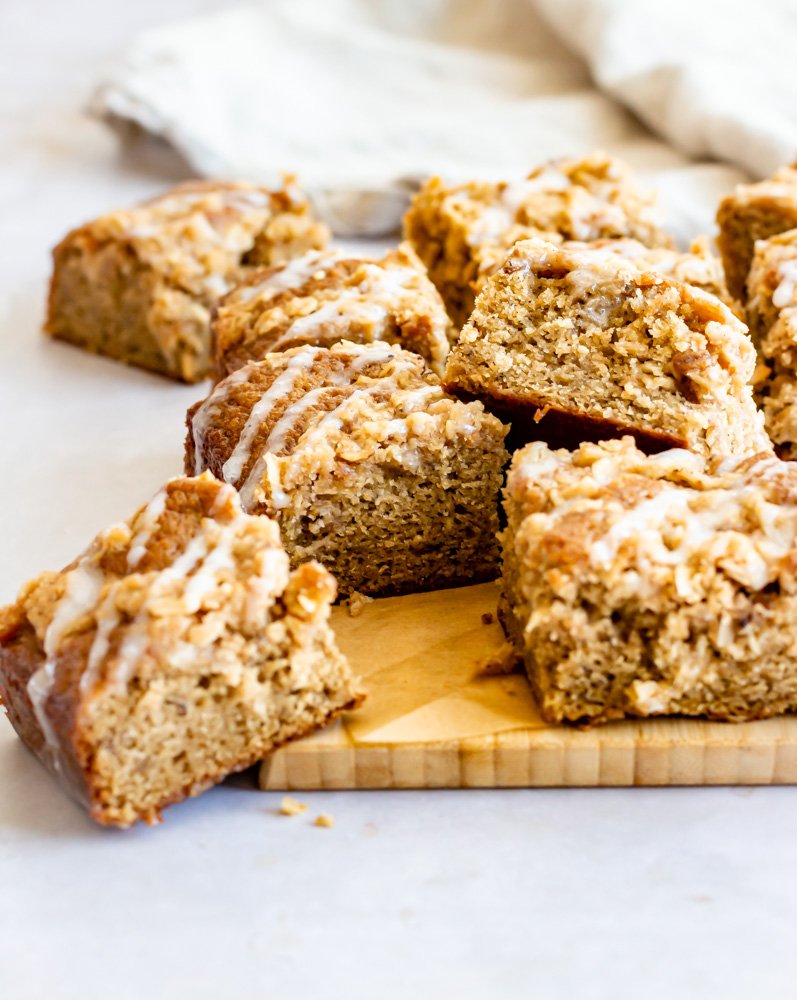
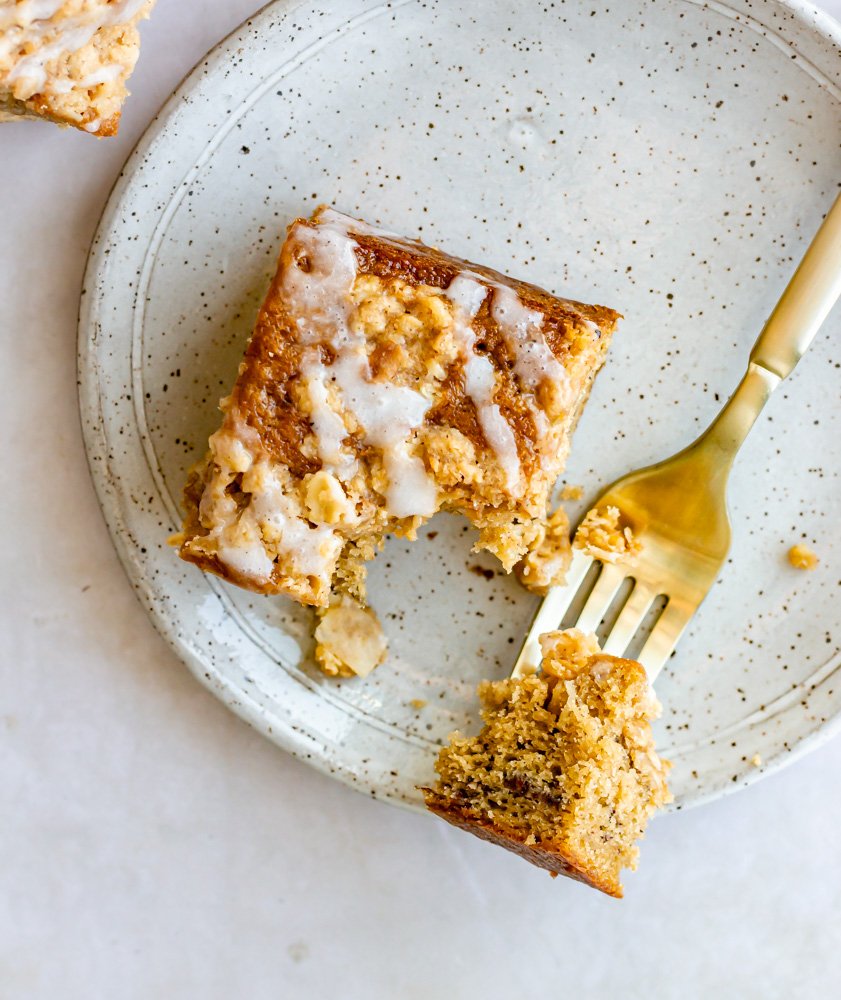
Banana Coconut Coffee Cake

A soft, sweet banana cake with a thick layer of tropical, toasted coconut streusel makes the perfect pair for your morning cup of coffee.

I’m back from Sicily and we’re jumping right back into our regularly scheduled baking content. I don’t know about you, but when I come home from a long trip, no matter how wonderful the food was, I crave comfort. I want to take a shower in my own bathroom, wear pajamas, eat a big bowl of pasta, and bake something cozy. I’m looking for low-effort comfort, and it often arrives in the form of cake. Simple cake to be exact.

I always have between 5-7 bananas shoved in my freezer and I’m reminded of their existence every time I open the freezer door and one or two fly out, barely missing my toes. While it’s nice to always ripe bananas on hand for when the baking urge strikes, it’s very difficult to think of anything to do with them besides make banana bread. For the last few months, my freezer banana count has been steadily increasing as I worked on recipes that would meet the banana baked good quota: simple, sweet, cozy. In walks this cake. It’s everything that you’re looking for in a banana cake: super moist, dense, and just sweet enough that it can double as both dessert and breakfast.

banana coconut coffee cake

This recipe is a riff of one of my very favorite recipes, my sweet potato and rye coffee cake. We subbed the sweet potatoes with bananas, of course. Got rid of the rye flour, and replaced the buttermilk with full-fat canned coconut milk. The streusel topping got a little facelift with the addition of toasted coconut.

It’s a simple creaming method cake and can be mixed up in just a few minutes. A quick tip: room temperature is really best for the ingredients in this case. Because of the high liquid content and the temperature characteristics of melted butter and coconut milk, this batter has a tendency to curdle easily. If that happens, just add in a bit of the dry ingredients to help bind everything together and it should smooth right out. Happy baking!

Banana Coconut Coffee Cake
Yield one 9x13" cake
Author Anna Ramiz
Prep time
30 Min
Cook time
45 Min
Total time
1 H & 15 M

Banana Coconut Coffee Cake

( 0 reviews )
A soft, sweet banana cake perfect for your morning cup of coffee topped with a thick layer of tropical coconut streusel.

Ingredients

for the crumble
  • 1/2 cup (65 g) all purpose flour
  • 3/4 cup (75 g) rolled oats
  • 1/2 cup (100 g) brown sugar
  • 1/2 tsp ground cinnamon
  • 1/2 tsp kosher salt
  • 1/2 cup coconut flakes
  • 1/2 cup (113 g) unsalted butter, softened
for the cake
  • 2 1/4 cup (290 g) all purpose flour
  • 1/2 tsp baking powder
  • 1/2 tsp baking soda
  • 3/4 tsp kosher salt
  • 1/2 tsp ground cinnamon
  • 1/4 tsp ground cardamom
  • 3/4 cup (170 g) unsalted butter, at room temperature
  • 1 cup (200 g) granulated sugar
  • 1/2 cup (100 g) brown sugar
  • 3 eggs
  • 150 g mashed banana, from about 2 large bananas
  • 3/4 cup full fat coconut milk
  • 1/4 cup brewed espresso, cooled
for the glaze
  • 1 cup powdered sugar
  • 1/4 cup (55 g) full fat coconut milk
  • 1/8 tsp vanilla powder, or sub a splash of vanilla extract
  • Pinch of salt

Instructions

to make the crumble
  1. Whisk together flour, oats, brown sugar, cinnamon, salt, and coconut flakes in a medium sized bowl until combined.
  2. Add the butter and work together using your fingers until butter is completely mixed in and no dry spots remain. Place in the refrigerator to chill while you make the cake.
to make the cake
  1. Line a 9x13” baking dish with parchment paper and preheat the oven to 350° F.
  2. In a medium sized bowl, whisk together flour, baking powder, baking soda, salt, cinnamon, and cardamom. Set aside.
  3. In the bowl of a stand mixer fitted with the paddle attachment, combine softened butter, sugar, and brown sugar. Beat on medium speed until light and fluffy, about 2 minutes, making sure to scrape down the sides and ensure all of the butter chunks have been mixed in.
  4. With the mixer on low speed, add the eggs one at a time, mixing thoroughly after each addition. Scrape down the sides of the bowl and add the mashed banana and vanilla extract. Mix on medium-low speed for 1-2 minutes more, until everything is well-combined.
  5. Combine coconut milk and espresso in a measuring cup.
  6. With the mixer on low speed, add 1/3 of the dry ingredients, followed by half of the coconut milk/espresso mixture. When the liquid has been mixed in, add another 1/3 of the dry ingredients, followed by the remaining 1/2 of liquid, and then the remaining 1/3 of dry ingredients. Scrape down the sides of the bowl and then mix for one more minute. Remove the bowl from the mixer and use a rubber spatular to gently fold the batter a few more times, ensuring that it is smooth and homogenous and everything is well-combined.
  7. Pour the batter into the prepared baking dish and use an offset spatula to smooth it into an even layer. Remove crumbs from the refrigerator and sprinkle it in a thick even layer over the top of the cake.
  8. Bake for 40-45 minutes, rotating halfway through the baking time, until a cake tester or toothpick comes out clean when inserted in the the center of the cake. Let cool completely in the pan while you make the glaze.
to make the glaze
  1. Combine ingredients in a small bowl and whisk until smooth, adding more powdered sugar or coconut milk to thicken or loosen the glaze until you reach your desired consistency.
  2. Drizzle the glaze over the cooled cake before serving.
Did you make this recipe?
Tag @gatheredatmytable on instagram and hashtag it # gatheredatmytable