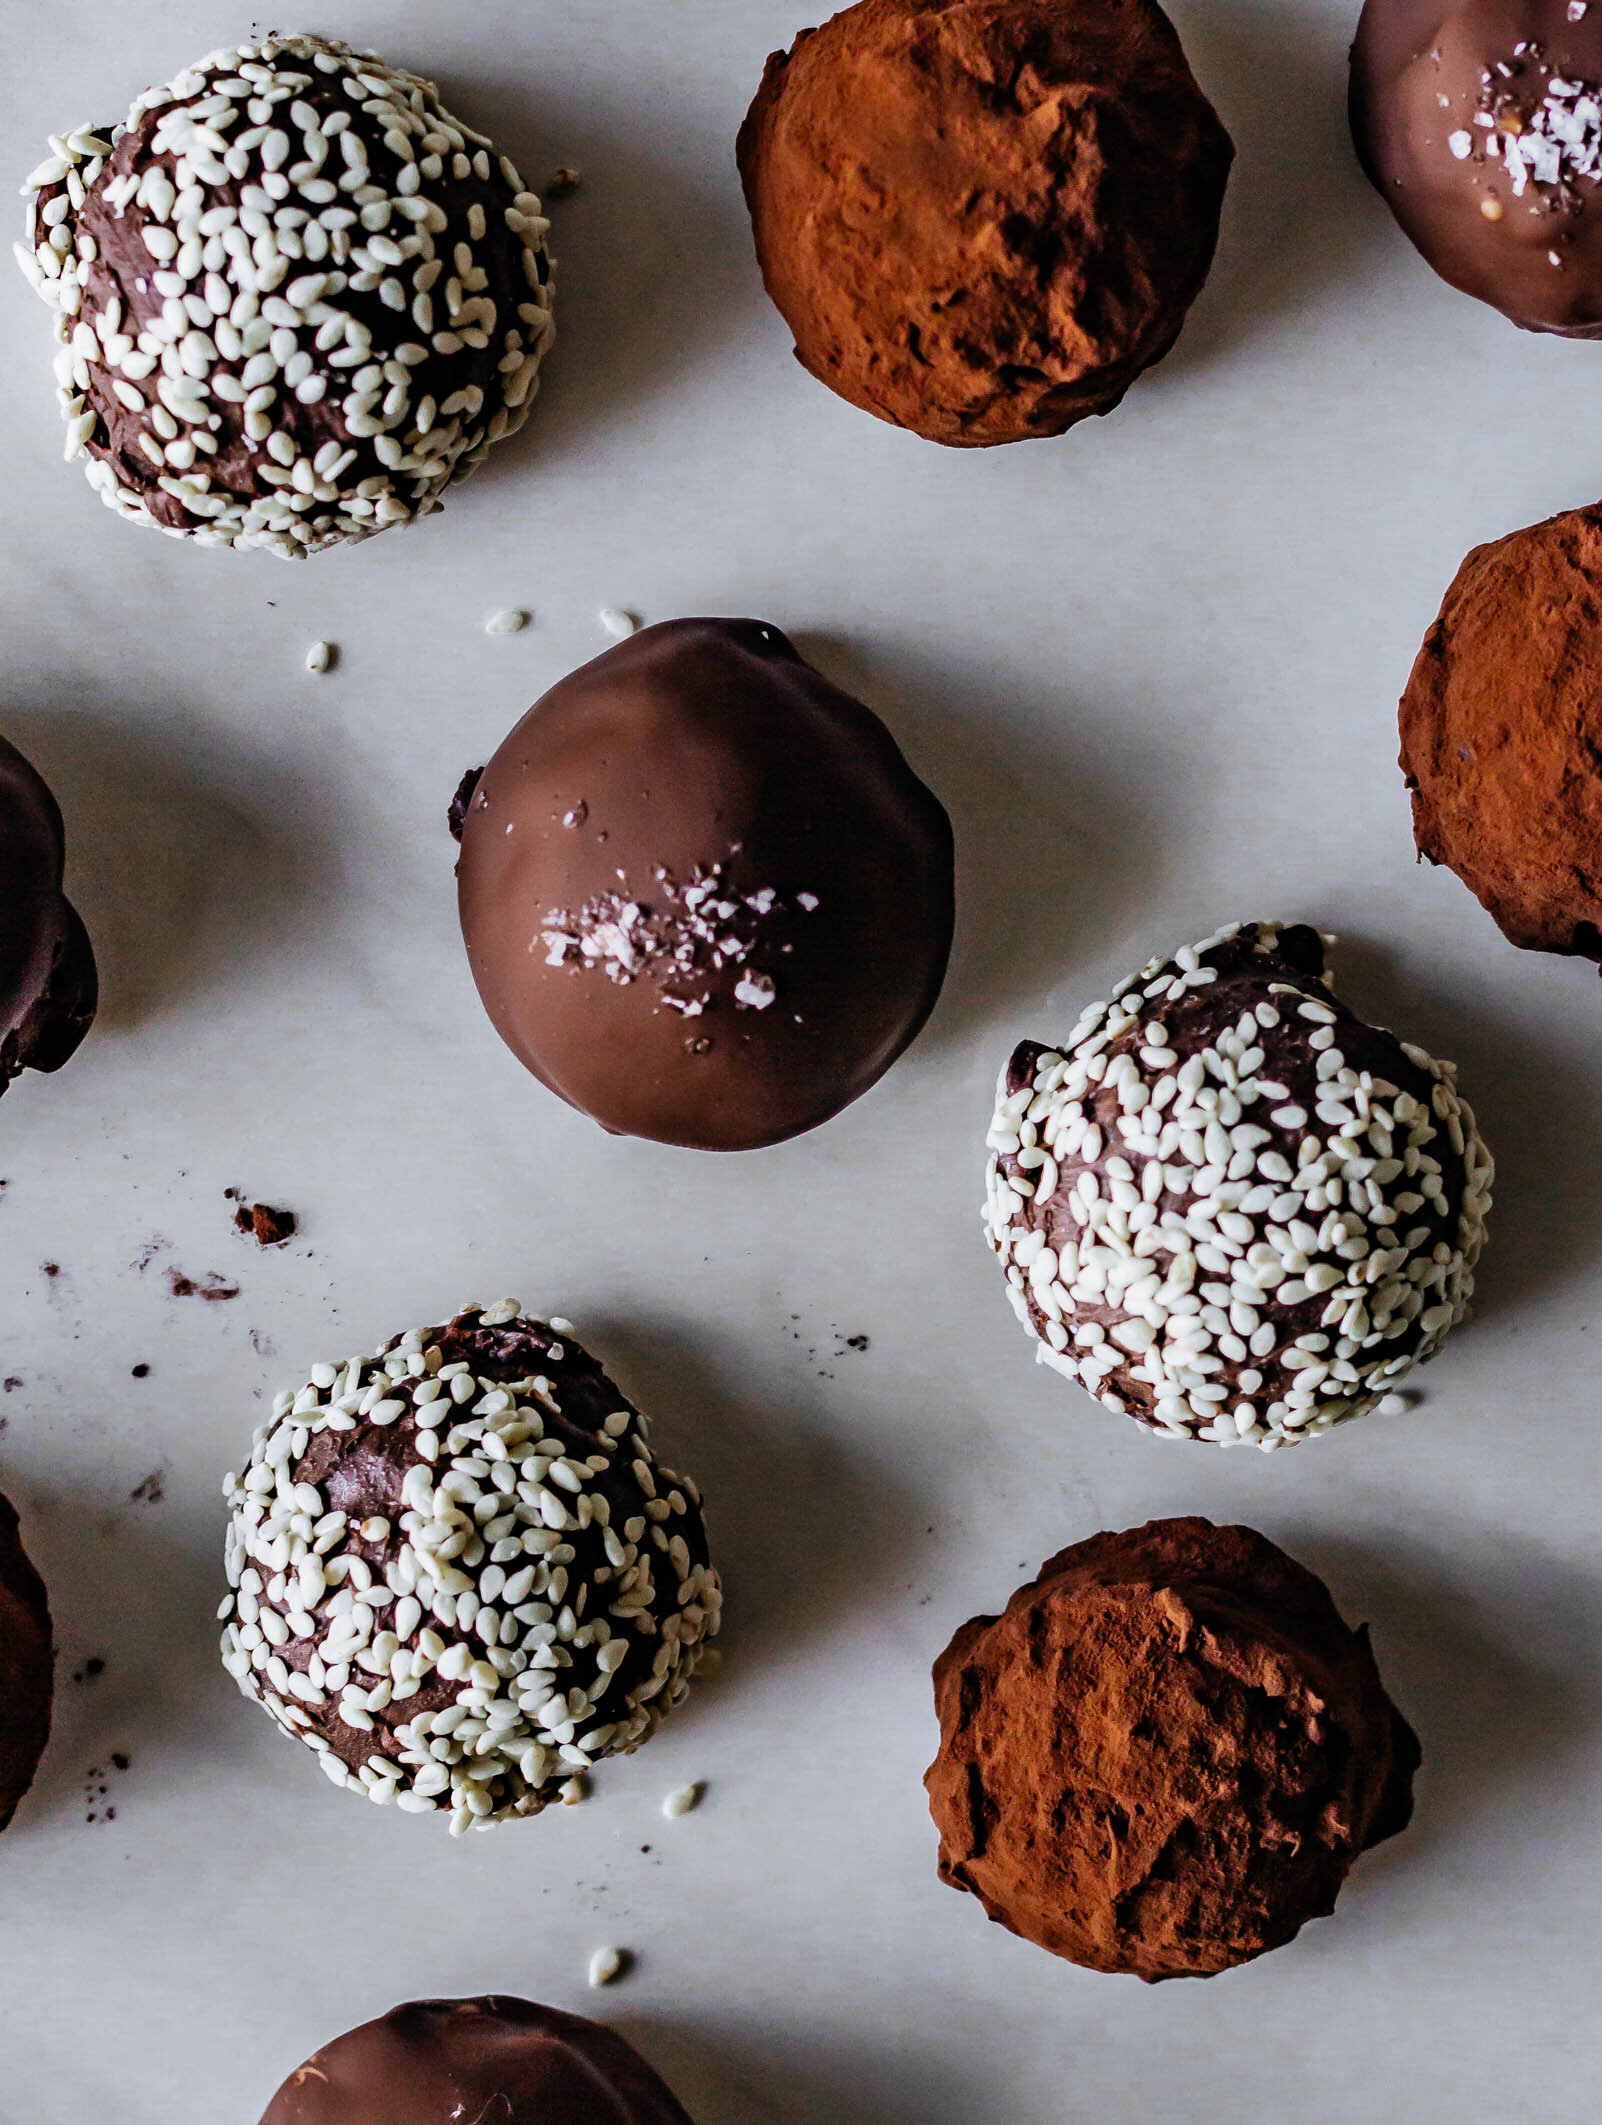
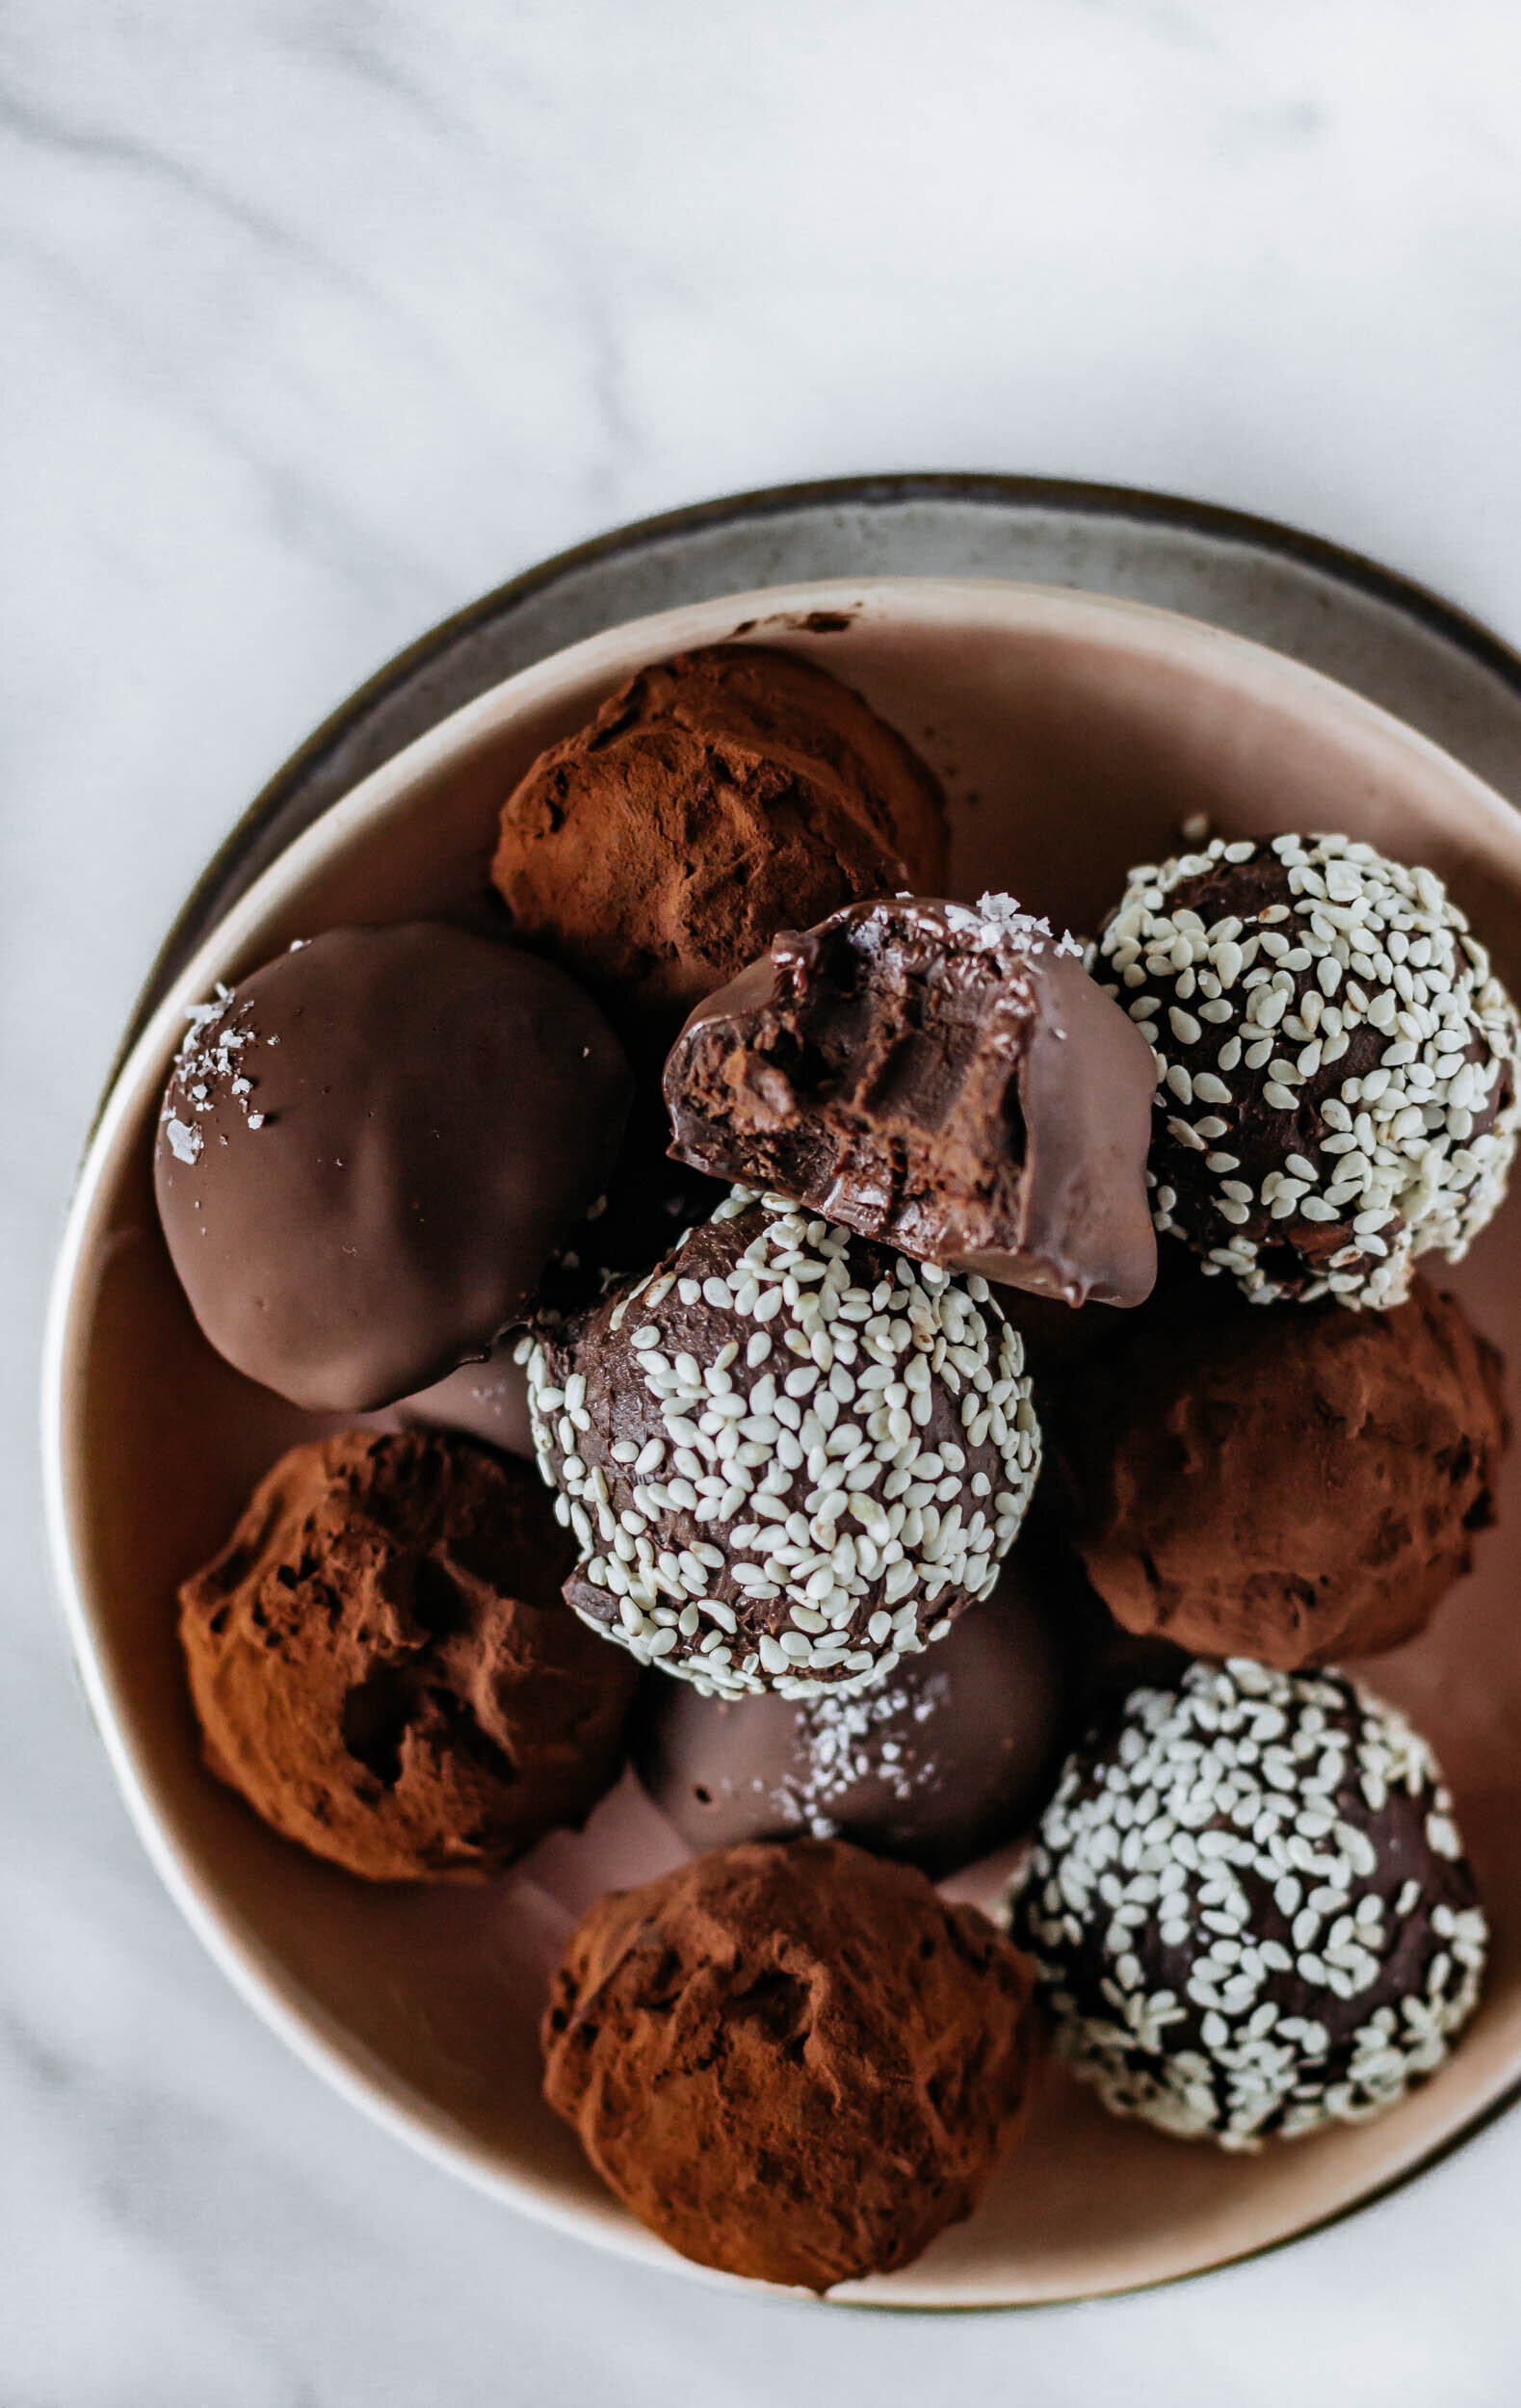
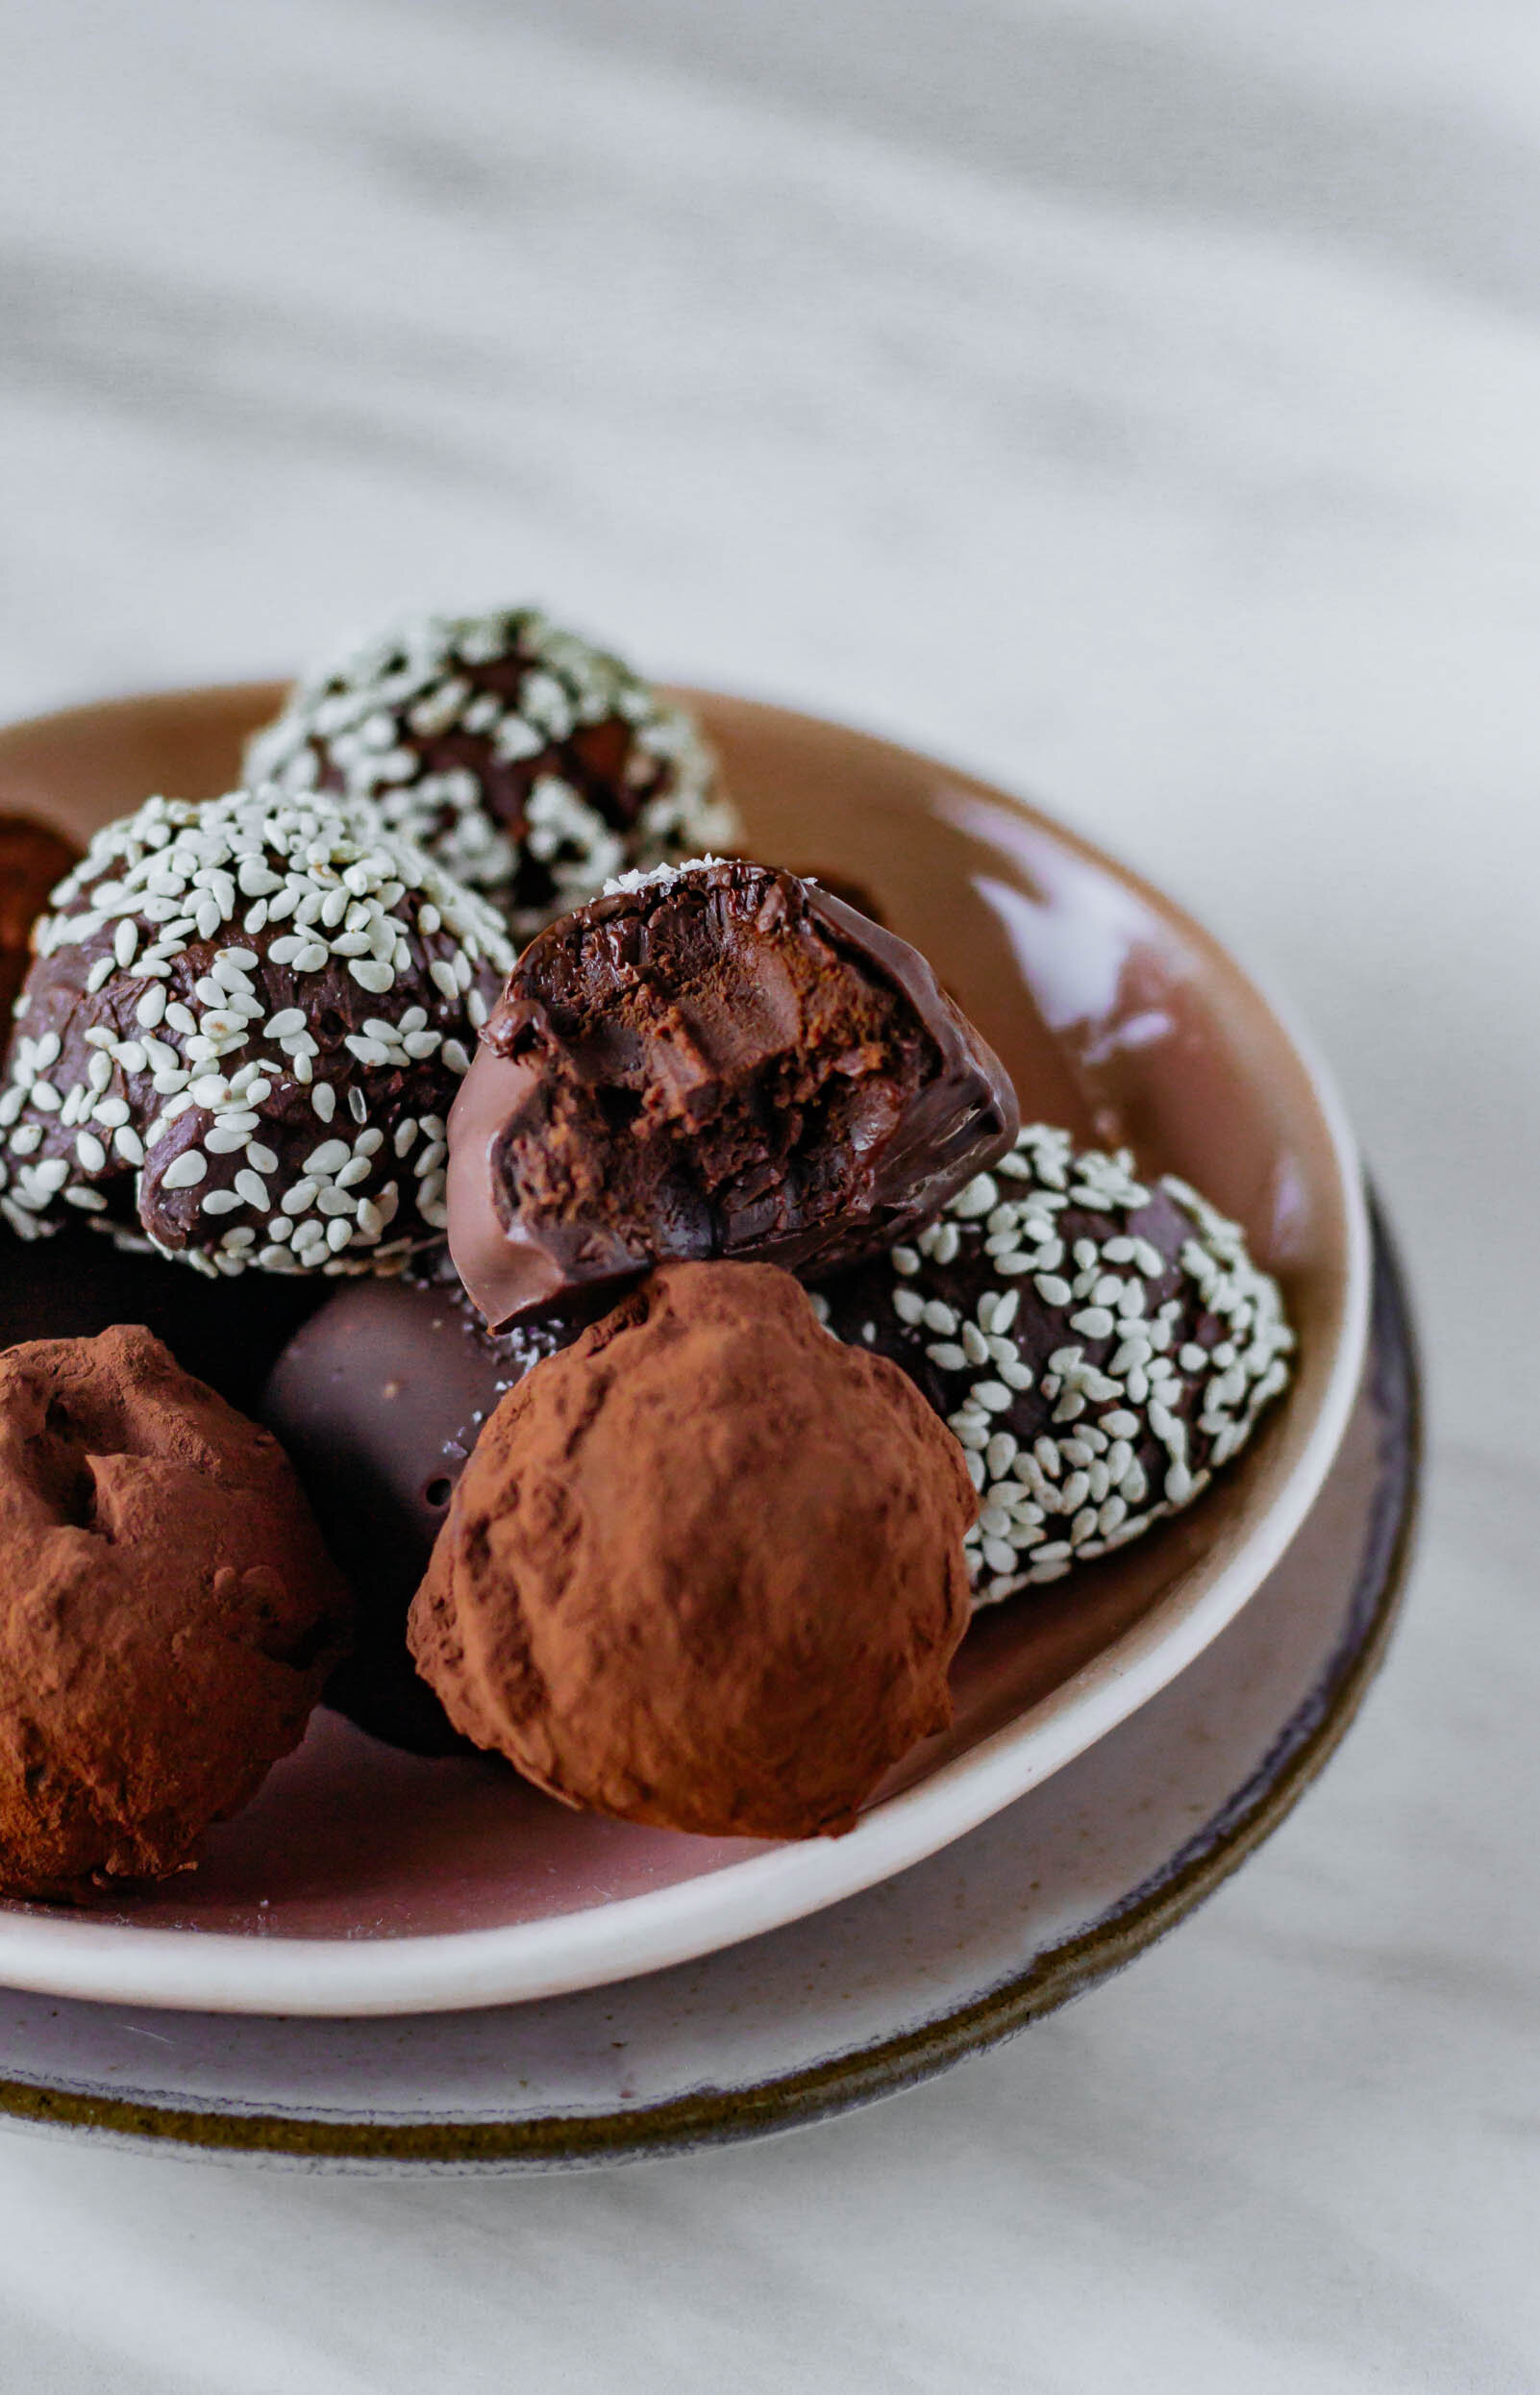
Chocolate Truffles 3 Ways

truffles5.jpg

Happy Day 11 of 12 Days of Christmas Desserts and Happy Christmas Eve Eve to you all! Let’s talk truffles.

Truffles are a very easy, last minute homemade gift idea that really give the ‘this took me barely any effort at all but they look fancy and cute so you will think I spent hours creating this for you’ vibe. Truffles are just ganache and ganache is just chocolate and heavy cream. It’s all about the technique, so let’s get down to it.

First thing to know about ganache: The consistency of your ganache depends on your chocolate to cream ratio. For a saucy, hot-fudge style ganache, start with 2 parts cream to 1 part chocolate. For traditional, spreadable ganache, it’s a 1:1 ratio, and for scoop-able, truffle ganache, we start with 2 parts chocolate to 1 part heavy cream.

A quick note: milk chocolate has a higher milk solid content than dark chocolate, which will add more fat and cream to your mixture. This means that you would have to slightly adjust these ratios if using a milk chocolate because there would extra fat added to the mixture. For all of these ganache ratios, stick with a chocolate that is at least 52% cocoa solids, preferably a bit higher. 60%-70% is my sweet spot.

making ganache

  1. Roughly chop your chocolate. You want small pieces or else your ganache will be chunky.

  2. Heat your cream until little bubbles form around the edges. (This is called scalding and if you’re measuring, the cream will between 180°-190°F.)

  3. Immediately pour the hot cream over the chopped chocolate and jiggle the bowl just a bit to get it all settled down. Let it sit for 3-5 minutes.

  4. After the mixture has rested a bit, start whisking. Whisk (fairly vigorously) starting in the very center of the bowl and working your way out. As you whisk the mixture will begin to look like chocolate milk and then will rapidly change to a smooth, glossy consistency. When the entire bowl has reached that glossy consistency, continue whisking for one minute more.

  5. Cool. For truffles, let the mixture cool for about an hour or until it’s is a scoopable consistency.
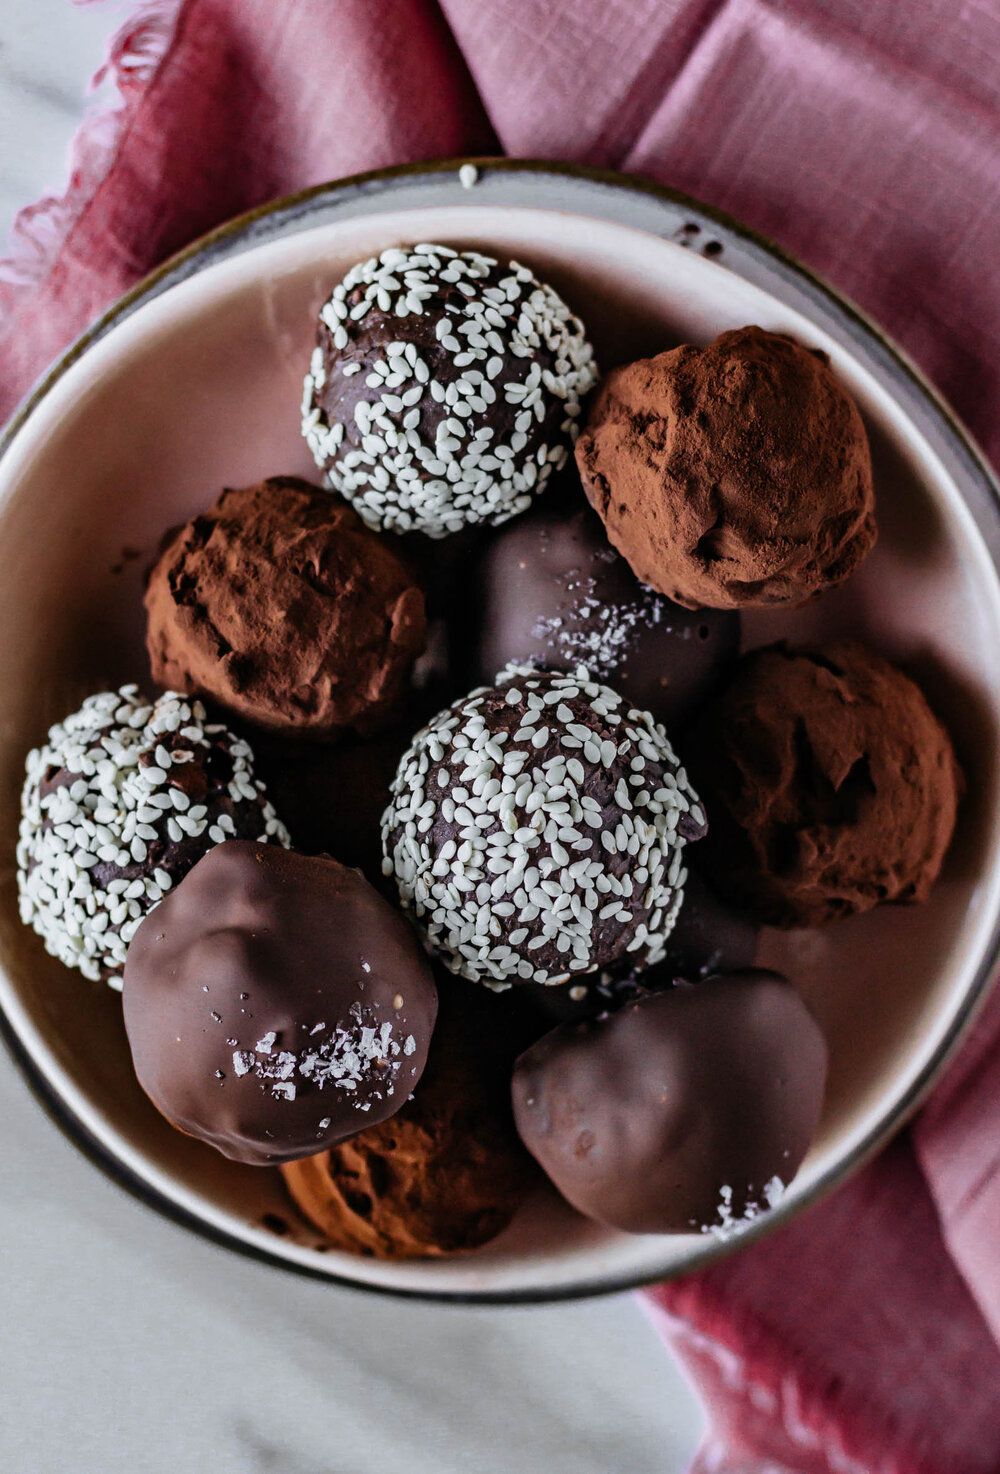
Yield: each recipe makes 10-12 truffles
Author: Anna Ramiz
Chocolate Truffles Three Ways

Chocolate Truffles Three Ways

Prep time: 15 MinCook time: 15 MinInactive time: 1 HourTotal time: 1 H & 30 M
Chocolate truffles are easy and don't require many ingredients but they make you feel like a fancy confectioner. Here is a base truffle recipe along with three different flavor renditions.

Ingredients

for the chocolate pomegranate truffles
  • 8 oz chocolate
  • 4 oz heavy cream
  • 2 tbsp pomegranate molasses
  • cocoa powder, for rolling
for the chocolate tahini truffles
  • 8 oz chocolate
  • 4 oz heavy cream
  • 2 tbsp tahini, stirred
  • sesame seeds, for rolling
for the sea salt and sage caramel truffles
  • 12 oz chocolate, divided
  • 4 oz heavy cream
  • 2 tbsp sage caramel, recipe below
  • Sea salt
for the sage caramel
  • 1 cup (200 g) granulated sugar
  • 1/2 cup (113 g) heavy cream
  • 3 tbsp unsalted butter
  • 2 sprigs fresh sage (10-12 leaves)
  • 1 tsp salt

Instructions

to make the truffles
  1. Place 8 oz chopped chocolate in a medium bowl. In a small saucepan set over medium heat, bring 4 oz heavy cream to a simmer. When the cream is hot, pour over the chocolate and shake to settle. Let sit for 3-4 minutes.
  2. Starting in the center of the bowl, begin whisking vigorously until chocolate mixture becomes smooth and glossy. Whisk one minute more. Add the add-in of your choice (tahini, pomegranate molasses, sage caramel) and whisk to combine.
  3. Let mixture set at room temperature for about an hour, until it becomes scoop-able. Use a cookie scoop to portion dollops of ganache onto a parchment-lined baking sheet and then transfer to the refrigerator to cool for 15 minutes.
  4. For the chocolate pomegranate truffles: Remove them from the refrigerator and roll each one in sifted cocoa powder.
  5. For the chocolate tahini truffles: Remove them from the refrigerator and roll each one in sesame seeds.
  6. For the sea salt and sage caramel truffles: Melt the remaining 4 oz of chocolate over a double-boiler or in the microwave. Dip each truffle in the chocolate and place on a clean piece of parchment paper. Sprinkle the tops with sea salt and let set until chocolate has hardened.
to make the sage caramel
  1. Place butter in a small saucepan set over medium heat. Add about 6 sage leaves to the butter and cook until butter is melted. When the mixture is beginning to sizzle, transfer it to a bowl and let cool completely. Remove sage leaves and discard, set butter aside.
  2. Place heavy cream your small saucepan along with the remaining sage leaves and bring to a simmer over medium heat. When the milk begins to bubble, remove it from the heat and cover it. Let set for 20 minutes before straining out sage leaves and discarding them.
  3. Pour sugar in an even layer on the bottom of a large skillet. Set over medium heat and cook without stirring until the sugar has become liquid is beginning to turn golden. At this point, you can swirl the pan gently a time or two. Continue to cook until caramel reaches a deep amber color.
  4. Carefully remove the skillet from the heat and stream in heavy cream, whisking continually. Return the caramel to the heat and add butter. Whisk well and cook for 1 more minute. Immediately pour caramel into a medium bowl, whisk in salt, and let cool.

Notes:

Milk chocolate has a higher milk solid content than dark chocolate, which will add more fat and cream to your mixture. This means that you would have to slightly adjust these ratios if using a milk chocolate because there would extra fat added to the mixture. For all of these ganache ratios, stick with a chocolate that is at least 52% cocoa solids, preferably a bit higher. 60%-70% is my sweet spot.

Did you make this recipe?
Tag @gatheredatmytable on instagram and hashtag it #gatheredatmytable

more recipes like this

chocespressocookies11.jpg

chocolate espresso crinkle cookies

slicedwhole2.jpg

sourdough chocolate tart

buckwheatchocolate6.jpg

toasted buckwheat and chocolate cookies

Coquito Tiramisu

coquitotiramisu16.jpg

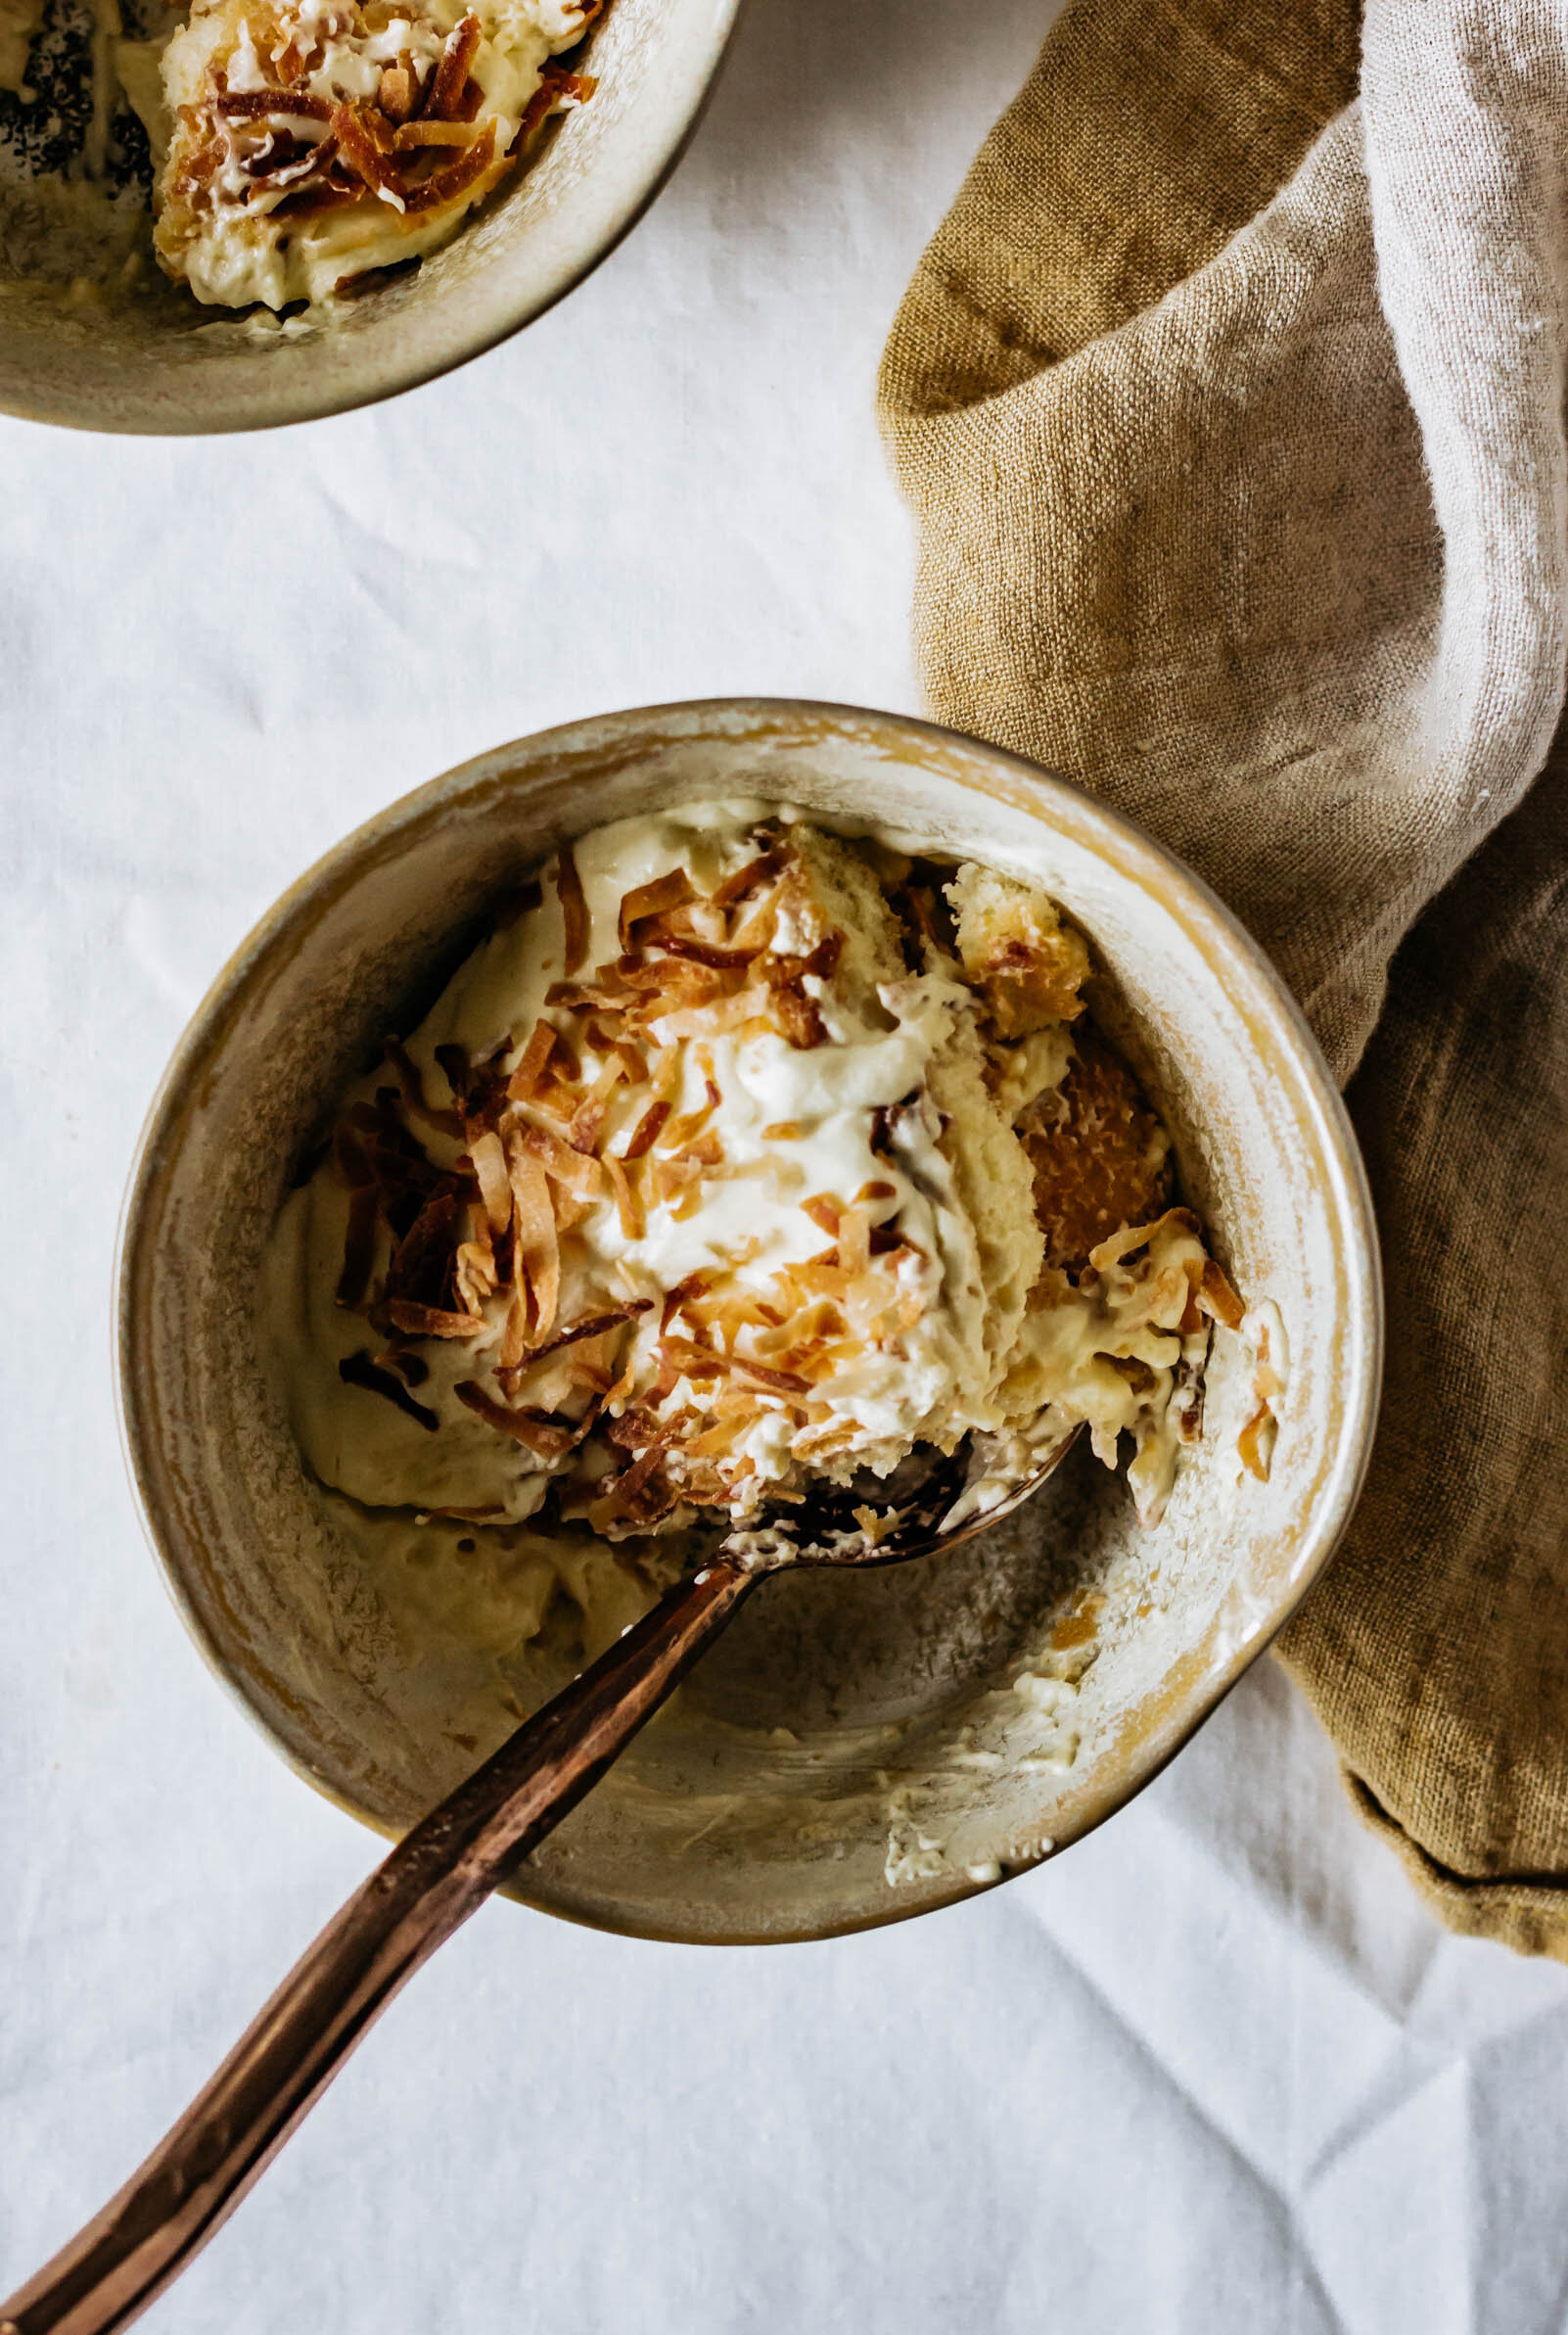
Do you know about Coquito? If you have never heard of it before, just sit back and get ready because it is the most delicious holiday beverage around. Coquito is a Puerto Rican Christmas drink made of creme de coco, coconut milk, and rum. It’s thick and creamy, boozy and tropical, and I’m always counting down until December when we can start drinking it all month long. Back when I was teaching, one of my teacher friends made the very best coquito and on the last day of school before Winter Break, she would bring a thermos of it and we would drink it after all of the kids had left, sitting on top of student desks with classroom Christmas party remnants strewn about. If you’re a teacher, you know this moment.

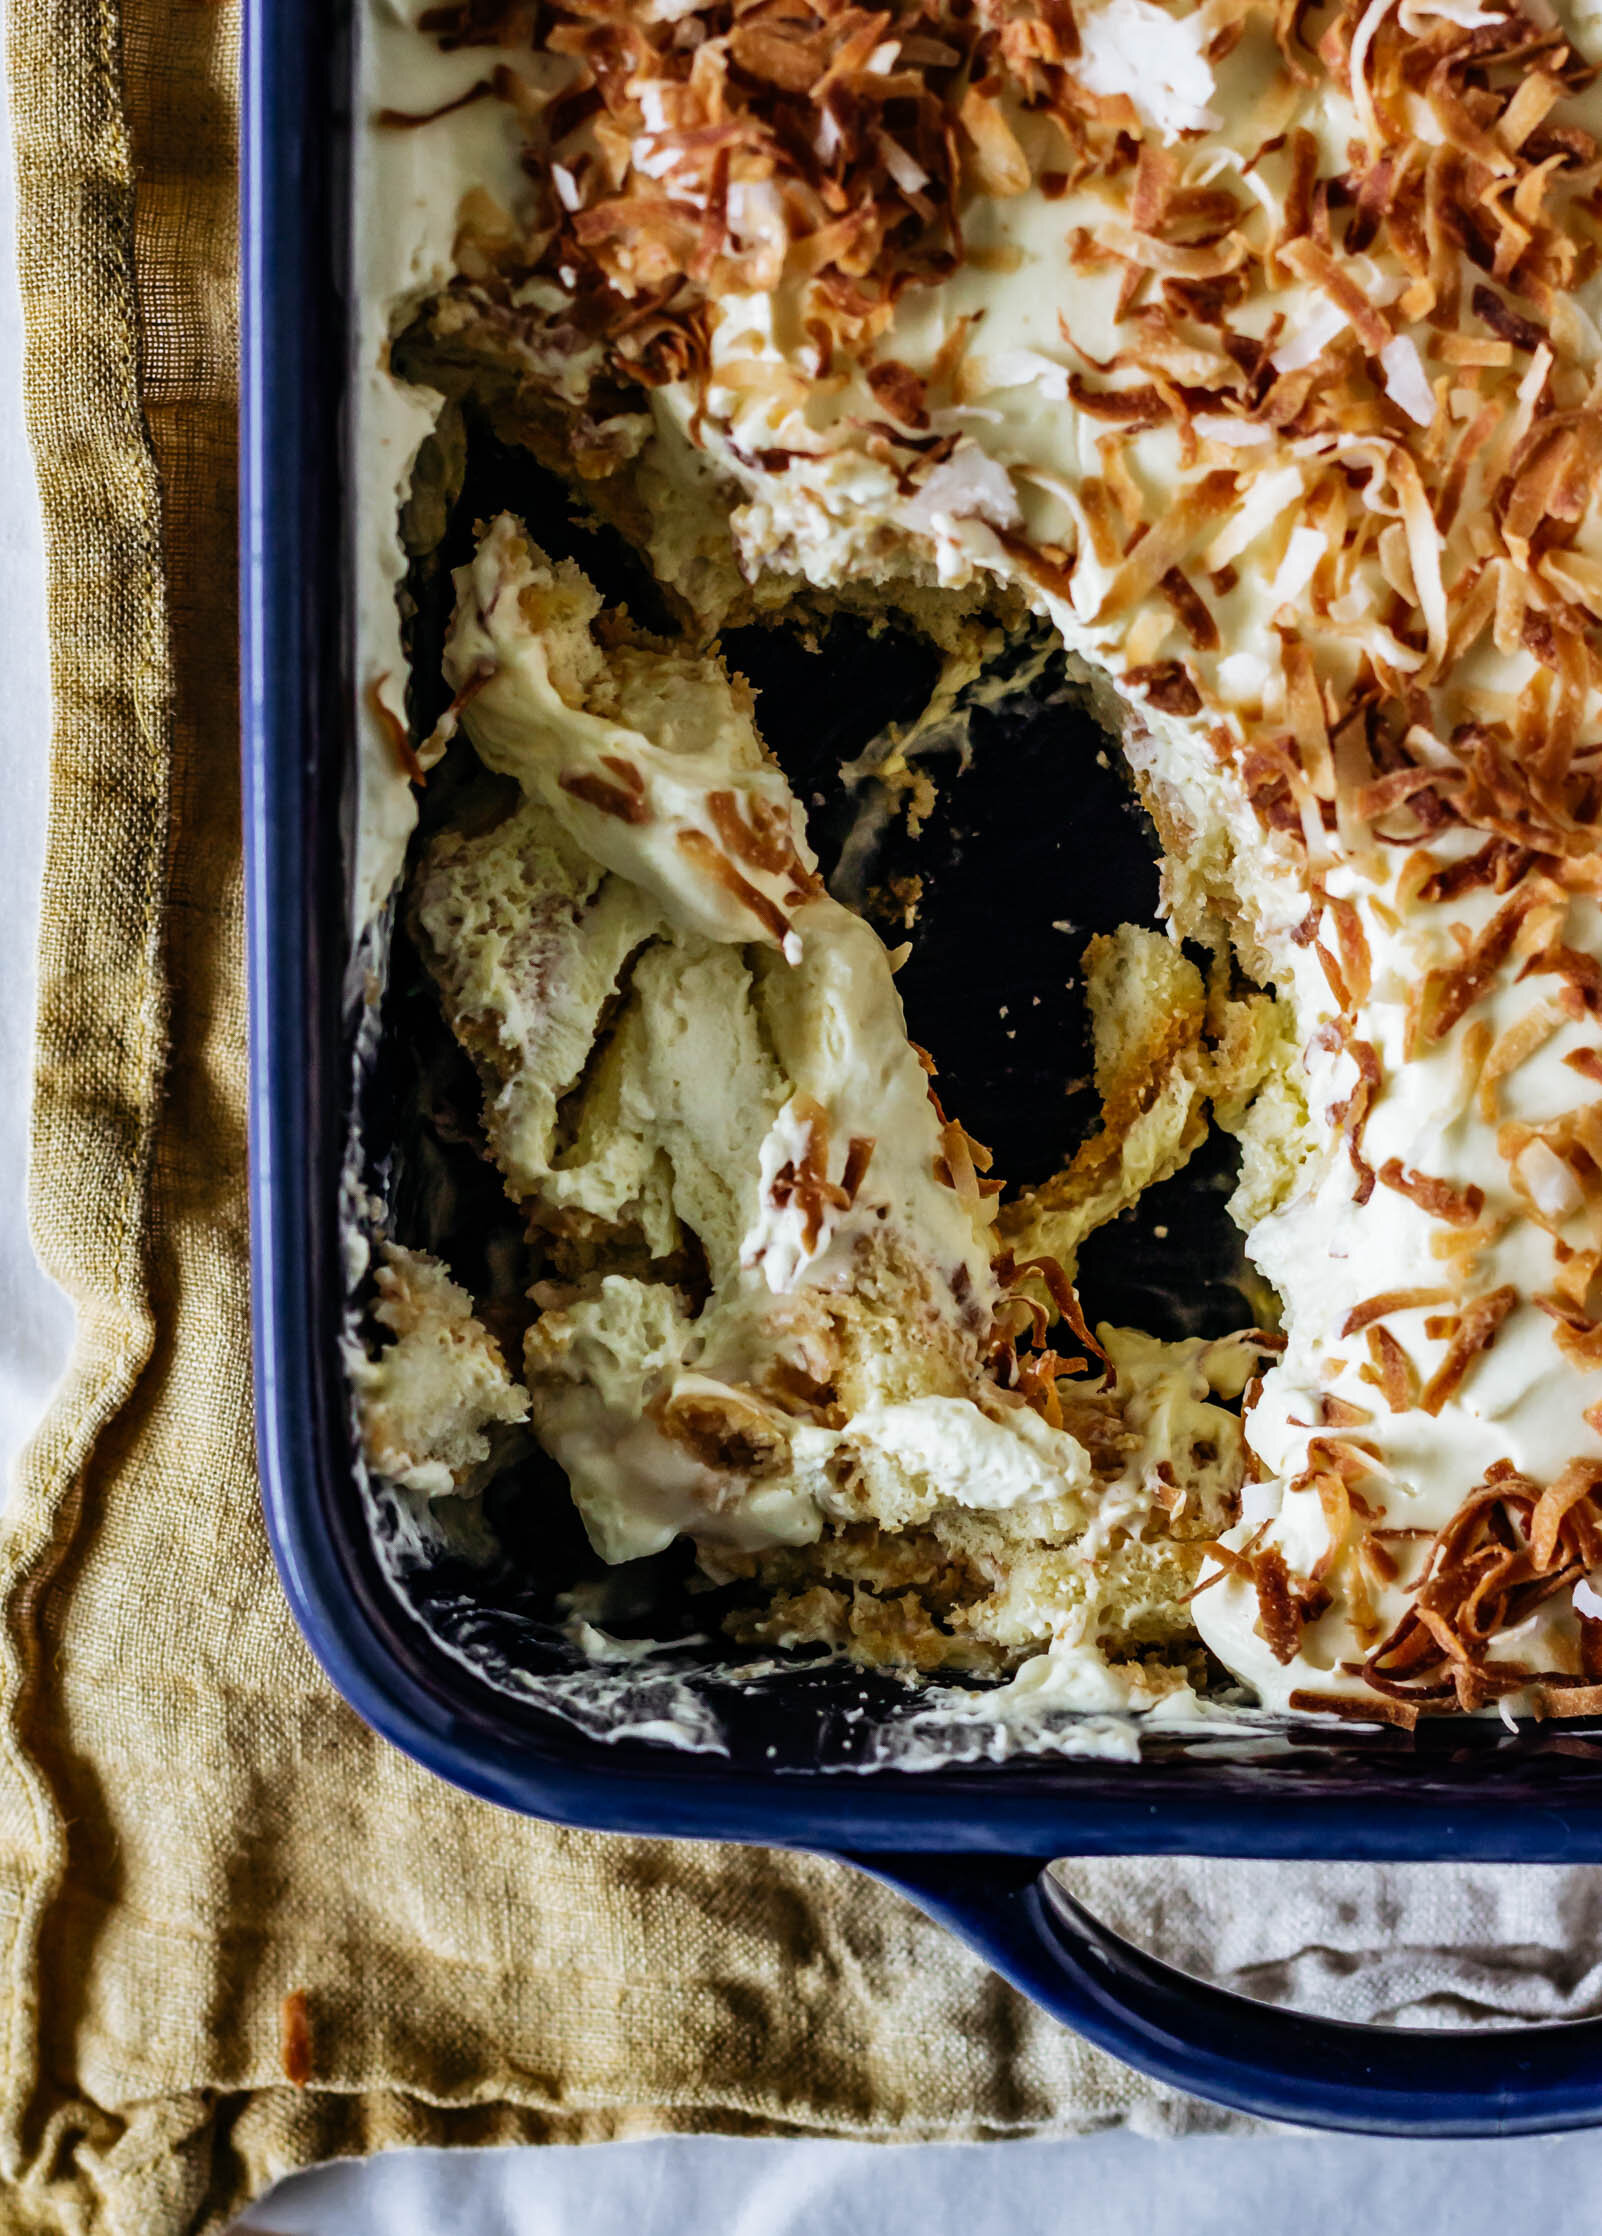
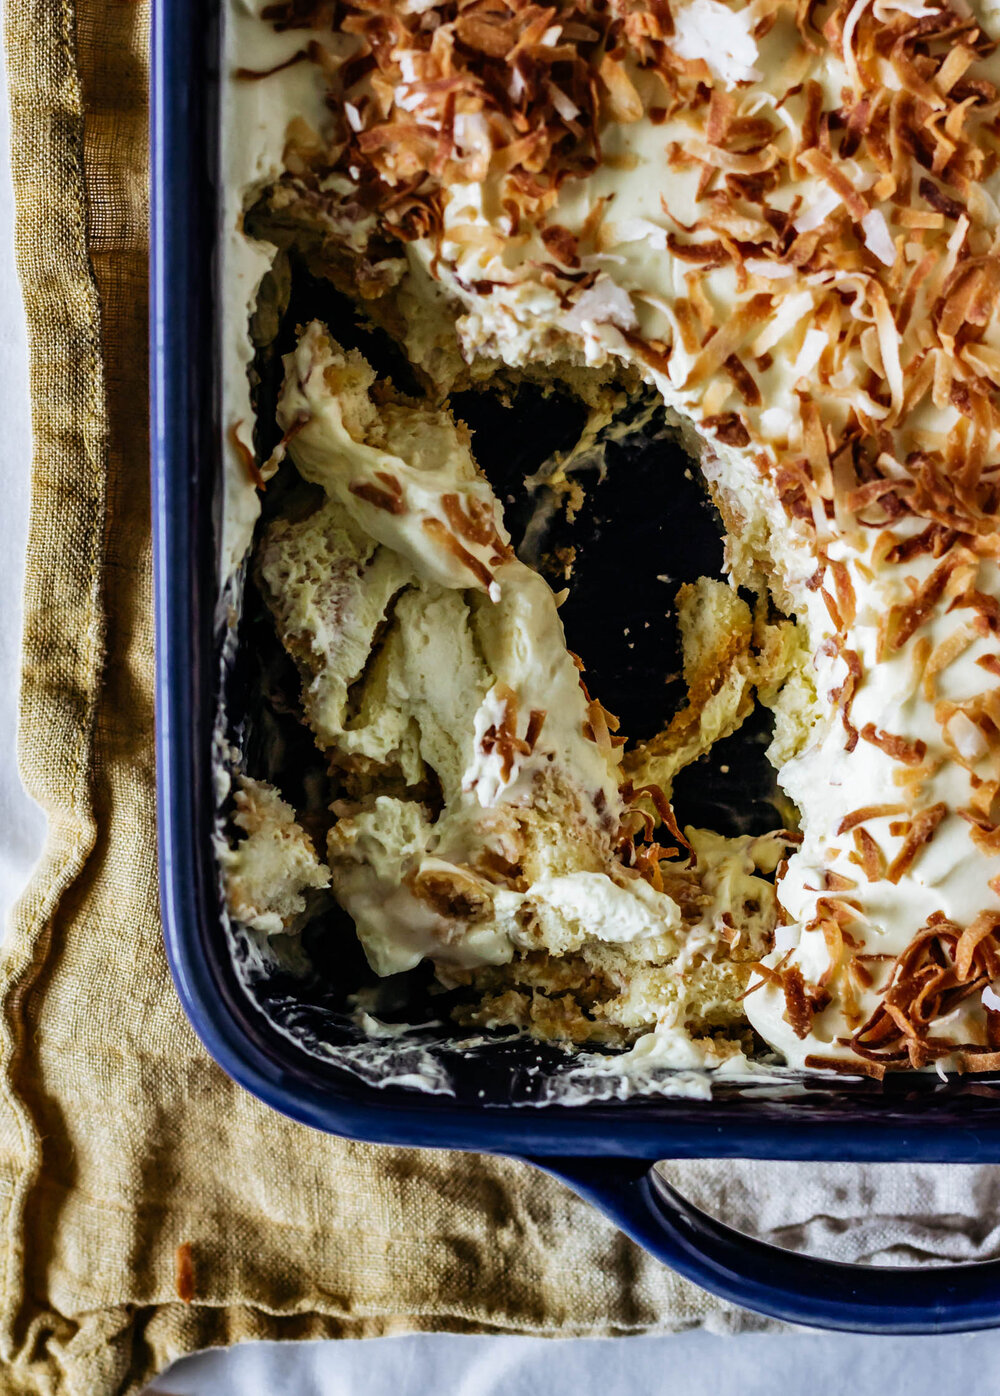
So for Day 10 of our 12 Days of Christmas Desserts, we made coquito tiramisu. Lady fingers are soaked in a coquito mixture of creme de coco, coconut milk, and rum and layered with a more-traditional mascarpone/saboyan cream and the whole thing is topped with toasted coconut. It’s fun and festive and very delicious.

Tiramisu in general is a fairly straightforward dessert, the cream filling being the only slightly tricky part. This one is made with a sabayon folded into a mascarpone whipped cream. Sabayon or zabaglione (in Italian) is a cooked custard made with egg yolks and sugar (and sometimes a sweet wine). Egg yolks and sugar are combined in a bowl over a double-boiler and whisked continually as they heat. When the eggs are warm to the touch and all of the sugar granules have dissolved, the mixture will be light in color and thickened. When used in different applications, like spooned over fruit, it has a more saucy consistency, but here we want it thick. When you lift your whisk out of the bowl, you should see a ribbon mark of custard that somewhat holds it’s shape. This then gets folded into the mascarpone whipped cream and it’s just luxurious, that’s all I can say.

Finally, in one last ditch effort to talk you into making this recipe for your Christmas celebration, I’ve discovered that tiramisu might be the perfect Christmas dinner dessert. It holds so well and is better 2-3 days after making it, which means that you can whip this up tomorrow and then not think about dessert again until you serve it on Christmas Day! Does it get any better than that?

Coquito Tiramisu
Yield
makes one 9x13 baking dish
Author
Prep time
20 Min
Cook time
15 Min
Inactive time
6 Hour
Total time
6 H & 35 M

Coquito Tiramisu

A twist on the classic Tiramisu inspired by Coquito, a Puerto-Rican holiday drink. Boozy and tropical, spiked with coconut and rum.

Ingredients

  • 4 egg yolks
  • 1/4 cup (50 g) granulated sugar
  • 1/4 cup (78 g) sweetened condensed milk
  • 3/4 cup (170 g) heavy cream
  • 1 cup (8 oz) mascarpone cheese
  • 2 tsp vanilla extract, divided
  • 1 15-oz can Creme de Coco
  • 1/4 cup dark or spiced rum
  • 1/2 cup full-fat coconut milk
  • 2 7-oz packages lady finger cookies
  • 1/4 cup toasted coconut, for topping
  • Ground cinnamon

Instructions

  1. Combine egg yolks, sugar, and 1 tsp vanilla extract in a heat-proof bowl and set over a pot of simmering water. Cook, whisking regularly, until the mixture is thickened and pale, warm to the touch, and sugar granules have dissolved.
  2. Meanwhile, combine heavy cream and sweetened condensed milk in the bowl of a stand mixer fitted with the whisk attachment. Whip on medium-high speed until soft peaks form. Add the mascarpone cheese and whip again until completely combined and mixture is light and smooth.
  3. Remove the egg yolks from the double boiler and gently fold whipped mascarpone mixture into the egg mixture, until no streaks remain. Set aside.
  4. In a large glass measuring using an immersion blender, or in a high-speed blender, combine creme de coco, coconut milk, rum and 1 tsp vanilla extract. Blend until smooth and then transfer to a shallow bowl.
  5. Dip each lady finger in the coconut milk mixture, coating completely, and lay them in an even layer in the bottom of your dish. Drizzle about a 1/4 cup of liquid over the lady finger layer and then spread 1/2 of the mascarpone mixture in an even layer on top. Repeat this process with one more layer of lady fingers and the remaining mascarpone cream.
  6. Cover tightly and refrigerate for at least 6 hours, preferably overnight. When you are ready to serve, sprinkle the top with toasted coconut and dust with a bit of ground cinnamon.
Did you make this recipe?
Tag @gatheredatmytable on instagram and hashtag it #gatheredatmytable

more recipes like this

closeup2.jpg

guava and cheese pastelitos

capcheesecake20.jpg

cafe con leche cheesecake

WildernessTiramisuBig5.jpg

wilderness tiramisu

Basil Olive Oil Ice Cream

icecream8.jpg

It’s Day 8 of our little 12 Days of Christmas Project and I’m turning tradition on its head and giving you an ice cream recipe. I know that ice cream may not be the most tradition of holiday desserts, but we eat snow so why not ice cream? Like all of the ice cream recipes I have here on the blog, this ice cream base can made without an ice cream maker or with the assistance of one so there are no real excuses for not making ice cream.

I created this recipe a few months ago as a part of a Thanksgiving campaign featuring Monini’s Basil Olive Oil and it was a hit. A simple vanilla ice cream custard base is steeped with basil leaves and basil olive oil is added after whipping the cold custard (or drizzled in during the churning process if you are using an ice cream maker). Once the base has frozen overnight, more olive oil is drizzled on the ice cream before serving. It’s bright and floral and interesting and makes a really lovely dessert when served after a rich, heavy meal.

If you don’t have access to Monini’s Basil Olive Oil, this recipe can easily be made using high-quality, extra virgin olive oil. And if you are looking to go the extra mile, scrape out a few vanilla beans and place the seeds and pods in a jar with some olive oil and let it infuse. Store it in your pantry and have it on hand to drizzle over any ice cream or fruit anytime.

oliveoilicecream5.jpg

Basil Olive Oil Ice Cream

makes 1 quart of ice cream


Ingredients

2 cups (460 g) heavy cream

6-8 fresh basil leaves

3 strips of lemon zest (from about 1/2 of a lemon)

3/4 cup granulated sugar

4 egg yolks

pinch of salt

1 tbsp vanilla extract

1/4 cup Monini Basil Olive Oil or extra virgin olive oil, plus more for drizzling


Procedure

  1. In a medium saucepan, heat cream, basil leaves, and lemon zest over medium-low heat until it is beginning to bubble around the edges of the pan and is hot to the touch. When hot and bubbly, remove from the heat and cover. Let steep for 30 minutes, then strain out basil and lemon zest.

  2. Return the steeped cream to the medium saucepan and set it back over the heat. Bring the cream back to a simmer.

  3. While the cream is heating, whisk together sugar, egg yolks, salt, and vanilla extract until a thick paste forms. When the cream is hot, slowly stream it into the egg mixture, whisking continually the whole time. Transfer the entire mixture back into the saucepan and return to heat.

  4. Cook, stirring continually with a wooden spoon, over low-medium heat until the sauce is thickened, but do not bring to a boil. You can test if the sauce is ready by wiping your finger through the sauce along the back of the wooden spoon. If the line your finger creates holds, the sauce is ready. If it drips, continue cooking.

  5. When the sauce is sufficiently thickened, remove from heat and immediately strain into a large mixing bowl. Press a piece of plastic wrap directly over the top of the custard, cover and refrigerate, until completely cold (preferably overnight).

  6. When the ice cream base is cold, transfer it to the bowl of a stand mixer fitted with the whisk attachment. Whip on medium-high speed until soft peaks form and then, with the mixer running, stream in the 1/4 cup of olive oil

  7. Spread the whipped cream mixture into a 8x8” loaf pan, press a piece of plastic wrap directly on the surface, wrap tightly, and freeze for at least 12 hours.

  8. To serve, scoop ice cream and drizzle with more olive oil.

Print Friendly and PDF

more recipes like this

frontscoop3.jpg

goat cheese and roasted raspberry ice cream

withjam1.jpg

lemon olive oil loaf

messyscoops8.jpg

strawberry top and black pepper caramel ice cream