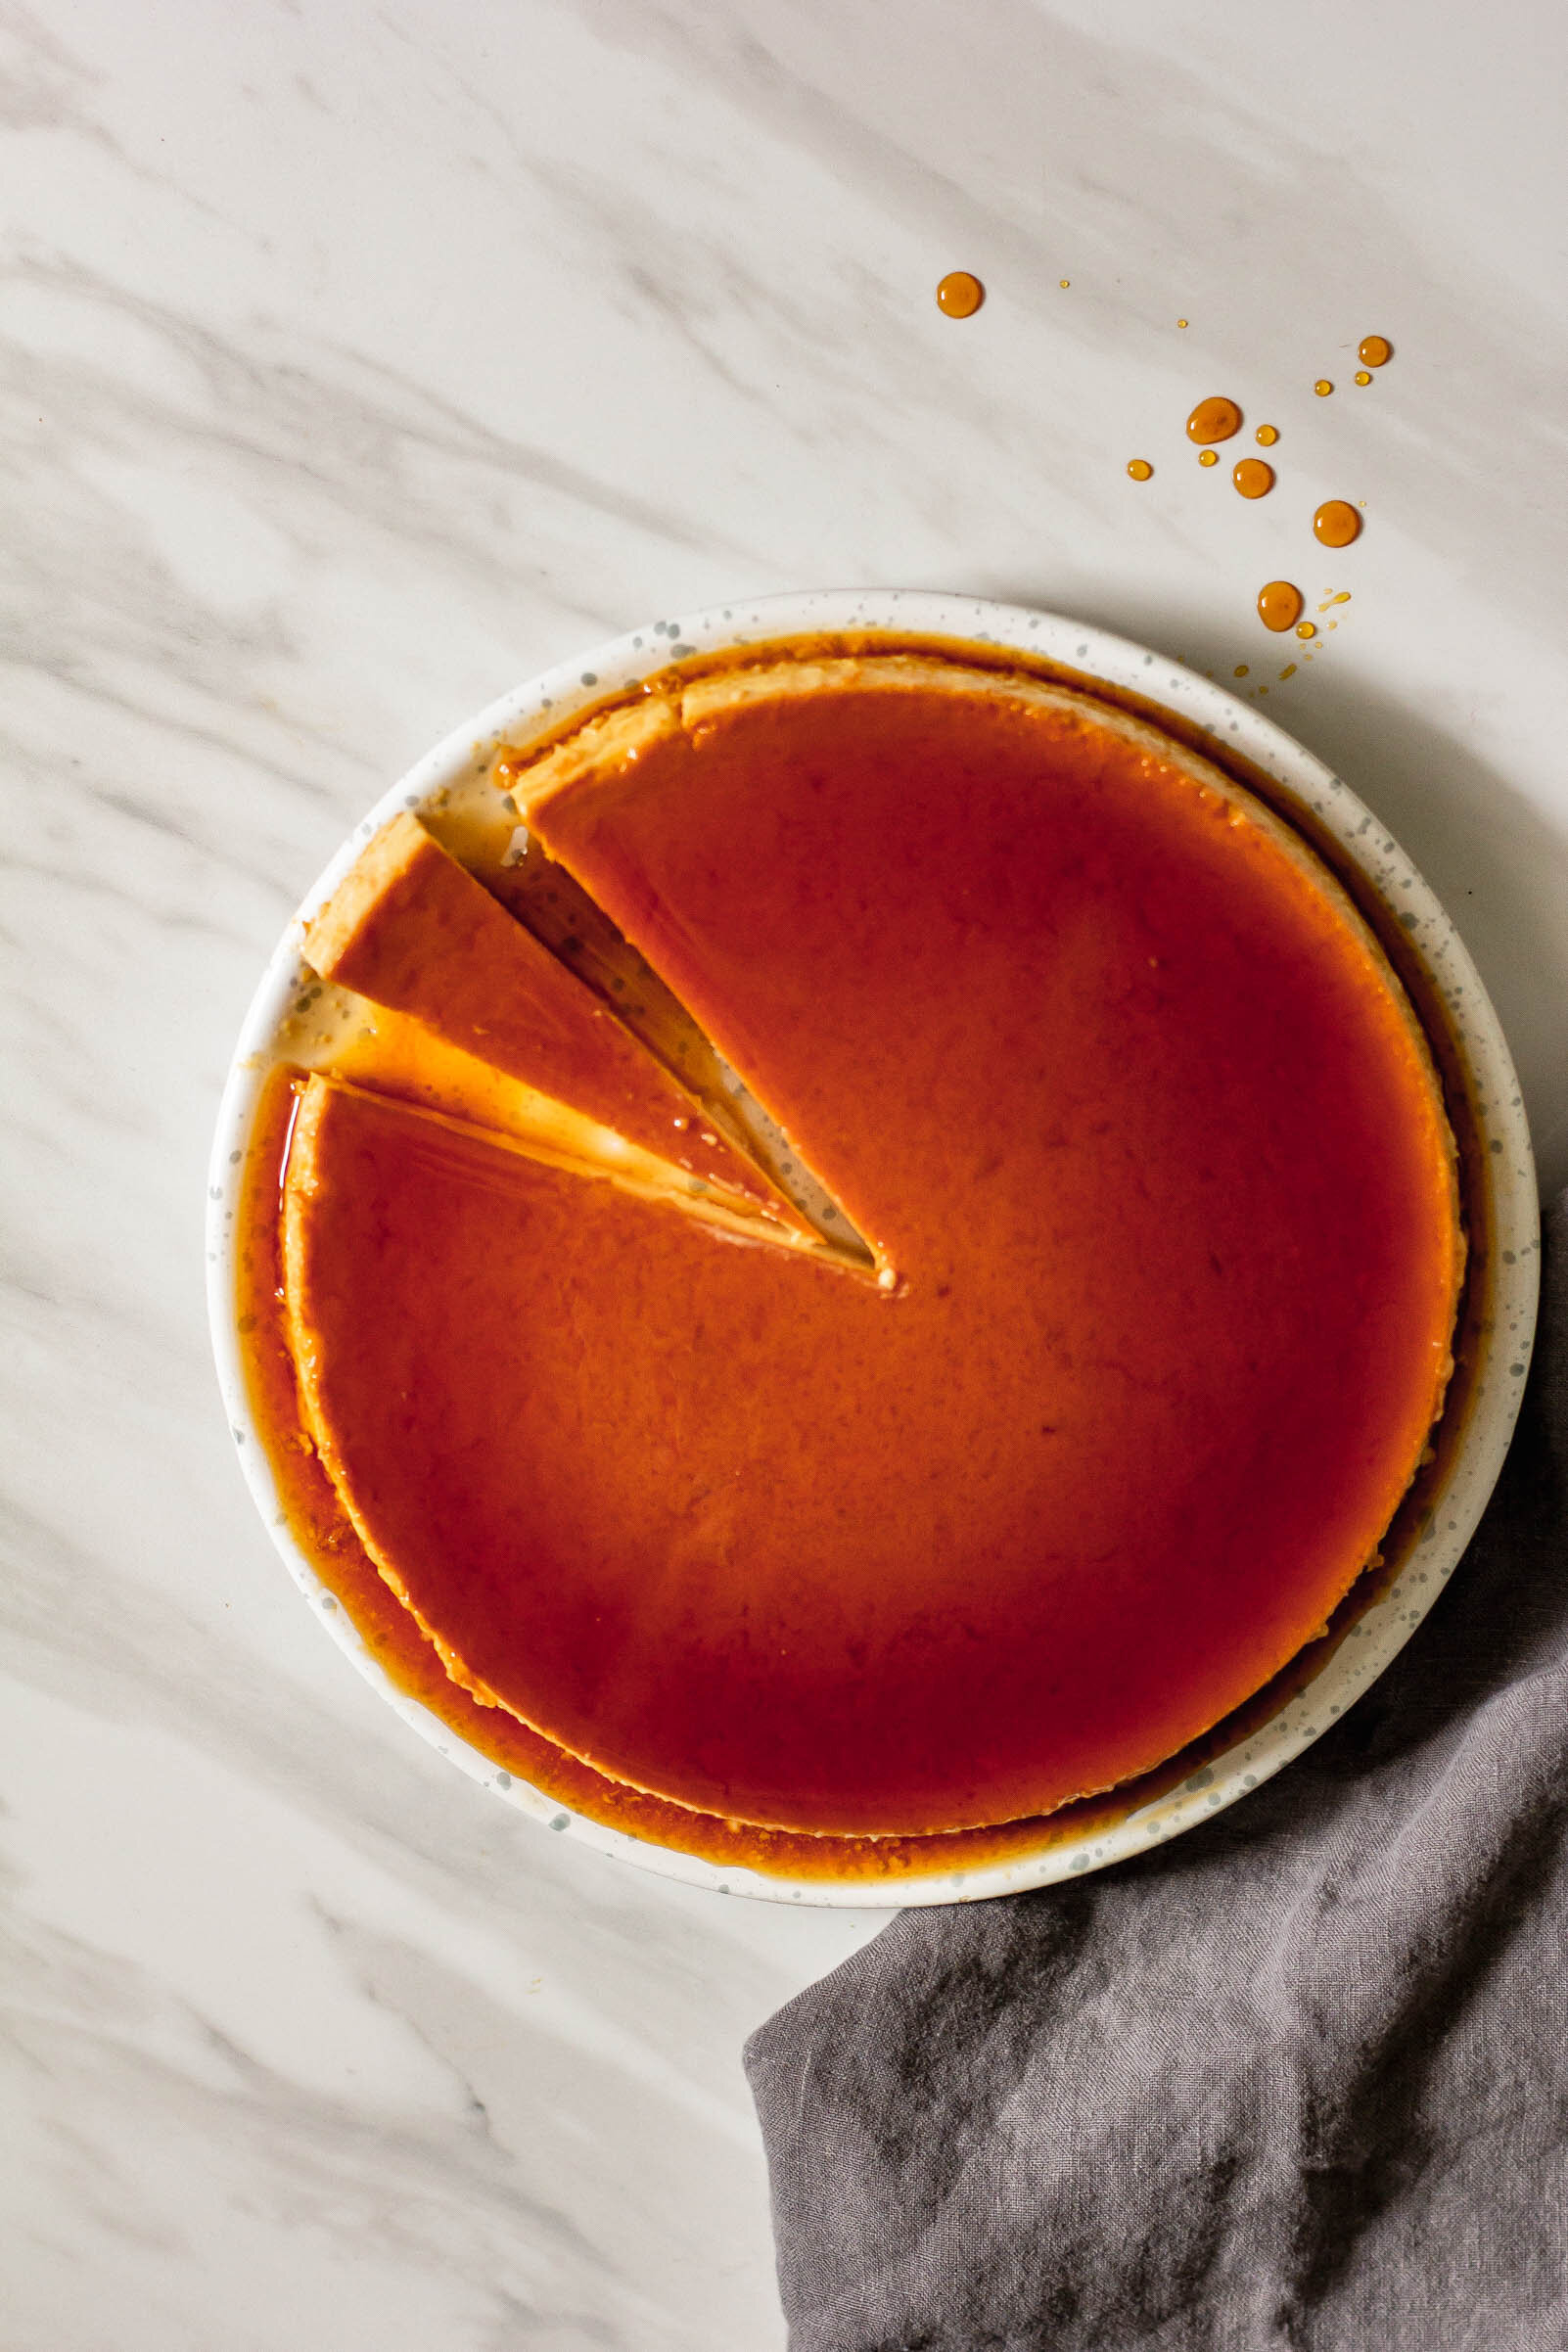
Grapefruit and Ricotta Flan
/It was very shortly after moving to South Florida that my family discovered flan. There wasn’t much to be found in the way of Latin food in the late 90s in North Carolina, so after our move South, the Mexican/South American restaurant around the corner from our new house became a quick favorite of ours. El Mariachi was our spot. It was where we took out of town guests when we went out for dinner, it was where we spent Friday nights and birthdays, and it was our first choice for those random weeknights when cooking just wasn’t going to happen. We made friends with the waiters, discovered that my dad’s favorite steak sounded a little like “iguana” and giggled every time he ordered it, and consumed more Nachos Grandes than we could count. Here was where we had our first taste of flan, and we were hooked.
20 years later, I consider myself a bit of a flan connoisseur. In fact, when I was interning at the restaurant this past summer, a group made a special request for flan and since I was the only one on the pastry team who had ever made it before, I was charged with all flan duties. That first week, I was feeling a little overwhelmed, watching and learning a new system from very qualified chefs who had been doing this far longer than me. But flan, I could handle. It was quite the confidence booster.
There are generally two categories of flan—spongey and creamy. And if you can tell from my word choice in describing them, there is a correct type of flan. Some flans are deeply yellow, with Swiss cheese-like holes scattered throughout the custard. Others, are smooth and creamy, and your spoon cuts through the custard like butter. Creamy flan is what you want.
Lucky for me, my half-Cuban, half-Dominican husband has a long line of flan makers in his family. This recipe is an adaptation of his mom’s flan, which is an adaptation of her mom’s. The ricotta imparts a slight tang, balancing the sweetness of the caramel, while the grapefruit brightens up the whole dessert. And don’t tell my friends at El Mariachi, but I think this one is even better than that very first flan that stole my heart.
on caramel:
If making caramel makes you nervous, you are not alone. Sugar’s affinity for crystallization can make the whole caramel making process a little tricky, but it’s easy to master once you know the basics.
First, there are essentially two types of caramel—wet and dry. Wet caramel is sugar cooked with water, while dry caramel is just sugar cooked on it’s own. Wet caramel can be a little easier, the water makes the sugar less prone to crystallization, but it does take a little longer than dry. For this recipe, I used a dry caramel, but if you are more comfortable using a wet caramel, it will also work here.
To make dry caramel, all you need is a skillet with a wide surface area, a wooden spoon and sugar. Heat the skillet over medium heat and sprinkle some of the sugar in one layer on the bottom of the pan. DO NOT STIR! Let the sugar cook, undisturbed until some of it begins to liquify in puddles in the skillet. At this point, you can use your wooden spoon to gently nudge the sugar towards the center of the pan. Sprinkle another layer of sugar in the pan and repeat. Keep repeating this sprinkle, puddle, nudge method until you have added all of your sugar. Cook until the sugar is completely melted and the caramel is a deep amber color.
To make a wet caramel, combine 1 cup of sugar with about 1/3 cup water in a medium saucepan. Cook the sugar over medium high heat, without stirring until all of the sugar is completely melted. Stirring will cause the sugar to crystallize so it is important to let it do its thing without agitating it. When the sugar has completely melted, you can stir the caramel gently, every so often. Continue to cook until caramel is a deep amber color.
Grapefruit and Ricotta Flan
Yield: 1 8” round cake pan
Ingredients:
1 can (12 oz) evaporated milk
1 can (14 oz) sweetened condensed milk
4 large eggs
1 tsp vanilla extract
5 oz whole milk ricotta cheese
2 T grapefruit zest, from 1 large grapefruit
4 T grapefruit juice, from 1 large grapefruit
pinch of salt
1 cup (225 g) granulated sugar
Procedure:
Make the filling: Combine evaporated milk, sweetened condensed milk, eggs, vanilla extract, ricotta cheese, salt, grapefruit juice and zest in a blender. Blend until everything is combined and homogenized. *If you have time, transfer the filling to a reusable container and refrigerate overnight.*
Make the caramel: Heat a wide-bottomed skillet over medium high heat and sprinkle some of the sugar in one layer on the bottom of the pan. DO NOT STIR! Let the sugar cook, undisturbed until some of it begins to liquify in puddles in the skillet. At this point, you can use your wooden spoon to gently nudge the sugar towards the center of the pan. Sprinkle another layer of sugar in the pan and repeat. Keep repeated this sprinkle, puddle, nudge method until you have added all of your sugar. Cook until the sugar is completely melted and the caramel is a deep amber color.
Carefully pour the hot caramel into the bottom of an 8” round glass pan. Pour filling ingredients into the pan over the caramel.
Very carefully put the flan pan inside another, large pan. Fill water to halfway up the sides of the larger pan to create a water bath. Place flan and water bath into a cold oven. Turn the oven to 325°F and let bake for 50 minutes, until custard is set. When custard is set and only has a slight jiggle when shaken, turn the oven off and leave the pan inside. Let cool in the oven for 1 hour.
Remove flan from oven and from water bath. Wrap tightly in plastic wrap and chill overnight.
When you are ready to serve, run a sharp knife around the edges and then invert onto a place. Slice and enjoy!
Note: You can make the filling and bake the flan in the same day, however I’ve found that if you have the time and refrigerate the custard overnight, the grapefruit flavors really meld together and the custard is a little more stable. Just make sure to stir the filling well before pouring it into the pan.
Another note: I recommend using a shallow, round glass dish (like Pyrex) with straight sides, if you have it. My mother-in-law has the perfect flan dish (she got it as a wedding present) and its the only dish that is allowed to be involved in the flan process in our family. Unfortunately, I don’t have my own of this magical dish, so I tested this recipe using a glass pie plate with slightly angled sides. This will work okay, but the edges won’t be as clean when you invert it. If you are worried about pretty presentation like me, you can always use a round cutter to punch out individual flans for serving and then keep the scraps for snacking.


