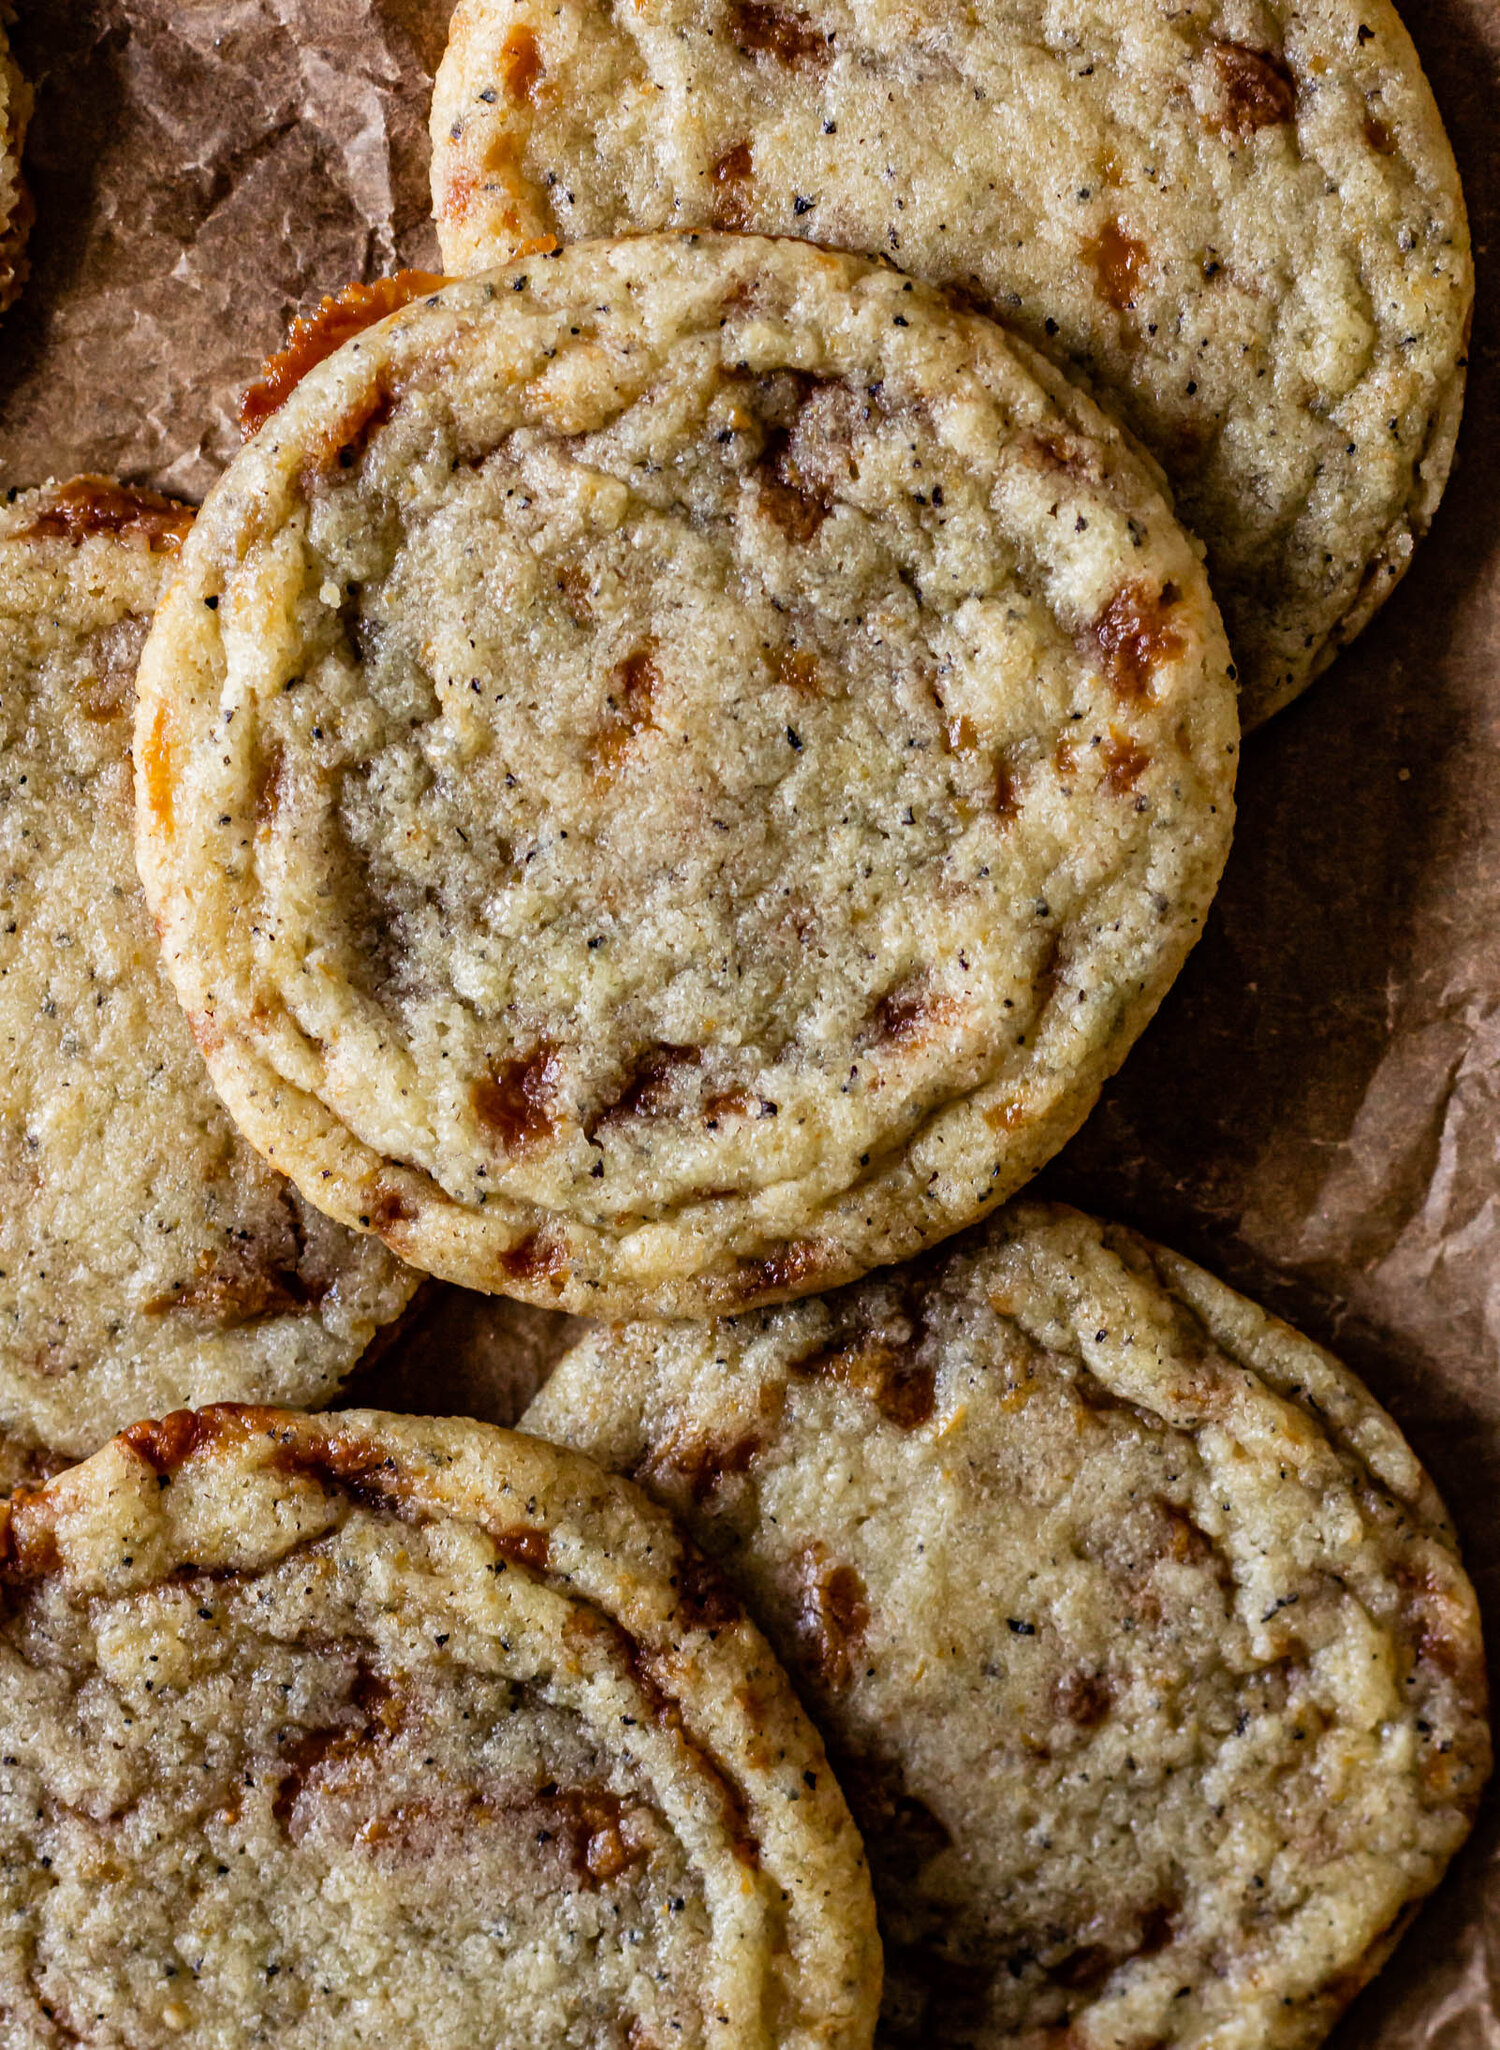
Hawaij Snickerdoodles

An autumnal spin on the classic snickerdoodle. This easy snickerdoodle recipe features a homemade hawaij spice blend, sticky molasses, thin crunchy edges and soft chewy centers.

hawaijsnickerdoodle10.jpg

This past weekend, Tahini and I made a short trip to South Florida to host a small, socially-distanced baby shower for my sister-in-law, Laura. Laura and I met 10 years ago this month at a sorority rush event during my sophomore year of college and we became best friends right away. It took us about five minutes to realize that we were going to be great buddies and so began a lifetime of sleepovers and cookie baking. And then, lucky for us, I met Laura’s brother, Martin, and we fell in love and got married and now Laura is my real-life sister and it’s a really wonderful set-up. All of this to say, my best friend and sister is having a baby this year and that makes this new addition to our family a little extra special for me.

The shower itself was pretty low-key, so we wanted the food to reflect that same vibe. I made one big, grazing counter filled with fruits, veggies, dips, jams, charcuterie, cheeses, and lots of hunks of bread. We had sparkling lemonade and I made a chocolate cake with caramel ganache frosting that almost sweated off the sides on the three hour drive down south, but we covered it up with flowers which did an excellent job masking the saggy sides of the cake. And then I made these Hawaij snickerdoodles which taste like a dusting of fall and everyone was very into them.

Hawaij (pronounced ha-why-udge) is a Yemeni spice blend that is used in all sorts of dishes, from meats and soups to desserts and coffee. The spices tend to vary depending on the usage of the blend and the word Hawaij actually means “mixture” in Arabic so I think that gives a bit of freedom in the makeup. I first discovered hawaij in Molly Yeh’s book Molly on the Range, and started keeping some around the house to grind with my coffee beans in the mornings. I’ve very lightly adapted her version with the addition of coriander and will occasionally add a crank or two of black pepper. It’s the perfect spice blend to make your snickerdoodles a little more interesting and my cousin says that these cookies taste like cinnamon toast crunch which feels like a win in my book.

hawaijsnickerdoodle12.jpg
Hawaij Snickerdoodles
Yield
20-22 cookies
Author
Anna Ramiz
Prep time
15 Min
Cook time
10 Min
Inactive time
30 Min
Total time
55 Min

Hawaij Snickerdoodles

An autumnal spin on the classic snickerdoodle. This easy snickerdoodle recipe features a homemade hawaij spice blend, sticky molasses, thin crunchy edges and soft chewy centers.

Ingredients

for the hawaij spice blend (lightly adapted from Molly Yeh)
  • 1 tbsp ground ginger
  • 1 tbsp ground cardamom
  • 1/4 tsp ground nutmeg
  • 1/4 tsp ground cinnamon
  • 1/4 tsp ground cloves
  • 1/8 tsp ground coriander
for the cookie dough
  • 2 cups (240 g) all purpose flour
  • 1 tsp baking powder
  • 1/2 tsp baking soda
  • 1/4 tsp cream of tartar
  • 3/4 tsp kosher salt
  • 1 1/2 tsp Hawaij spice blend
  • 1 cup (200 g) granulated sugar
  • 1/2 cup (56 g) brown sugar
  • 1/2 cup (113 g) butter
  • 1/3 cup (43 g) olive oil
  • 1 egg, at room temperature
  • 2 tbsp molasses
  • 1 tsp vanilla extract
for rolling
  • 2 tbsp granulated sugar
  • 1 tbsp demerara sugar
  • 1 tsp Hawaij spice blend

Instructions

  1. To make the spice blend: combine all of the spices in a small bowl and whisk together.
  2. Place butter in a small saucepan and set over medium heat. Cook, swirling every minute or so, until butter is foamy and beginning to brown, about 6 minutes. Remove from heat and transfer the butter to the bowl of a stand mixer and let cool to room temperature.
  3. Meanwhile, whisk together flour, baking powder, baking soda, cream of tartar, salt, and Hawaij spice blend. Set aside.
  4. When the butter is cooled, add sugar, and brown sugar to the mixing bowl. Beat with paddle attachment for about 1 minute, until all of the sugar is coated and the mixture has the consistency of wet sand. With the mixer on low speed, stream in olive oil and continue mixing until combined and homogenized.
  5. Add the egg, vanilla, and molasses, and mix until combined, then gradually add dry ingredients, mixing until just incorporated and no dry streaks remain. The dough will be very wet, that’s ok!
  6. Cover the bowl with plastic wrap and transfer to the refrigerator. Chill for at least 30 minutes. When the dough is chilled, scoop onto a parchment lined baking sheet. At this time, you can bake the cookies or transfer them to the freezer and bake them off a few at a time.
  7. When you’re ready to bake, preheat the oven to 375° F and line a sheet pan with parchment paper. In a small bowl, combine sugar, demerara sugar, and Hawaij spice blend. Roll each cookie ball in the Hawaij sugar and place on a baking sheet, spaced 1-2” inches apart. Bake for 8-10 minutes, until the tops are dry and cookies are set. Let cool on the pan for 5 minutes, then enjoy!
Did you make this recipe?
Tag @gatheredatmytable on instagram and hashtag it #gatheredatmytable

A Chocolate Chip Cookie Collection

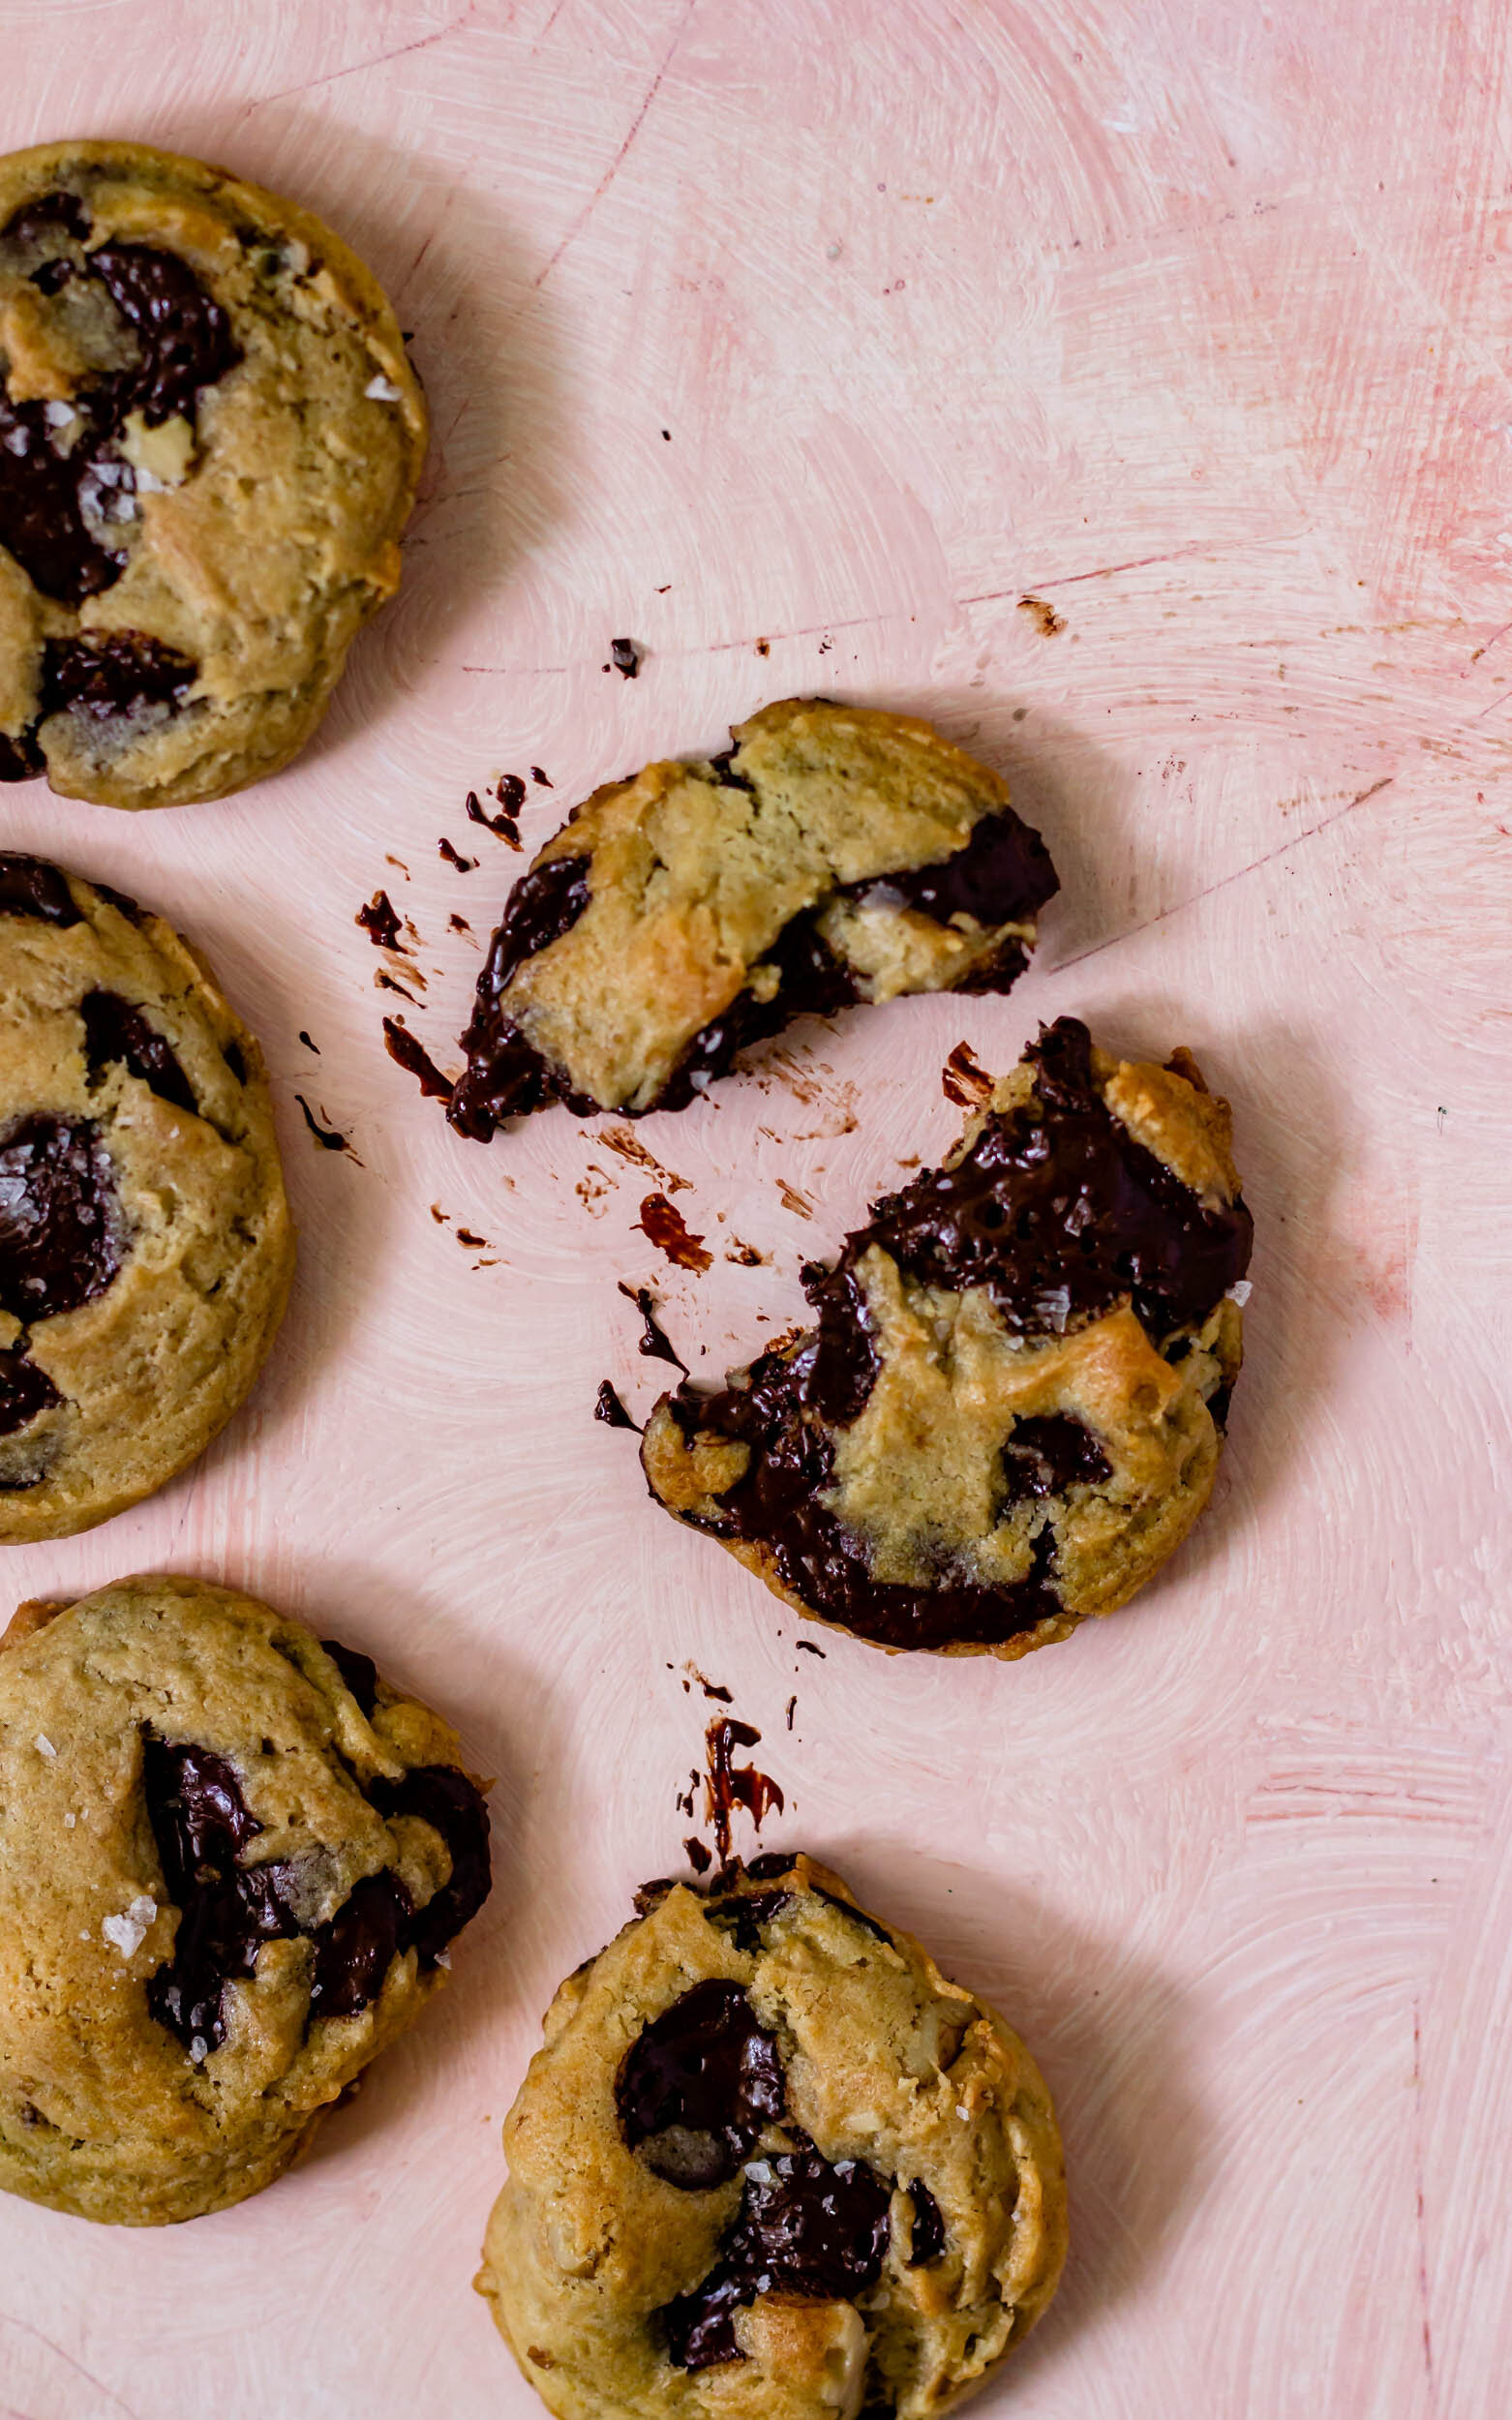
Classic Chocolate Chip Cookies with Walnutsrecipe below

Classic Chocolate Chip Cookies with Walnuts

recipe below

A friend recently mentioned to me that I don’t have any plain chocolate chip cookie recipes on the blog. This is because I rarely make plain chocolate chip cookies. I’m continually steeping flowers into the butter or playing with spelt or einkorn or buckwheat flour. It’s rare that I don’t want to add espresso or browned butter or incorporate discarded sourdough. For me, this is where the fun is and it’s a little of what sets me apart from other recipe developers and food bloggers. 

Back in college, when I first discovered the world of food blogging, I would spend hours sifting through images on Food Gawker and pinning recipe after recipe to my Pinterest boards. As a Summer Camp Counselor, I spent the kid’s computer hour devouring blog posts (yes, the whole thing, not just skipping to the recipe), and scribbling the names of recipes and blogs onto scrap pieces of paper, creating “Things I Want To Make” lists so that I wouldn’t forget when I had a chance to get into the kitchen. As a teacher, any downtime I had after school was spent reading and copying down new chocolate chip cookie recipes. I still have at least 5 splattered pages tucked in old recipe books of chocolate chip cookie recipes I tried in my quest for the perfect one. Some called for half-melted butter, others used cornstarch. There were combinations of cake flour, bread flour, all purpose flour. There were recipes where you chilled the dough for at least 24 hours and those ready to bake right away. 

But over the last ten years, I’ve learned that there is no such thing as the perfect chocolate chip cookie. Everyone’s idea of perfection is different—is it soft and chewy? Thin and crispy? Thin, with crispy edges and chewy insides? Do you prefer milk chocolate or dark chocolate? My perfect chocolate chip cookie even changes with my mood. So instead of only sharing my current favorite chocolate chip cookie iteration (which I guarantee you will change within the week), I’ve decided to compile a collection of some of the best chocolate chip cookie recipes I’ve found. Play around, experiment, and discover one that is perfect for you. And then, add flowers to it. :)

  1. Thalia Ho is an artist through and through. Her layer cakes, piled high with flowers and herbs, are breath-taking, her photographs are detailed and romantic, and her poetry is stunning. Her cookie recipes are some of my favorites and I frequently use them as jumping off points when I’m developing new recipes. Start with her Classic Chocolate Chip Cookies and then play around with her Smoked Tahini Dark Chocolate Chunk Cookies or her Spelt Chocolate Chips

  2. Tara O’Brady is a brilliant cook and writer. Her Everyday Chocolate Chip Cookie Recipe from her book, Seven Spoons, has captured the hearts of people all over. It’s accessible, practical, and an all around great cookie. 

  3. Sarah Kieffer, who wrote The Vanilla Bean Baking Book, is famous for her “pan-banging” technique, which results in elephant ear edges and chocolate puddles. Her cookies are wide and thin, cookies with perfectly wrinkled edges and chewy middles. Pan Banging Chocolate Chip Cookies

  4. It may be controversial to include Alison Roman’s Salted Butter and Chocolate Chunk Shortbread Cookie on this list, but I couldn’t help myself. Though not a traditional chocolate chip cookie, Alison’s salty shortbread coins are studded with chocolate shards and rolled in crunchy sugar. Martin is decidedly against these cookies, apparently you cannot give him a shortbread cookie when he’s expecting a classic chocolate chip, but the rest of the world and I think they’re a really great cookie. 

  5. Below, I’m sharing the most traditionally-minded chocolate chip cookie I have in my collection. This is the one I go to when filling special orders or baking by request. They are thick and fluffy, similar to a Levain bakery cookie, but on a slightly more manageably-sized scale. 

And a few more chocolate chip-esque cookie recipes from the blog: 

SCCCookies7.jpg

sourdough chocolate chip cookies

monstercc7.jpg

monster chocolate chip cookies with molasses and walnuts

RumCookiesEdited.jpg

rum cookies

rosecc2.jpg

really great floral chocolate chip cookies

Classic Chocolate Chip Cookie with Walnuts 

Yield: about 40 small cookies or 20-24 large cookies 

Ingredients: 

3 cups (440 g) all purpose flour

1 tsp baking powder

1/2 tsp baking soda

1 1/2 tsp kosher salt

1 cup (226 g) unsalted butter, melted 

1 cup (190 g) brown sugar

1/2 cup (115 g) granulated sugar

2 eggs, at room temperature 

1 tsp vanilla extract

2 heaping cups (about 400 g) dark chocolate pieces, chopped 

200 g toasted walnuts *optional*

Procedure: 

  1. Preheat oven to 350° F and place roughly chopped walnuts on a baking sheet. Bake for 5-7 minutes, until fragrant and toasted. Let cool completely. 

  2. In a small saucepan set over medium heat, melt butter and then set aside to cool completely while you prepare the rest of the ingredients. 

  3. In a medium bowl, whisk together flour, baking powder, baking soda, and salt. 

  4. In the bowl of a stand mixer fitted with the paddle attachment, combine brown sugar, granulated sugar, and melted butter. Beat for 1-2 minutes, until combined and the mixture turns from the consistency of wet sand to a more homogenous batter. 

  5. With the mixer running on low speed, add the eggs one at a time, making sure each is incorporated before adding the next. Mix in vanilla extract and scrape down the sides of the bowl. 

  6. In two or three additions, add the dry ingredients, mixing on low to medium speed until just combined and no flour streaks remain. Gradually mix in the chocolate chunks and toasted walnuts. Use a rubber spatula or wooden spoon to stir the dough a few times to make sure that everything is evenly distributed, then cover the bowl with plastic wrap and chill for at least 30 minutes. 

  7. After the dough has chilled, use a cookie scoop (whatever size you want, but adjust baking times accordingly) to scoop cookie dough onto a parchment-lined sheet tray. At this point, you have three cookie baking options: 1) Bake right away! This will work and they will be delicious, but the cookies may spread a little more, giving you a slightly thinner cookie. 2) Return cookies to the fridge and chill for anywhere between 2-24 hours. This is my favorite option if time permits, because it allows the dough to hydrate and the flavor to develop. It also keeps the cookies pretty thick when baking. 3) Transfer cookies to a freezer bag and pop in the freezer until you’re ready to bake. I love doing this so that I can bake off one or two when a craving strikes and there I always have cookies on hand. 

  8. When you’re ready to bake: preheat the oven to 350° and line a sheet tray with parchment paper. Place scooped cookie dough about 2” apart on the tray and bake for 10 minutes for smaller cookies. After ten minutes, remove the pan from the oven, bang it on the counter once or twice, and then return to the oven and bake for another 2-3 minutes. You’re looking for golden brown edges and centers of the cookies that are dry to the touch. Remove from the oven and let cool completely on the pan. For larger cookies, start with 12 minutes and then keep an eye on them, adding extra time in 2 minute intervals until they are baked to your liking. 

Print Friendly and PDF

Saffron and Dulce de Leche Shortbread Cookies

closeup5.jpg

In 11th grade, my Spanish teacher would bring little dulce de leche cookies to class on Fridays. They were a generic brand with a purple design splashed on the wrapping and they were reminiscent of fudge stripes, but with dulce de leche in place of chocolate. The entire class eagerly looked forward to those Fridays, when Señora Batista would pull a flimsy plastic tray from inside a desk drawer and rows of cookies, lined up like little soldiers, made their way around the classroom. I haven’t had a dulce de leche cookie like that since the day of my Spanish final, and no amount of googling has led me to those cookies, but its okay because I made my own.

Remember back in January when I set some New Year’s goals for my kitchen? I challenged myself to develop a new cookie recipe every month in 2020 and in an effort to branch out, we decided to play with shortbread cookies this month. This is a very basic shortbread cookie dough, with saffron that I brought back from Barcelona for a little bit of a licorice flavor. (If you don’t have saffron or don’t really like it, feel free to leave it out, but I liked the elegance it brought to an otherwise ordinary cookie base.) The dough is rolled out, chilled, and baked and then dunked/drizzled/dipped in dulce de leche. They are a bit more elevated than those cookies from my high school memories and feel a bit more adult. I love them.

shortbreaddough3.jpg

On making dulce de leche

If you’ve never made dulce de leche at home before, today is a great day to try it out. It’s a pretty easy process and homemade dulce de leche is a welcome addition to almost any dessert. This recipe will make far more dulce de leche than you need for the cookies, so transfer it to a deli container or glass jar and keep it in your fridge for drizzling on ice cream. (or use the leftovers to make this Russian honey cake!)

All you need is a can of sweetened condensed milk and a pot a water. Easy peasy. A few things to remember, though. Make sure to remove the paper label from the outside of the can before you start simmering it and let the can cool COMPLETELY (like for a few hours at minimum) before you open it. If it’s too hot, the pressure will cause the can to explode and that would be dangerous and messy.

shortbreaddough4.jpg

Saffron and Dulce de Leche Shortbread Cookies

styled8.jpg

Yield: about 24 cookies

shortbread recipe adapted from Alison Roman

Ingredients

for the shortbread cookies

1 cup + 2 T unsalted butter (2 1/4 sticks), cold and cubed

1/2 cup (100 g) granulated sugar

1/4 cup (50 g) light brown sugar

1 tsp vanilla extract 

1 tsp saffron threads

1/2 tsp orange zest

2 cups (285 g) all purpose flour 

1 tsp kosher salt

for the dulce de leche

1- 14 oz can sweetened condensed milk

Procedure

to make the dulce de leche:

  1. Fill a large pot with water and set over medium heat. Remove the label from the can of sweetened condensed milk and set the can into the pot of water. Add more water, if needed, until the can is completely submerged. 

  2. Bring water to a slow boil, then decrease the heat. Simmer for two hours, adding more water as needed to ensure that the can remains completely submerged. 

  3. After two hours of simmering, carefully remove can from the pot and set on a kitchen towel. Let the can cool completely. (This is so important because if you open it while its still hot, it can explode so be very careful!)

  4. When the can is completely cool, open it and transfer dulce de leche to a sealed container. It will keep in the refrigerator up to a week, simply pop it in the microwave for 30 seconds or so to loosen it before use. 

to make the shortbread: 

  1. Put butter in the bowl of a stand mixer fitted with the paddle attachment and beat for 30 seconds to a minute to soften. Scrape down the sides of the bowl, add sugar, brown sugar, vanilla extract, orange zest, and saffron threads. Beat on medium-high speed for 2-4 minutes, until the mixture is light and fluffy. Scrape down the sides of the bowl again. 

  2. With the mixer on low speed, gradually add the flour and salt and mix until just combined. 

  3. Turn the dough out onto a well-floured work surface and pat gently to form a rectangular block. Wrap the dough in plastic wrap and refrigerate for at least an hour, preferably overnight. 

  4. After chilling, remove dough from the refrigerator and let rest on the counter for 30 minutes. Unwrap, and place on a well-floured work surface. Roll the dough out until it reaches 1/4” in thickness. Use a round cookie cutter or the rim of a drinking glass to punch out cookies and place them on a parchment-lined baking sheet. Transfer cookies to the freezer while the oven preheats. 

  5. Preheat the oven to 350°F. When the oven is ready, remove cookies from the freezer and bake for 10 minutes, rotating the pan halfway through the baking time. When the cookies are golden brown on the edges, remove from the oven and allow to cool completely on the pan. Transfer to a cooling rack. 

  6. While the cookies are cooling, prepare the dulce de leche. If chilled, reheat in the microwave in 30-second intervals until the dulce de leche is loosened, liquid consistency, and at room temperature. 

  7. Dip each cookie into the dulce de leche or transfer dulce de leche to a piping bag and drizzle over each cookie. Place cookies on a piece of parchment paper to set and then enjoy!

more recipes like this

plated1.jpg

fig butter and blue cheese rugelach

HoneyCakeNewEdit.jpg

russian honey cake

newedit1.jpg

espresso chiffon layer cake with salted caramel and ganache buttercream

Print Friendly and PDF