A Very Good At-Home Pizza Dough

pizza1.jpg

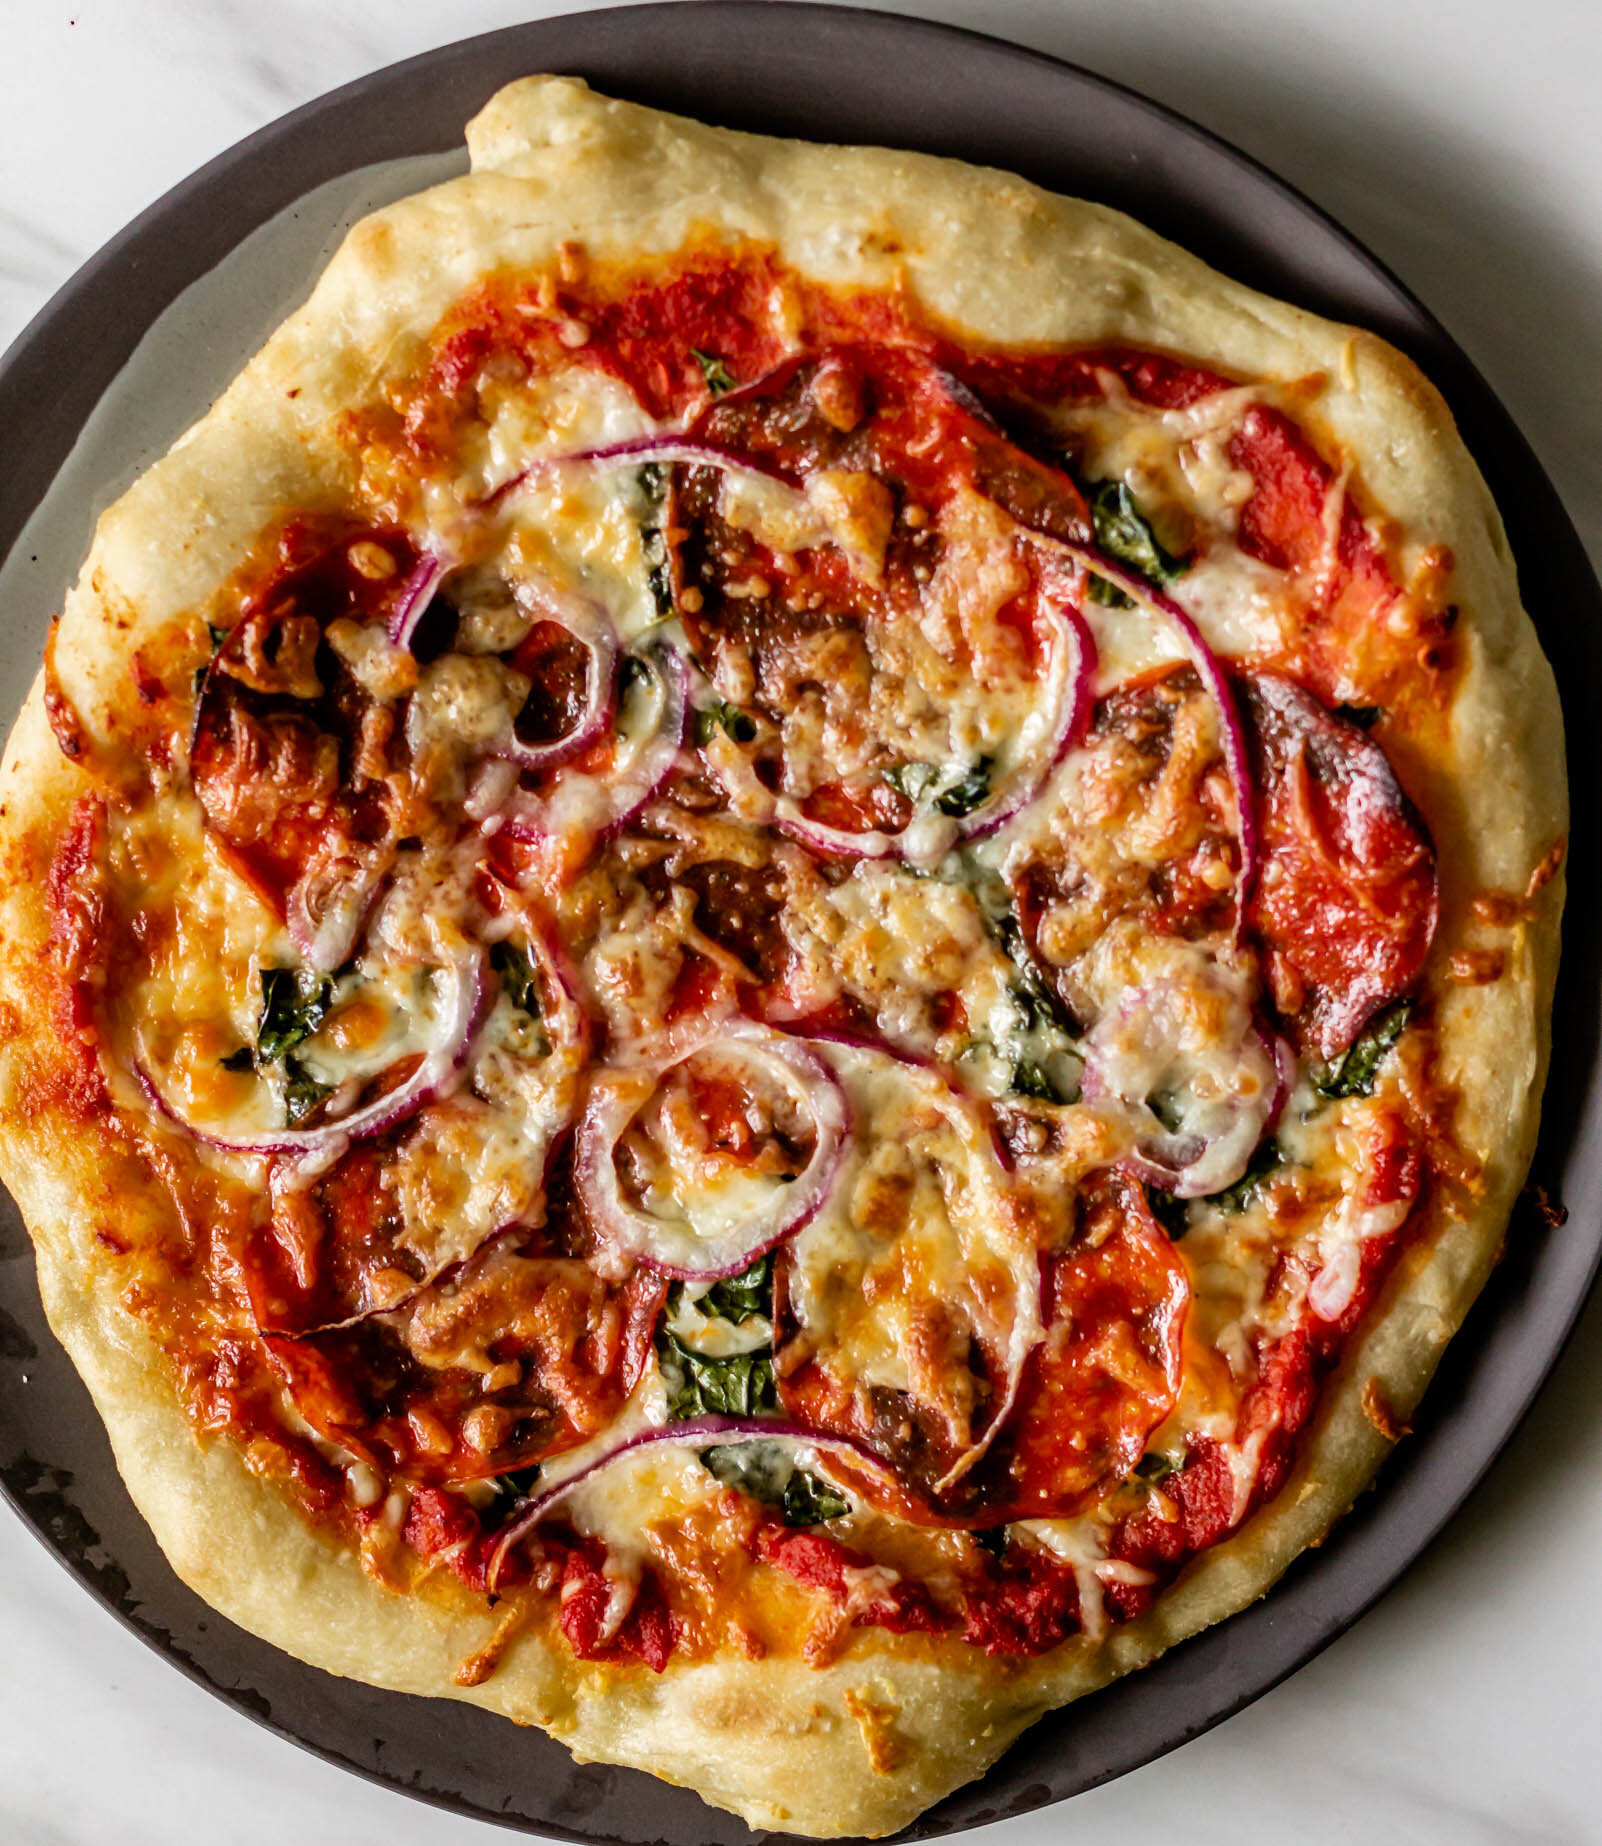
For someone who makes it almost weekly, I get very grouchy about homemade pizza. Without a wood-burning pizza oven, it just is never the same as the good stuff you get at restaurants. Sure it’s easy and you can top it with whatever you like, but I’m almost always disappointed at the lack of charred edges and those dough bubbles created by the blast of hot air. Nevertheless, I press on and continue to make pizza at home, because in the grand scheme of things, it really isn’t bad.

I’ve struggled for the last few years to find a dough recipe that is better than and just-as-easy-as the refrigerated dough in the Publix bakery shelves. Every recipe that I’ve tried worth anything requires an overnight proof and I just am not put-together enough to think about what I want for dinner an entire day ahead. A lot of doughs come out too bread-y for my taste and my jaw gets sore chewing each slice. Some create a dough that more closely resembles a cracker. It’s been a rough time, y’all.

PizzaDough5.jpg

Yet, I’ve persevered and I’ve finally created a pizza dough that checks off all of my boxes. 1) It can be made same-day, though if you are exceptionally good at planning ahead, you can definitely cold-proof this overnight for a little more flavor development. 2) It yields a crust that’s not too thick and not too thin, that falls somewhere in that perfect pizza region. 3) Did I mention it can be made same-day?

I’m not going to call this “the very best pizza in the world” or anything like that, because that would be a lie. The very best pizza is often proofed for at least 24 hours and baked in a 700° F pizza oven, but I don’t have those kind of resources so this is simply “a very good at-home pizza dough”. It’s for Friday nights when you want pizza but don’t want to go out and weeknights where you have lots of leftover veggies that just need to be thrown into a heap and covered in cheese and called dinner. A very good, very easy pizza dough fit for your home kitchen.

A few practical notes: Depending on the type of baking pan you use, bake the pizza between 450° F and 500° F, or as hot as your oven and pan can handle. I’ve also found that par-baking the crust is essential or you’ll end up with slightly burnt toppings and a soggy middle. Stretch your dough onto your baking sheet, brush it with a little olive oil, and pop it in the oven for 5-7 minutes, until its just beginning to golden. Then top it with your sauces/cheese/veggies/etc and let it continue baking until everything is melted and the bottom is golden brown and crisp. Every oven runs a little differently, so I would give it 10 minutes with toppings and then check it every 5 minutes or so after that.

pizza5.jpg

A Very Good At-Home Pizza Dough

makes 1 lb of dough (or 14” pizza)

Ingredients

270 g all purpose or 00 flour*

1 tsp active dry yeast

pinch of sugar

188 g warm water

1 tbsp olive oil

2 1/2 tsp kosher salt

Procedure

  1. In the bowl of a stand mixer fitted with the dough hook attachment, combine warm water, pinch of sugar, and active dry yeast. Stir gently and let rest until foamy, about 5 minutes.

  2. When the yeast has proofed, add the olive oil, followed by the flour. Mix on low speed for 2-3 minutes, until all of the flour has mixed in and a sticky dough is beginning to form. Cover the bowl and let rest for 15-20 minutes at room temperature.

  3. After the dough has rested, turn the mixer on low and gradually add the salt. Increase mixer speed to medium-high and knead for 3-5 minutes, until the dough begins to pull away from the sides of the bowl and an elastic dough begins to form.

  4. Turn the dough onto a well-floured work surface, dust the top with a little more flour and use your hands to gently shape the dough into a ball. Place the dough ball into a well-oiled bowl, cover with plastic wrap, and let proof at room temperature for 1 1/2-2 hours, until swollen and puffy, almost doubled in size.

  5. After the dough has completed it’s first proof, turn it out onto a lightly-floured work surface. Use your hands to punch the dough down a bit and then shape it into a smooth, round ball. Place the ball seam side down on your surface, dust the top with a bit of flour, cover, and let rest for another 2-3 hours, until pillowy. To test if the dough is ready, gently press your finger into the dough. If the imprint fills back in halfway slowly, it is sufficiently proofed. If it fills back in completely very quickly, continue to proof the dough. Alternatively, you can transfer the dough back to the refrigerator before the second proof and let it cold proof overnight. Let the dough come to room temperature before shaping and baking.

  6. When you are ready to bake, preheat your oven to 450°. Gently stretch the dough into a circle on a pizza pan, brush with a bit of oil and par-bake for 6-8 minutes, until beginning to turn golden brown. Remove from oven, top with your desired toppings and then continue to bake for 10-15 minutes until the bottom of the crust is crispy and brown and all of the toppings are sufficiently baked.

*Notes: 00 flour is a finely-ground Italian flour that comes from durum wheat. It’s protein content is similar to all purpose flour, so they are interchangeable here, but if you’re able to seek out a bag of the 00, you’ll find your crumb just a little lighter and will give you a chewier crust with less of a chance of tearing while you’re stretching. I can always find 00 flour at Whole Foods and Fresh Market, or you can easily order it online.

Print Friendly and PDF
newpita3.jpg

alon shaya’s pitas

briolata8.jpg

briolata

HerbFoc12.jpg

herb focaccia

Alon Shaya's Pitas

newpita3.jpg

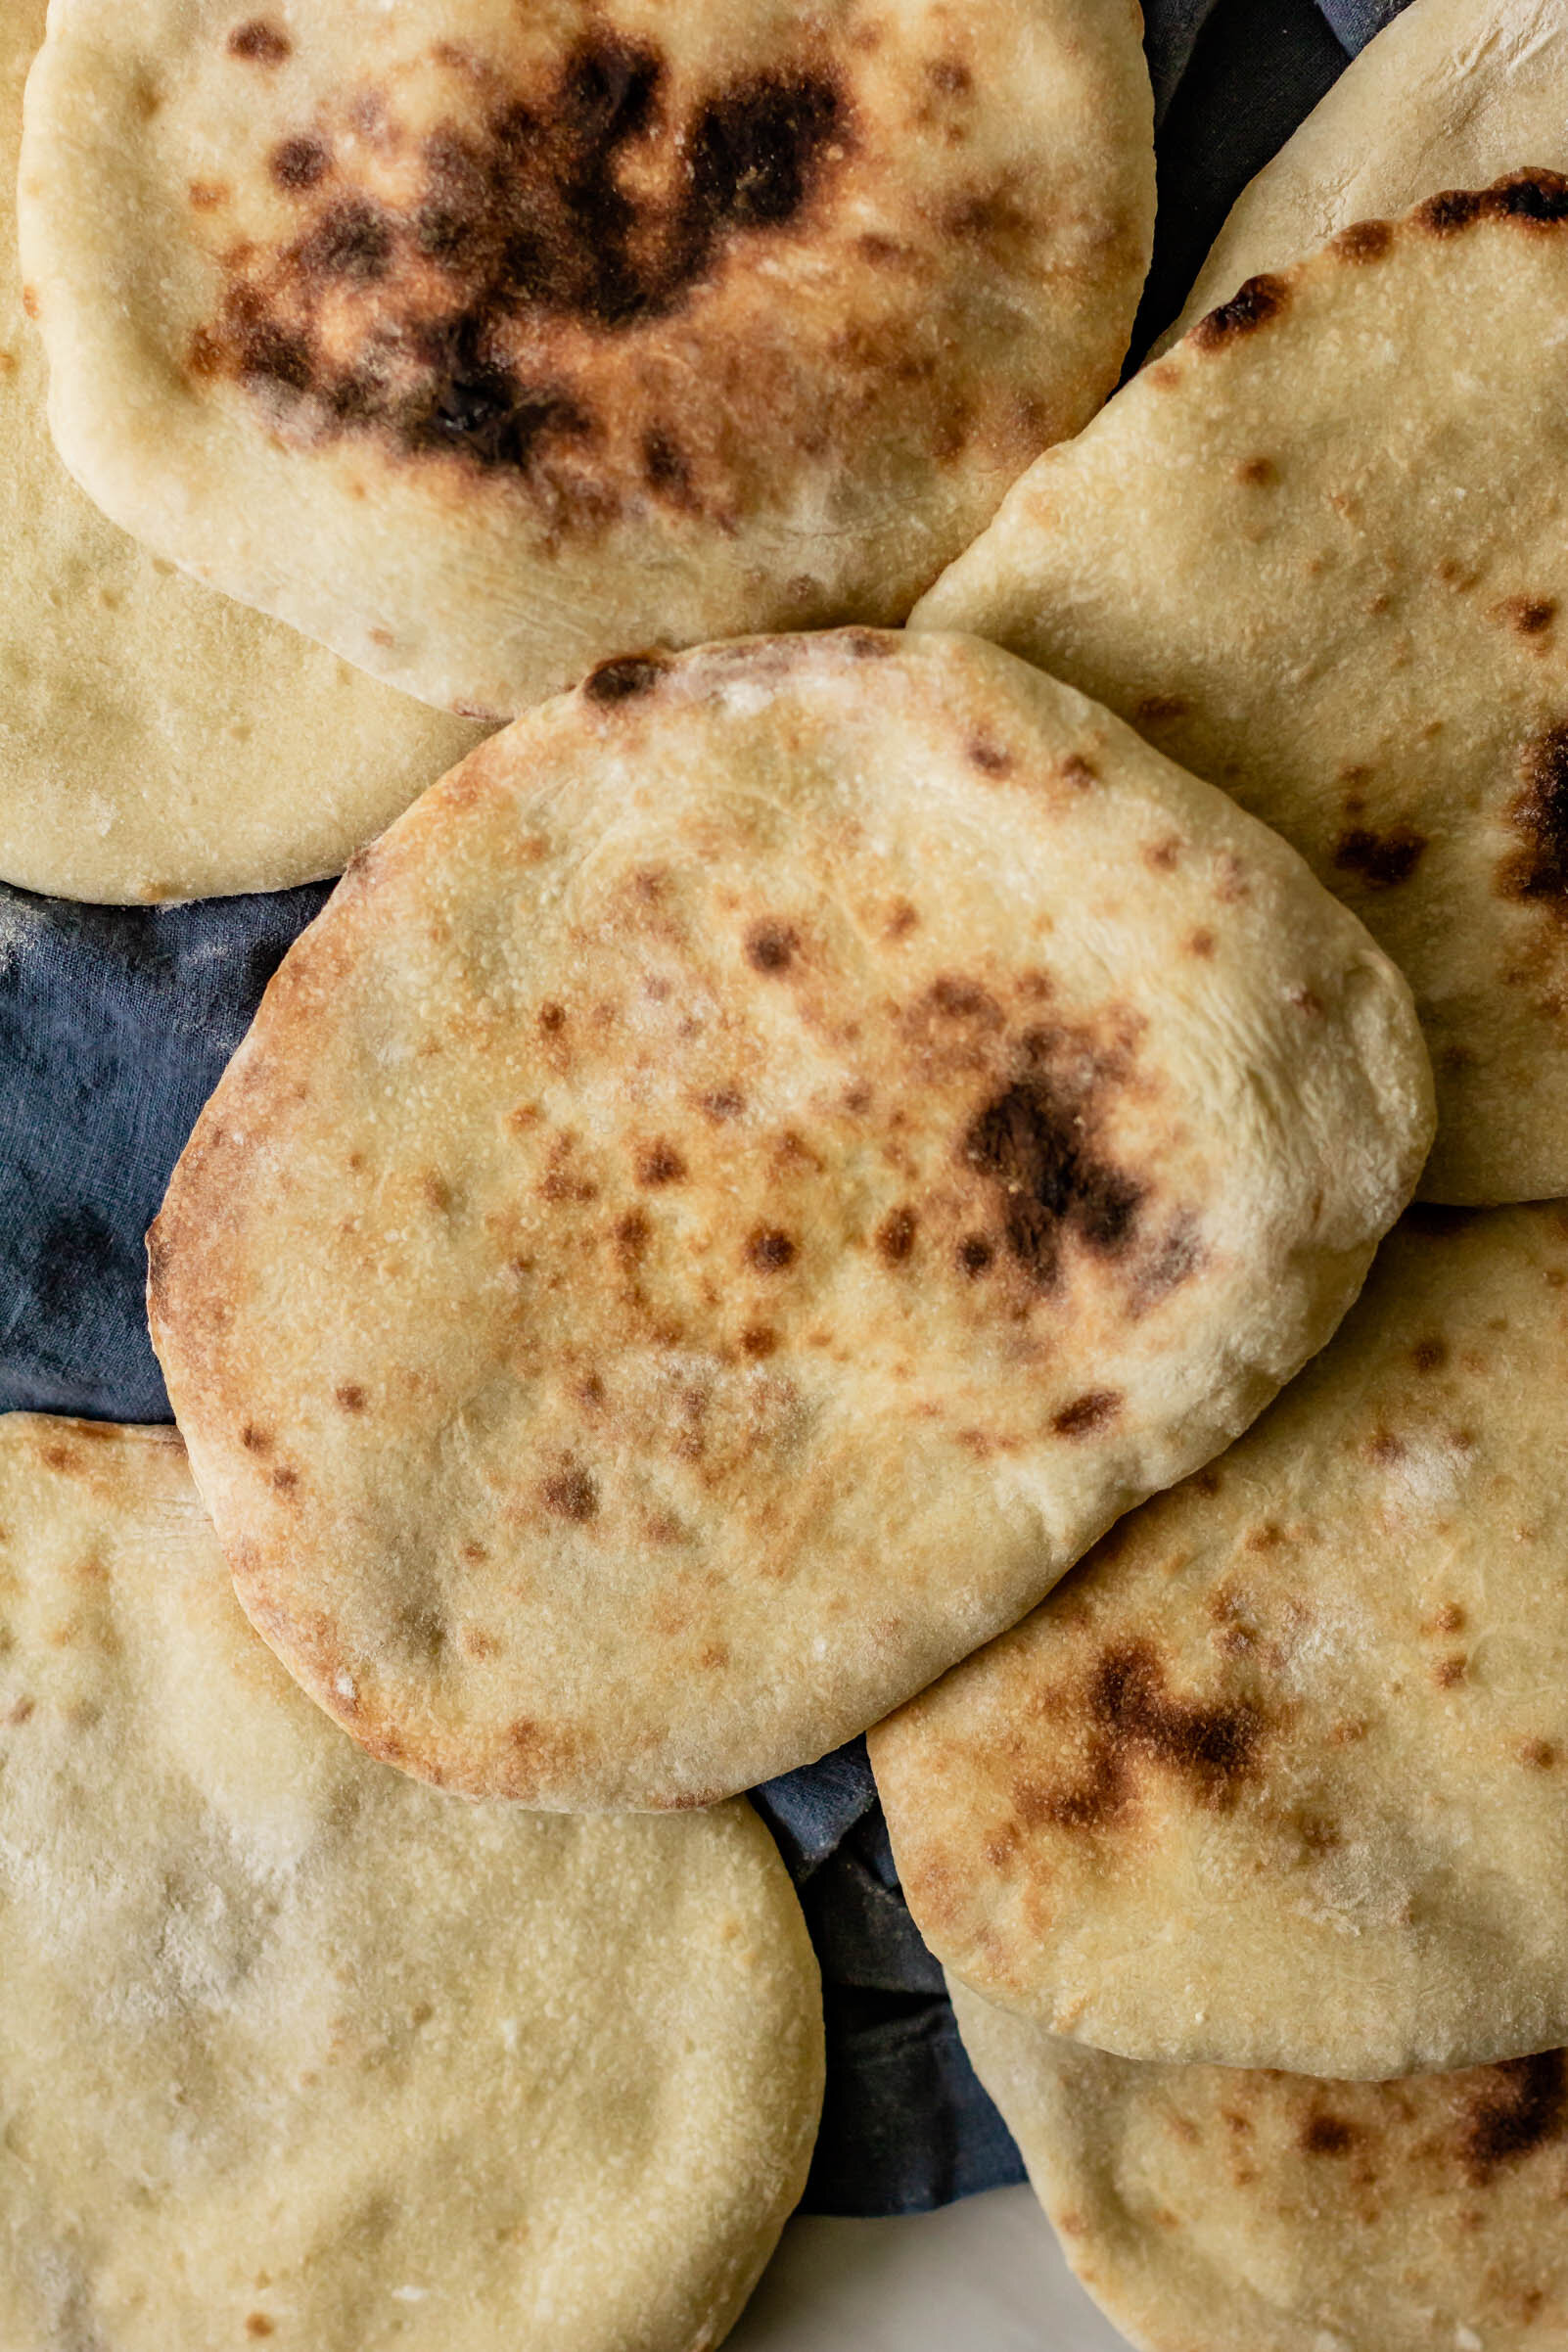
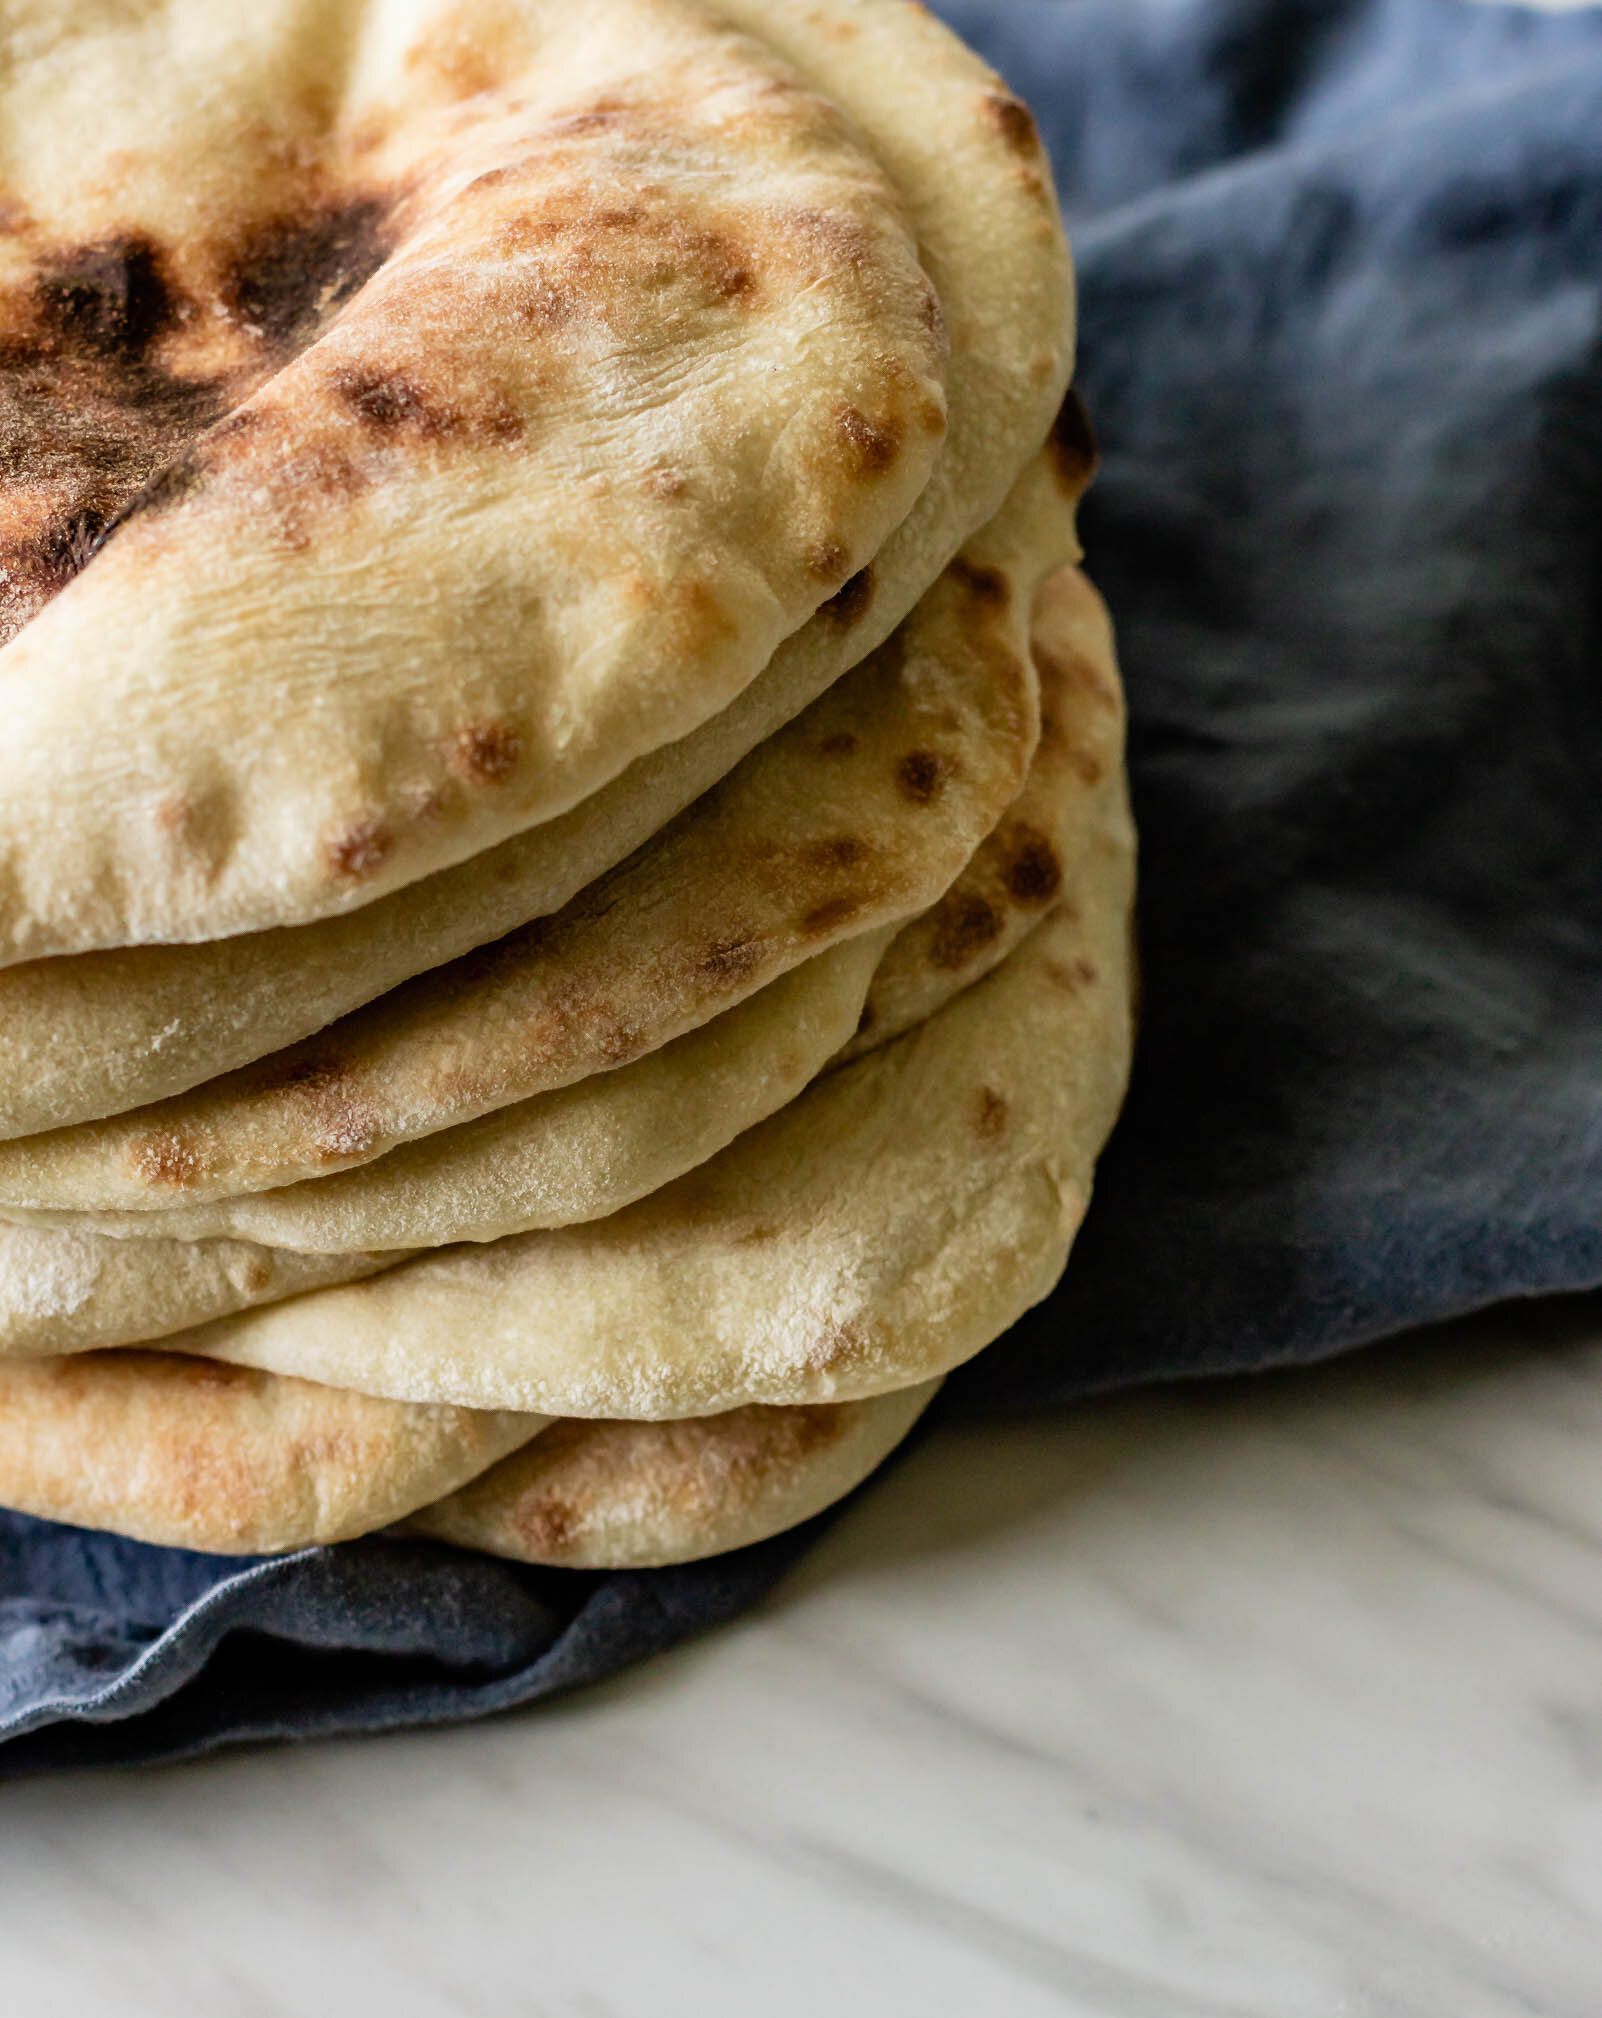
I already have a pita recipe here on the blog. Way back in the day, when I first started blogging, pitas were one of the first breads we started making in culinary school and I was hooked. While that recipe still makes a darn good pita, I’ve spent the last few years trying out a lot of different recipes, tweaking water amounts, and playing around with baking temperatures and this is my go-to. This recipe is lightly adapted from Alon Shaya, whose food I’ve talked about extensively here on the blog because he’s one of my favorites and if you ever find yourself in Denver or New Orleans (where he has restaurants), it is well worth your time to make a stop in one. I first had Alon’s pitas at Safta in Denver, on a frigid night in late November a few years back. The wind was no joke and we holed up at the bar with a bottle of wine to wait in the warmth until it was time to head to the airport for our flight back home. We made good friends with the bar tender and ate labneh cheesecake, but as we sat, plate after plate of warm, charred pita came floating past us, out of the kitchen, to lucky tables all around. After a little while, we finally gave in and I’m telling you, I don’t know if it was the cold or the wine or a little of both, but those were the best pitas I’ve ever had in my whole entire life.

Unfortunately, I don’t have a big wood-burning pizza oven in my tiny duplex kitchen so getting pitas exactly like Safta is a bit more tricky. In his book, Alon recommends turning your oven to broil and heating a baking stone inside for cooking the pitas on. This makes for beautiful pitas, with smoked centers, but I only used this technique a couple of times before my stone shattered in the oven, mid-pita bake. So now, I use a metal baking sheet and crank my oven to 500° F and it does the trick just fine. I also adapted his recipe to make them a one-day affair with no overnight proof in the fridge, but if you have the time, you can always let your dough chill overnight after the first proof, just bring it back to room temperature before moving on to the next steps.

P.S. Tahini sat so patiently next to me the entire time I was photographing these and just look at how cute his little face is!

Alon Shaya’s Pitas

yield: 8 pitas

this recipe is very lightly adapted from Shaya by Alon Shaya

Ingredients

1 1/2 cups warm water

1 tsp active dry yeast

4 1/2 cups (540 g) bread flour, plus more for dusting

1 tbsp olive oil, plus more for the bowl

2 tbsp kosher salt (Diamond Crystal brand is my favorite)

Procedure 

  1. In the bowl of a stand mixer fitted with the dough hook, combine water and yeast. Stir gently and let sit for 5 minutes, until cloudy. 

  2. Add 4 cups of the flour to the bowl with the yeast and water, along with the olive oil. Mix on low speed for one minute, until flour has begun to incorporate, and then increase the speed to medium. Mix for another minute or two until a dough begins to form. Scrape down the sides of the bowl, remove the dough hook attachment, and cover the bowl with plastic wrap. Let rest for 20 minutes. 

  3. After the dough has rested, turn the mixer back on to low speed and gradually add the remaining 1/2 cup of flour along with the salt. Mix on medium speed for about 5 minutes, until the dough begins to pull away from the side of the bowl. Transfer dough to a floured work surface and shape into a ball. 

  4. Lightly oil a clean bowl and place dough ball inside. Cover with plastic wrap and let proof at room temperature for about 2 hours, until the dough is swollen and has almost doubled in size. 

  5. Once the dough has completed it’s first proof, turn it out onto a floured work surface and divide it into eight equal pieces. Use your hands to roll each piece into a ball and place them on your floured work surface, leaving space between each. Dust the tops with flour, and cover them loosely with plastic wrap. Let proof again for another 2-3 hours, until they are puffy and pillowy. 

  6. Preheat the oven to 500° F and place a cookie sheet upside down (so you have a flat surface) in the oven while it preheats.

  7. Meanwhile, use a rolling pin to roll each ball into a flat circle, about 6” across. When the oven is hot, carefully place 3-4 pitas (however many fit on your baking sheet) on the surface of the baking sheet and close the door. Watching them the whole time, bake for 2-3 minutes until pitas are puffy and starting to brown. Quickly and carefully, use tongs to remove pitas from the oven. Repeat with the remaining pitas and then enjoy them warm with lots of smooth and swoopy hummus!

Print Friendly and PDF

more recipes like this

Pitas.jpg

homemade pitas

IsrealiDPBrighter.jpg

an Israeli-inspired dinner party

triangles1.jpg

schiacciata with caramelized onions and figs

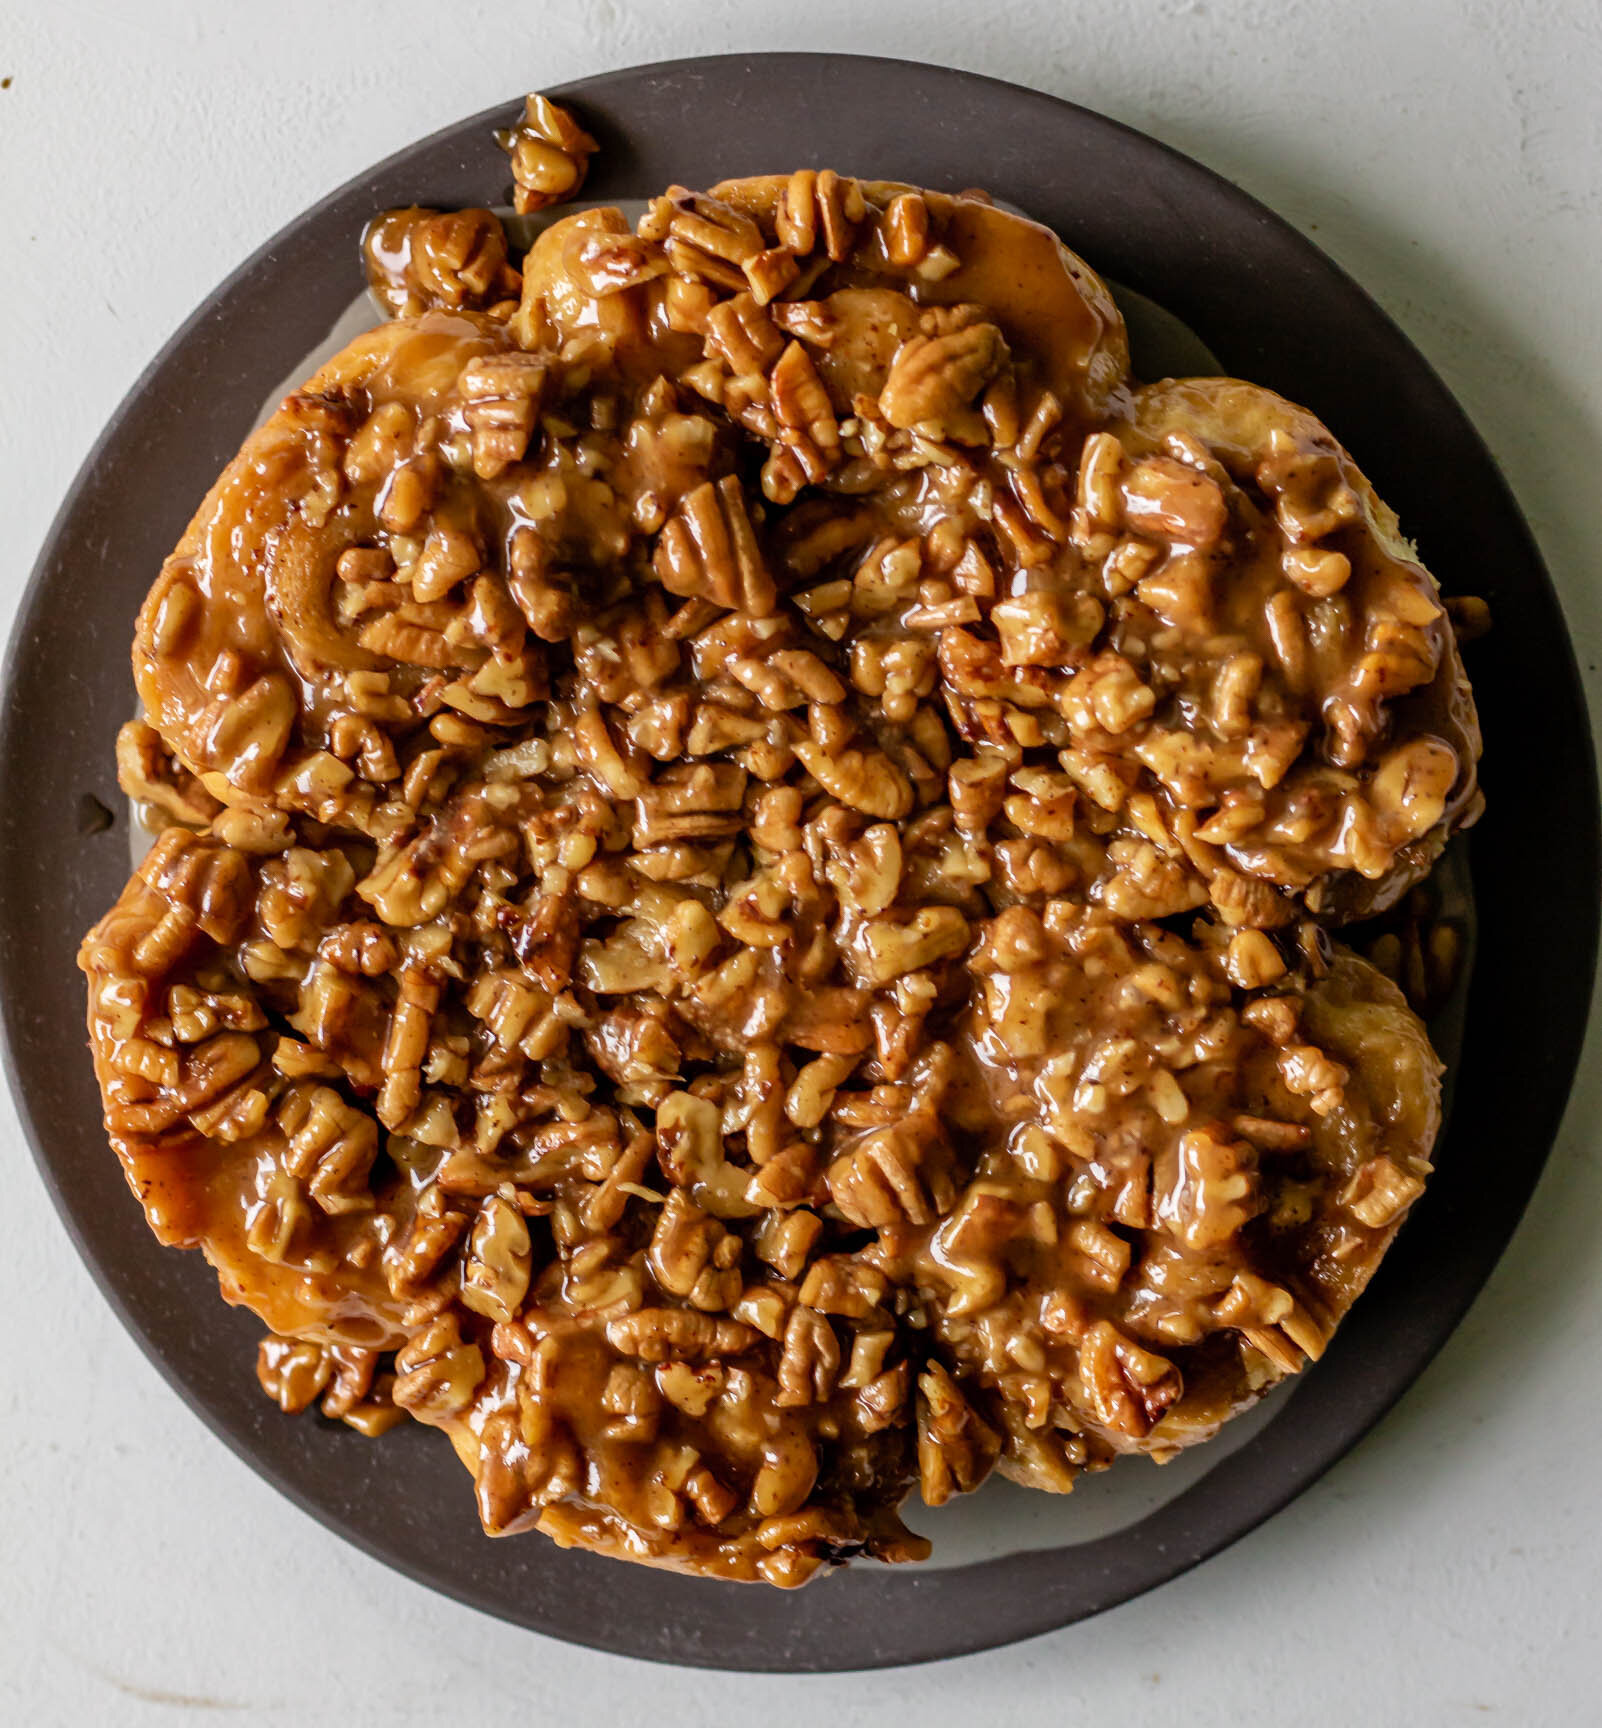
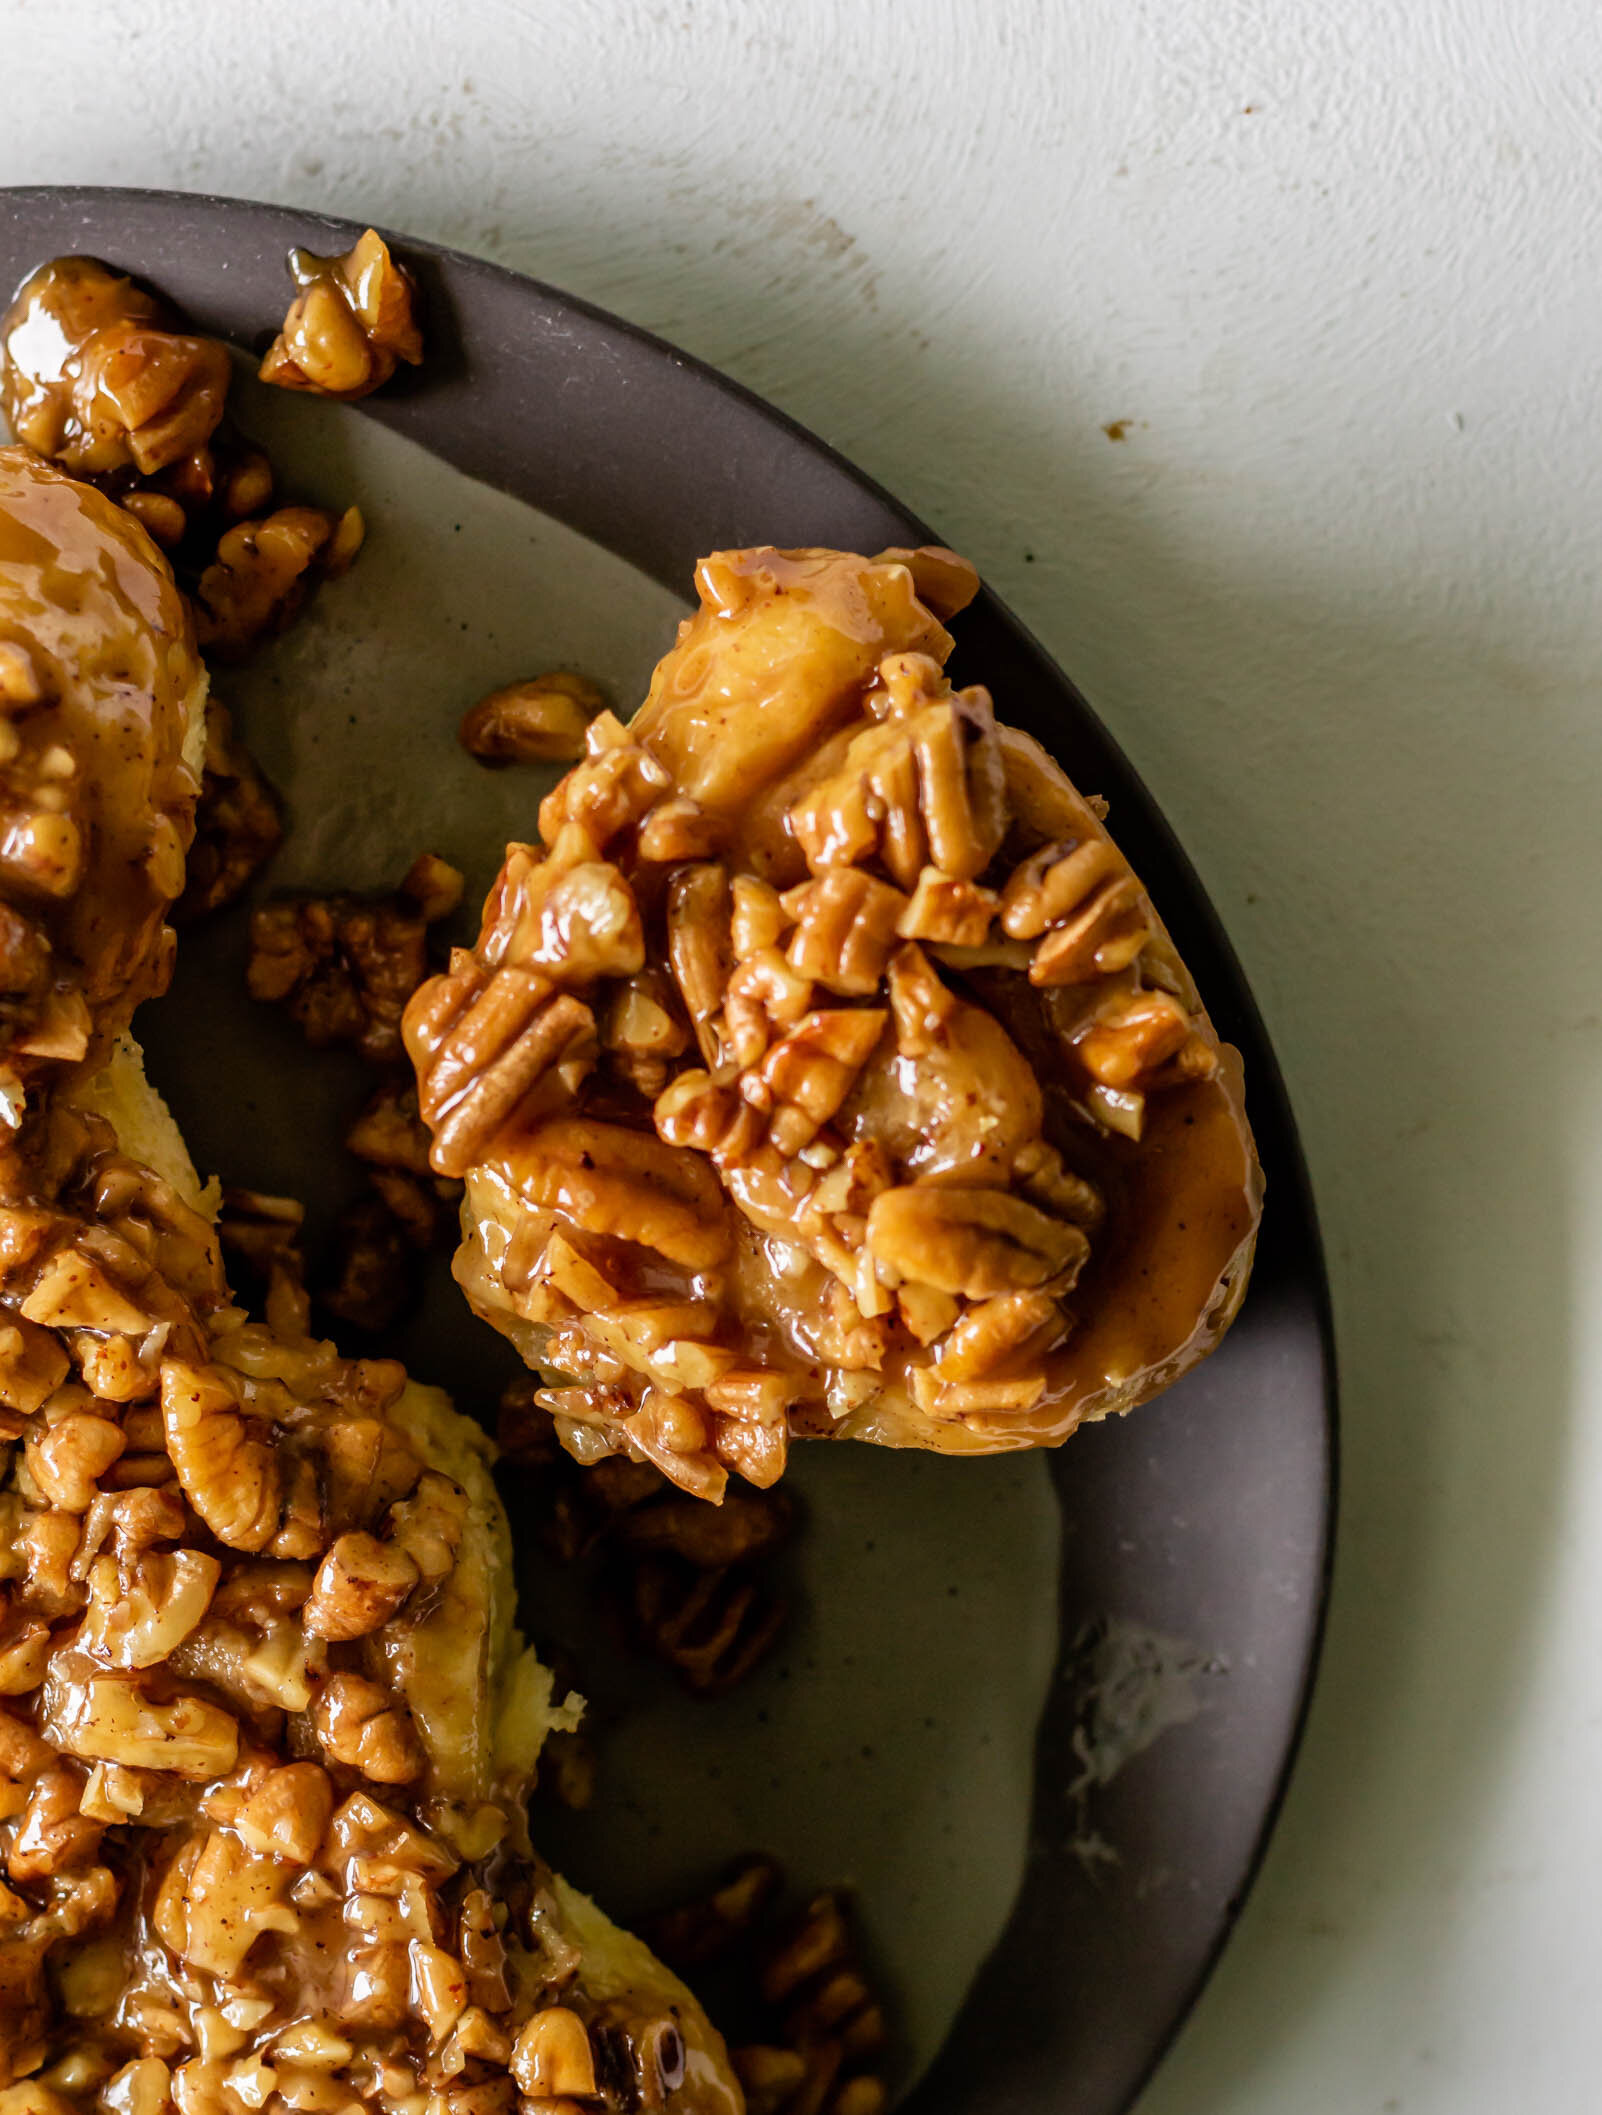
Einkorn Pecan Sticky Buns

Soft, buttery einkorn sweet dough, filled with spices and baked into a caramel pecan glaze. Perfect for lazy Saturday mornings and weekend brunches.

“Your recipes are too fancy.”— I get that A LOT. So I’ve been pondering this idea of fancy recipes over the past few weeks, vacillating between the idea that I should try to make my recipes a bit more mainstream in order to grab the attention of others while also really just wanting to make recipes that I absolutely love. Why not just make pumpkin cupcakes with cream cheese frosting and get all the Instagram likes and Pinterest saves? Not that simple recipes are bad, but they just don’t excite me like tossing hawaij into snickerdoodles or stirring red wine into chocolate cake. I know I’ve written about this before, over and over again actually, but I feel very passionately that when it comes to the kitchen, we should be fancy! I think in our culture that is so easily overwhelmed by the kitchen, we look for rules and familiarity. We look for specific recipes and weekly meal plans that follow certain diets and we’ve lost that creative spark that comes with cooking. We want cookbooks that list out our entire week’s grocery lists and tell us exactly what to make each evening (and how much salt to add) and we’ve lost the ability to cook for pleasure and enjoyment. This is important because what if Thursday comes around and I am really not feeling the ‘one pan, quick and easy, fajitas’ that I painstakingly planned on Sunday afternoon?

So often in our minds, fancy = time = difficult and that is simply not true! How are we living in a time where we are so into self-care, refusing ourselves the opportunities to care for our food in the same way that we do our skin and our homes and our routines? For me, being fancy means exploring flavors, being creative and unique in my approach to baking, and investing in the food that I’m putting in my body. It means swirling salted honey into whipped creams and playing with funky flours. It means trying new things, helping people think a bit outside of the box, and occasionally, it means challenging myself a little bit. I want my recipes to make you feel fancy, because I think being fancy is a good thing.

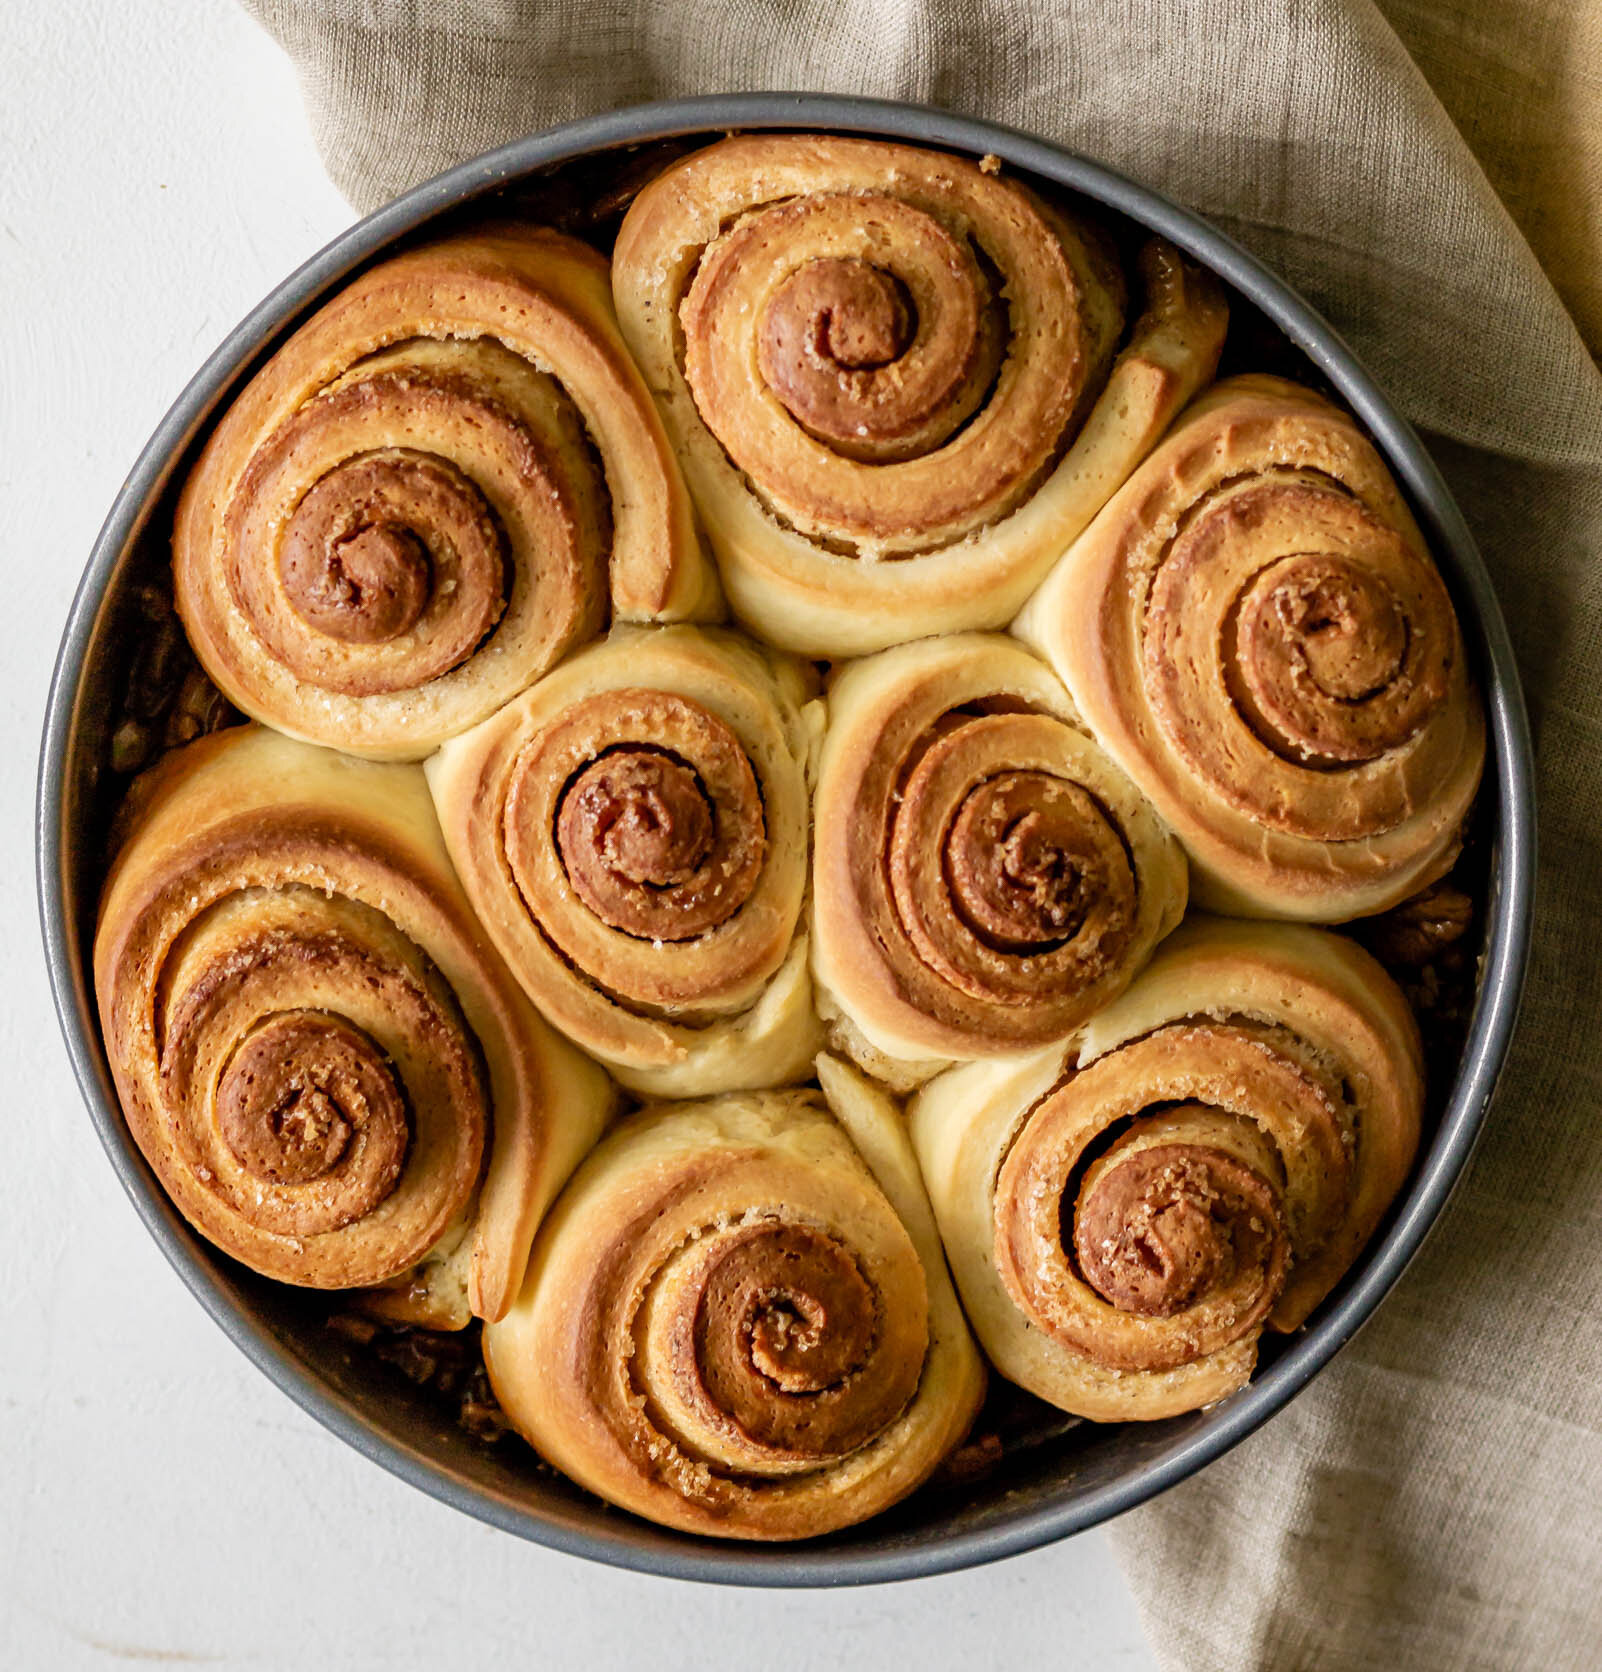
In that same spirit, here is a fancy version of my momma’s sticky buns. We used to make these with canisters of Pillsbury crescent rolls and we were lucky if a batch lasted an entire day in our house. This rendition uses an enriched sweet dough, spiked with einkorn flour and is swimming in toasted pecans bound together by a very gooey brown sugar caramel and I hope you make them and let yourself be a little bit fancy this weekend.

stickybuns10.jpg
stickybuns16.jpg
Einkorn Pecan Sticky Buns
Yield
8 sticky buns
Author
Prep time
30 Min
Cook time
35 Min
Inactive time
16 Hour
Total time
17 H & 4 M

Einkorn Pecan Sticky Buns

Soft, buttery einkorn sweet dough, filled with spices and baked into a caramel pecan glaze. Perfect for lazy Saturday mornings and weekend brunches.

Ingredients

for the dough
  • 255 g all purpose flour
  • 85 g einkorn flour
  • 70 g (1/3 cup) whole milk
  • 1 tsp active dry yeast
  • 2 eggs, at room temperature
  • 40 g (2 tbsp + 1 1/2 tsp) granulated sugar
  • 113 g (1/2 cup) unsalted butter, softened
  • 1/4 tsp kosher salt
for the filling
  • 56 g (1/4 cup) unsalted butter, softened
  • 2 tbsp granulated sugar
  • 2 tsp hawaij spice blend or 1 1/2 tsp ground cinnamon + 1/2 tsp ground cardamom
for the pecan glaze
  • 113 g (1/2 cup) butter
  • 1/2 cup brown sugar
  • 1/4 cup heavy cream
  • 1/4 tsp kosher salt
  • 1 tsp vanilla extract
  • 1 cup toasted pecans, chopped

Instructions

to make the dough
  1. Heat milk until warm to the touch. Combine warmed milk and yeast in the bowl of a stand mixer fitted with the dough hook. Let proof for about 5 minutes, until foamy, while you prepare the rest of the ingredients.
  2. In a medium bowl, combine all purpose flour, einkorn flour, salt, and sugar. Set aside.
  3. Lightly beat eggs and then add them to the mixer with the milk and yeast. Stir with a rubber spatula to gently combine.
  4. Add the dry ingredients to the liquid and begin mixing, starting on low speed and gradually increasing speed, for 2-3 minutes, until a thick dough begins to form.
  5. With the mixer running on medium-low speed, add the softened butter, one tablespoon at a time, until incorporated. Once all of the butter has been added, increase the mixer speed to medium-high and knead for 6-7 minutes, until a smooth, elastic dough has formed. Turn the dough onto a work surface and knead by hand for another minute and then shape the dough into a ball. Place the dough ball into a greased bowl, cover, and let proof at room temperature for 2 hours, until swollen and almost doubled in size.
  6. After the dough has completed it’s first proof, you have a few different options for filling, shaping, and chilling.
  7. Option 1: Punch down the dough, leave it in the bowl, covered, and let rest in the refrigerator overnight. In the morning, let dough rest at room temperature for about 30 minutes to soften. Roll the dough out, fill it, shape and cut the sticky buns, and place them in the pan for their final proof.
  8. Option 2: When the dough has completed it’s first proof, punch it down and turn it onto a work surface. Roll the dough out, fill it, shape and cut the sticky buns, and place them in a pan. Cover the pan and let the buns rest overnight in the refrigerator. In the morning, remove them from the refrigerator and complete a final proof before baking.
to make the filling
  1. Combine softened butter, sugar, and spices in a small bowl.
to make the caramel pecan glaze
  1. Place butter in a small saucepan set over medium heat. Cook, swirling often, for 6-7 minutes until butter is beginning to brown, smells fragrant and nutty, and small, amber-colored specks appear in the bottom of the pan.
  2. Immediately whisk in brown sugar, followed by the heavy cream. The mixture will look separated for a moment, but continue to whisk until it comes homogenizes. Add the vanilla and the salt and pour the glaze into a 9-inch round baking pan. Sprinkle with toasted pecans.
shaping, filling, and the final proof
  1. After the dough has completed it’s first rise, turn it out onto a very lightly floured work surface. Roll the dough into a rectangle, about 1/8” in thickness and roughly 12x16” in size.
  2. Use a small offset spatula or a knife to smear the filling mixture in a very thin layer over the surface of the rectangle, reaching all the way to the outside.
  3. Starting on a horizontal edge, roll the dough into a tight log and use a serrated knife to slice the log into eight 2” pieces.
  4. Place the rolls cut side up on top of the pecan glaze in your prepared pan. Cover and let proof for another 2 hours, until they’ve expanded about 3/4 in size. When the rolls have completed their final proof, preheat the oven to 375° F.
  5. Bake sticky buns for 25-28 minutes, until the are deeply golden and the glaze is bubbling around the edges. Remove from the oven and let cool for about 5 minutes before inverting the pan onto a large plate. Enjoy warm!
Did you make this recipe?
Tag @gatheredatmytable on instagram and hashtag it #gatheredatmytable