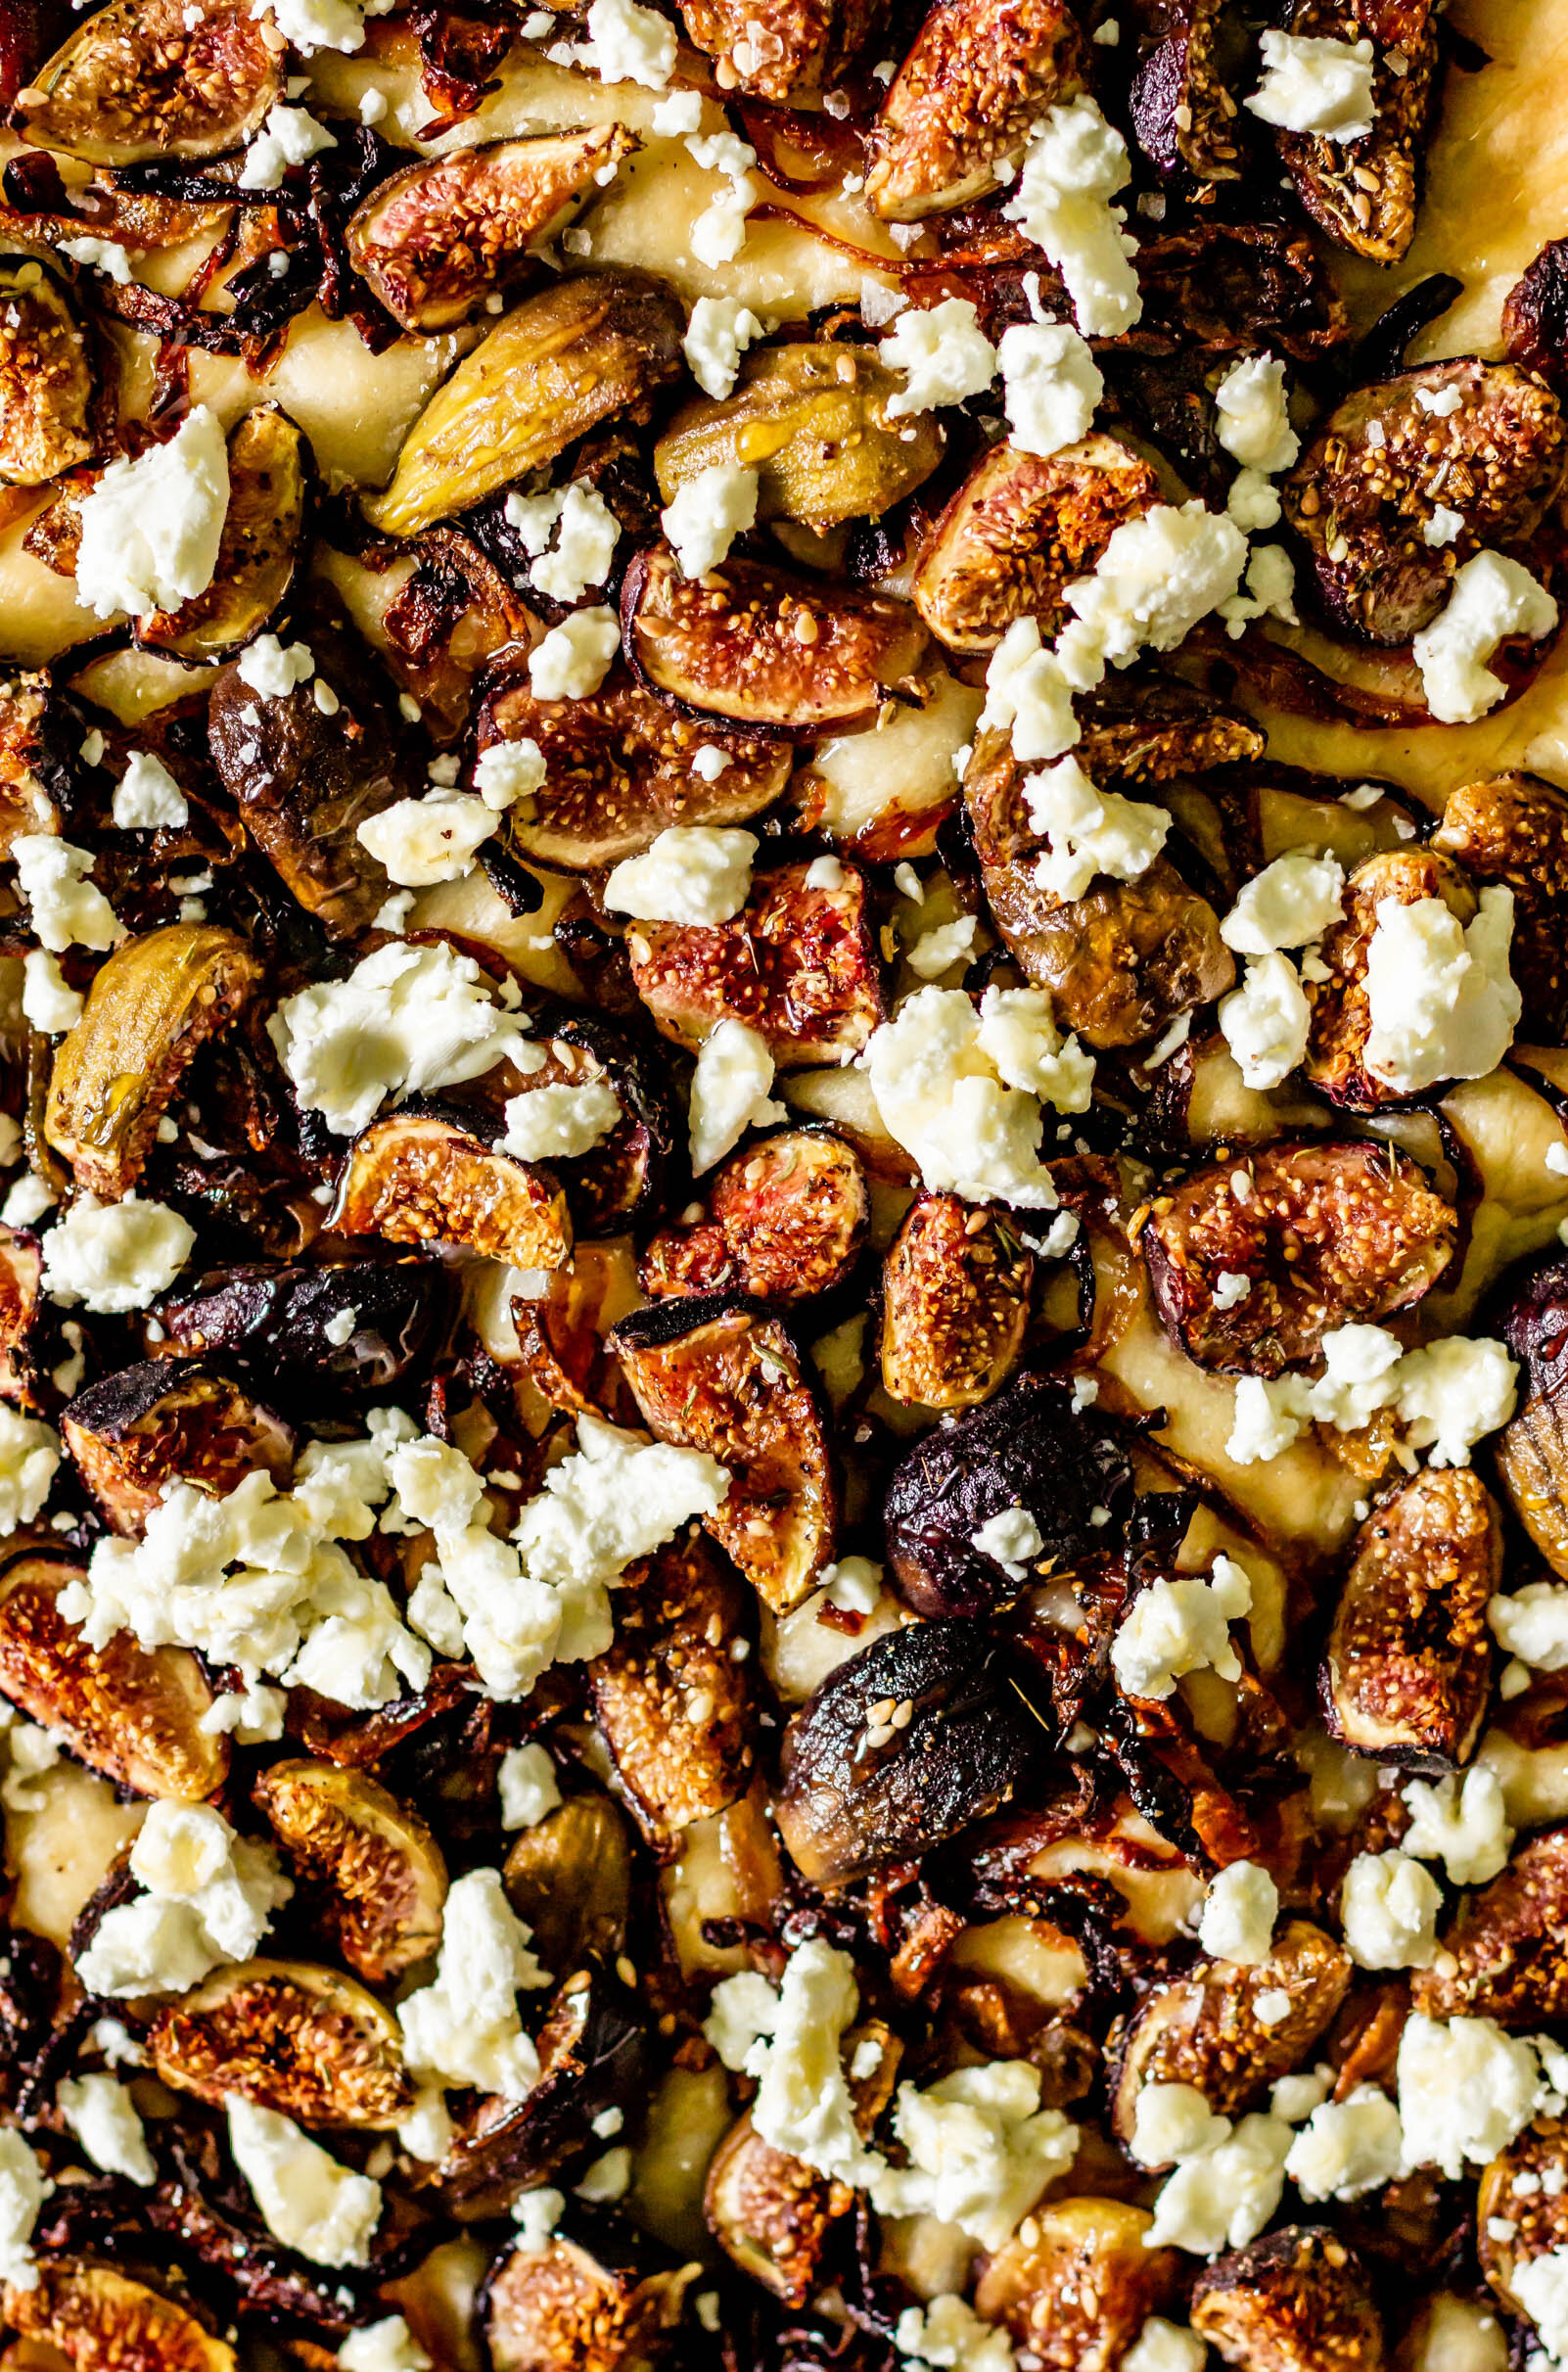
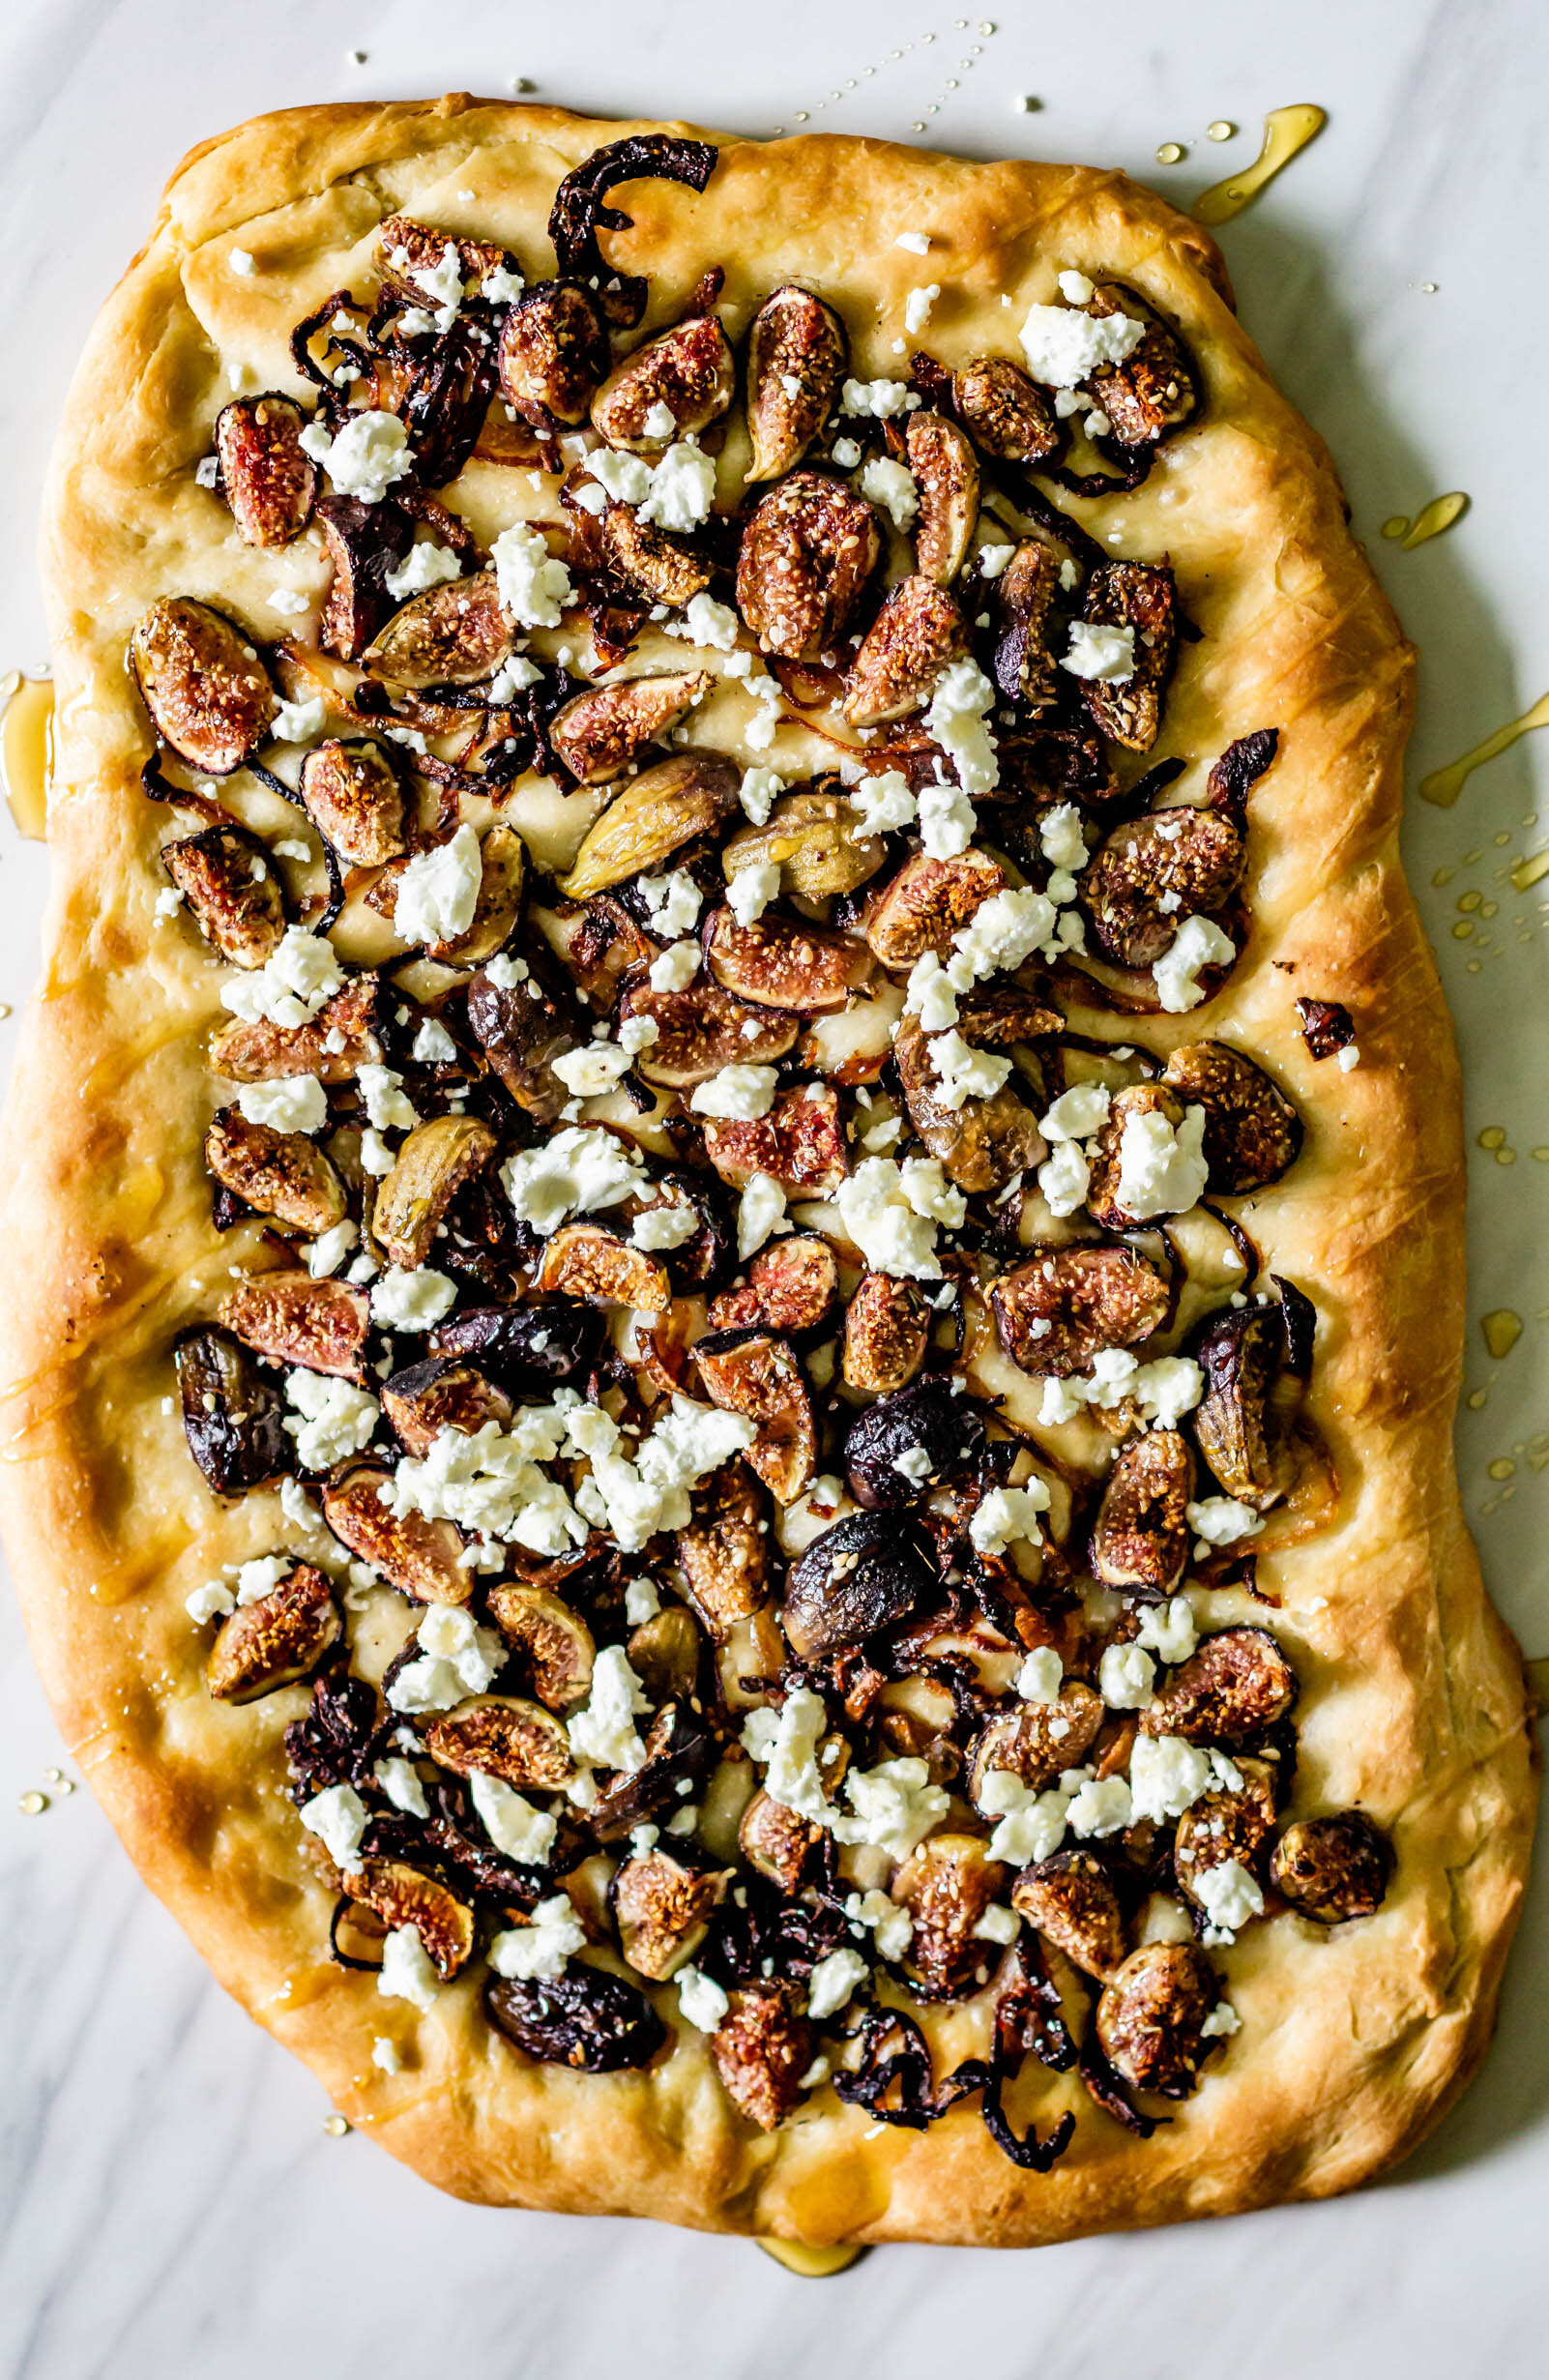
Schiacciata with Caramelized Onions and Figs

triangles1.jpg

I’ve been feeling pretty old this week. While I haven’t been creator in this food blogging world for very long, I’ve been an avid food blog reader and cookbook enthusiast since my freshmen year of college…which was over ten years ago. Back then, the only way to discover new blogs was to spend hours browsing through Food Gawker or Pinterest, and through their writing, these food bloggers quickly became virtual friends. I would regularly check their websites for new content. Not just recipes, but stories and short little essays about their lives, friends and family, and yes, cookies. I would invite these cooks into my kitchen in the form of their recipes, not because their pictures were perfectly styled or they had massive followings, but because their writing and their recipes resonated with me. I loved this little world of food blogging and dreamed about one day being a part of it. I dreamed about writing stories that people got excited to read, developing new recipes that my own little community looked forward to each week, and through this blogging portal, entering into a stranger’s kitchen and coaching them through making something new.

Fast forward a handful of years and the food blogging landscape looks a little different. Those people whose websites I ran back to time and time again are still out in the blog-o-sphere, and they are still the ones I go to for inspiration, though I’ve added a few new ones to the mix. But sometimes it feels like the future of food blogging hinges on flashy images that catch your attention in a nano-second, or easily-digestible clips that can be viewed (or skipped over) in an instant. At risk of sounding like a crotchety old lady, the thing I love most about food is that it is an experience. Kneading dough takes time and tactile effort. Waiting for bread to rise takes patience, and decorating cakes is intricate work. In order to be successful in this industry, do I have to hack all of that away in an effort to gain more likes? I don’t know the answer to this. I don’t think any of us in this little world really know the answer to this, but I find myself asking if there is still space for my slightly old school approach to food blogging in this fast-paced industry. I think it will be a little give and take and I’m working to find my niche in a way that feels authentic to me, while also using the tools that technology affords me as a way to grow my business. With all of the craziness of the past few months, I think we’ve all had our eyes opened to the importance of slowing down and I’ve been thinking a lot lately about how to carry that with me as life begins to speed up again.

Now, lets talk schiacciata! Schiacciata is a Tuscan-style flatbread, similar to a focaccia but with a lower hydration level which makes it a little thinner and a little crisper. As if focaccia and pizza had a baby. It’s an easier dough to throw together and only needs a couple of hours to do it’s thing, which means you can start it in the afternoon and eat it for dinner. The recipe for this dough is lightly adapted from Sweet by Helen Goh and Yotam Ottolenghi, which is my very favorite book of all time. The dough is topped with tangles of caramelized onions and fresh figs that have been tossed in za’atar and feels like that perfect time of year when summer nights are waning, but fall hasn’t quite arrived. You can by za’atar at your local Middle Eastern Market or on Amazon, but I made my own using this recipe. It’s fairly simple and uses mostly spices that you already have on hand.

Schiacciata with Caramelized Onions and Figs

Yield: 1 10x16” flatbread

Schiacciata dough recipe adapted from Helen Goh

Ingredients 

for the dough

2 2/3 cup (330 g) bread flour

3/4 tsp active dry yeast

220 g warm water

2 tbsp olive oil, plus more for the pan

1 egg yolk

1 tsp kosher salt

1 1/2 tsp granulated sugar

for the onions

1 large yellow onion, thinly sliced

1 tbsp olive oil

1 tbsp butter

a hefty pinch of salt

for the figs and toppings

1 lb fresh figs, quartered

1 tbsp olive oil

1 tsp za’atar 

honey, to drizzle

goat cheese

flaky salt for finishing

Procedure: 

  1. In a large bowl, stir together water, yeast, and half of the flour, until no dry streaks of flour remain. Cover with plastic wrap and let proof at room temperature for about an hour, until dough is bubbly and swollen.

  2. Transfer the dough to the bowl of a stand mixer fitted with the dough hook attachment and add the rest of the flour, olive oil, egg yolk, salt, and sugar. Knead on medium speed for about 6 minutes, until the dough is smooth and cohesive, pulling away from the sides of the bowl. Scrape down the sides, cover the bowl with plastic wrap and proof for another hour, until doubled in size. 

  3. While the dough is proofing, caramelize the onions. Heat a large sauté pan over medium heat. Add butter and olive oil to the pan and when they begin to sizzle, add the onions. Cook, stirring frequently, until the onions are beginning to lightly brown on the edges. Turn the heat down to low, sprinkle with a hefty pinch of salt, and cook for 45 minutes to an hour, stirring frequently, until they are very soft and dark brown in color. Remove from heat and let cool while you prepare the rest of the ingredients. 

  4. In a medium bowl, toss quartered figs with a tablespoon of olive oil, za’atar, and a pinch of salt. Set aside. 

  5. When the dough has doubled in size, preheat the oven to 450° F. Drizzle a tablespoon or two of olive oil over a rimmed sheet pan and turn the dough onto the oiled pan. Use your hands to gently stretch and push the dough into a rustic rectangle, about 10x16” in size. 

  6. Spread the tangles of caramelized onions over the surface of the dough, followed by the figs. Drizzle the entire thing with a little olive oil one more time, then bake for 20-22 minutes, rotating the pan halfway through, until the edges of the crust are golden brown and the bottom of the dough is crisp. 

  7. Remove schiacciata from the oven, sprinkle with goat cheese and flaky salt and drizzle with honey. 

Print Friendly and PDF

more recipes like this

HerbFoc7.jpg

samin nosrat’s focaccia

threesnails3.jpg

pesto challah

butter1.jpg

spiced scallion semolina bread

Lavender Wild Berry Muffins

overheadplate4.jpg

Growing up, some weekday mornings were far more special than the others. My mom is a teacher, and somehow in her mad rush to get my sister and I up, dressed, fed, and out the door, she occasionally found the time to bake muffins for breakfast and those were the very best mornings. You knew it was muffin day right when you opened your eyes because that freshly baked smell wafted through the house, greeting you as you rolled out of the bed. My absolute favorite muffins were these little wild berry muffins, the dry ingredients coming in a little pouch tucked in next to the cornbread mix on the bottom row of the grocery store shelves. I’ve also always wondered how likely it was that a packaged muffin mix actually used wild-grown berries, they probably should have been named mixed berry muffins, but the word wild made them feel even cooler. Regardless, we would split open the warm muffins, slather them with butter, and then wrap them in paper towels to eat in the car on the way to school. What a great way to start the day.

These are the muffins I make when I want to pretend I’m back in elementary school, eating muffins in the backseat. You can mix in any berries you want, wild or otherwise, frozen or fresh, just make sure that you go heavy on the berries. My ideal muffin is just a scoop of berries, barely bound together by batter. Most muffins are made using a liquid fat and the blending method, with the primary focus being moisture and tenderness. These muffins, however, are made using room temperature butter and the creaming method, like a cake, making them a tall and fluffy bakery-style muffin. I like to sprinkle them with just a bit of crunchy demerara sugar, but they would also be great with a crumb topping or even no topping at all. Don’t forget to finish them with a big pat of butter and a sprinkle of flaky salt.

frontlook1.jpg
overheadscatter1.jpg
bite2.jpg

Lavender Wild Berry Muffins 

Yield: 15 muffins

Ingredients

1/2 cup (113 g) unsalted butter, at room temperature 

1/2 cup (110 g) granulated sugar

1/2 cup (95 g) brown sugar

1 tbsp dried lavender

2 eggs

1 tsp vanilla extract

2 tsp baking powder

1 tsp kosher salt

2 cups (240 g) all purpose flour

1/4 cup (60 g) whole milk

2 tbsp whole milk yogurt 

1 1/3 cup (about 200 g) mixed berries, frozen or fresh

demerara sugar for sprinkling, optional

Procedure

  1. Preheat oven to 350° F and line a muffin pan with cupcake liners. 

  2. In a small bowl, combine granulated sugar and lavender and rub with your fingers until fragrant and set aside.

  3. In a medium bowl, whisk together flour, salt, and baking powder. Add a tablespoon of the flour mixture to the berries and toss to coat. In a glass measuring cup, combine milk and yogurt. Set all of this aside for now. 

  4. In the bowl of a stand mixer fitted with the paddle attachment, combine butter, brown sugar, and sugar and lavender mixture. Cream on medium speed until light and fluffy and no chunks of butter remain. Scrape down the sides of the bowl. 

  5. With the mixer on low speed, add eggs one at a time, followed by the vanilla extract and mix until smooth and homogenous. 

  6. With the mixer on low speed, alternate between adding the dry ingredients and the milk/yogurt mixture, starting and ending with dry ingredients (dry-wet-dry-wet-dry). 

  7. When the last of the dry ingredients have been added, remove the bowl from the mixer and scrape down the sides to ensure everything is well-combined. Use a rubber spatula to gently fold in the berries until they are evenly distributed. 

  8. Use a large cookie scoop to portion batter into your prepared muffin cups, sprinkle with demerara sugar and bake for 20-25 minutes until muffins are tall and golden brown, and a knife or toothpick comes out clean when inserted. Cool slightly and then enjoy warm, split open and slathered with lots of butter and flaky salt. 

Print Friendly and PDF

more recipes like this

straightonsliced1.jpg

lemon olive oil loaf with pluot basil jam

BananaMuffin8.jpg

banana muffins with cinnamon oat crumble

ButternutSquashMuffins2.jpg

butternut squash muffins with pecan thyme streusel

Olive Oil and Roasted Garlic Hamburger Buns

stacked2.jpg

I’m not a huge fan of 4th of July. I don’t love fireworks, or mosquitos, or standing outside in the oppressive summer heat. I’m not super into platters of grilled meats or red, white, and blue tank tops. One thing I can always get behind, however, is a great cheeseburger. We do so little food-wise when it comes to 4th of July, that making your own hot dog or hamburger buns doesn’t seem quite as overwhelming and I promise you, it’s definitely worth it. These hamburger buns are brioche-esque, meaning that they are enriched slightly with fat, eggs, and milk, but not so much of these ingredients as to make a full brioche. They are light and fluffy, soft in the middle and sturdy enough to support a fully-loaded cheeseburger and they come together in just a couple of hours. And if you’re anything like my mom and prefer charred hot dogs to hamburgers, just shape them in cylinders instead of rounds to make hot dog buns. So Happy 4th of July to you all! I hope that your weekend is filled with air conditioning, cold margaritas, and great hamburger buns.

bunsabove1.jpg

Olive Oil and Roasted Garlic Hamburger Buns

Yield: about 9 buns

adapted from NYTimes Cooking

Ingredients 

1 cup (237 g) warm water

3 T (42 g) whole milk

2 tsp active dry yeast

2 eggs, lightly beaten

3 cups (410 g) all purpose flour

1/2 cup (67 g) whole wheat flour

1 1/2 tsp kosher salt

2 T (30 g) honey

3 T (40 g) olive oil

1 head roasted garlic (about 20-25 grams) *see note below*

egg wash

Procedure: 

  1. In a glass measuring cup, combine water and milk and heat in the microwave for about 30 seconds, until warm to the touch. Add yeast, and let rest for 5 minutes, until yeast is foamy. 

  2. Meanwhile, in a medium bowl, whisk together flour and salt. Set aside. 

  3. In the bowl of a stand mixer fitted with the dough hook attachment, combine eggs, honey, and olive oil. Add the yeast and liquid mixer and gently stir with a rubber spatula, just to combine. 

  4. With the mixer on low speed, gradually add dry ingredients, followed by the roasted garlic. When everything has been added, increase mixer speed to medium and mix for 5-7 minutes, until a smooth, elastic dough has formed and it begins to pull away from the sides of the bowl. You can test the dough’s gluten development by performing the window pane test. 

  5. Transfer the dough ball to a lightly-oiled mixing bowl, cover with plastic wrap and let proof for 1 1/2-2 hours, until doubled in size. 

  6. Turn the dough out onto a lightly-floured work surface. Divide the dough into 50 gram portions and then shape each piece into a ball. 

  7. Place dough balls on a parchment lined baking sheet and cover with plastic wrap. Let proof another 30-45 minutes, until buns are puffy and an imprint fills in halfway when poked gently with a finger. 

  8. When the buns are finished proofing, preheat the oven to 375° F. Brush the tops of each bun with egg wash and sprinkle with sesame seeds. 

  9. Bake for 15-20 minutes, rotating the pan halfway through the baking time, until buns are golden brown. Let cool completely before slicing. 

Notes: To roast garlic, slice a head of garlic in half horizontally and pour a couple of glugs of olive oil over the open cloves. Wrap the garlic tightly in aluminum foil and roast at 400° F for 20-30 minutes, until garlic is soft, caramelized, and fragrant. Let cool completely and then squeeze garlic cloves out of the skins. And if you’re roasting one head, you might as well roast two and then keep roasted garlic in the fridge to smear on anything and everything.